
So, you want to create a newsletter subscription for your WordPress website.
Sounds great!
There are three main ingredients for a successful newsletter recipe:
- Choose the right email marketing tool and check if it works with WordPress,
- Choose the right newsletter plugin,
- Prepare the design and copy for your newsletter.
I’m also going to show you how to set up a newsletter using Sendinblue, a popular WordPress newsletter and email marketing plugin.
Choose the right email marketing tool
The moment you have a list of newsletter subscribers, you will need to send them those weekly or monthly emails, right?
So, this is where our journey begins.
There are plenty of great tools out there that can help you send your campaigns.
Some of them are free, some of them aren’t.
Now, the question is: will you only send newsletters, or do you want to send some other campaigns as well?
Let’s say someone bought a course from you on June 5th. Maybe you’d like to send an email sequence that looks like this:
- Day 1 after the purchase: a mail with the following subject line “Here’s how you can navigate your account”,
- Day 3 after purchase: an email titles “Meet your instructor”,
- Day 5 after the purchase: a mail with the following subject line “How to manage assignments”,
Etc.
These are called “drip campaigns” and you deal with them via automations, or workflows.
So, before choosing your email provider and email plan, you should know your needs.
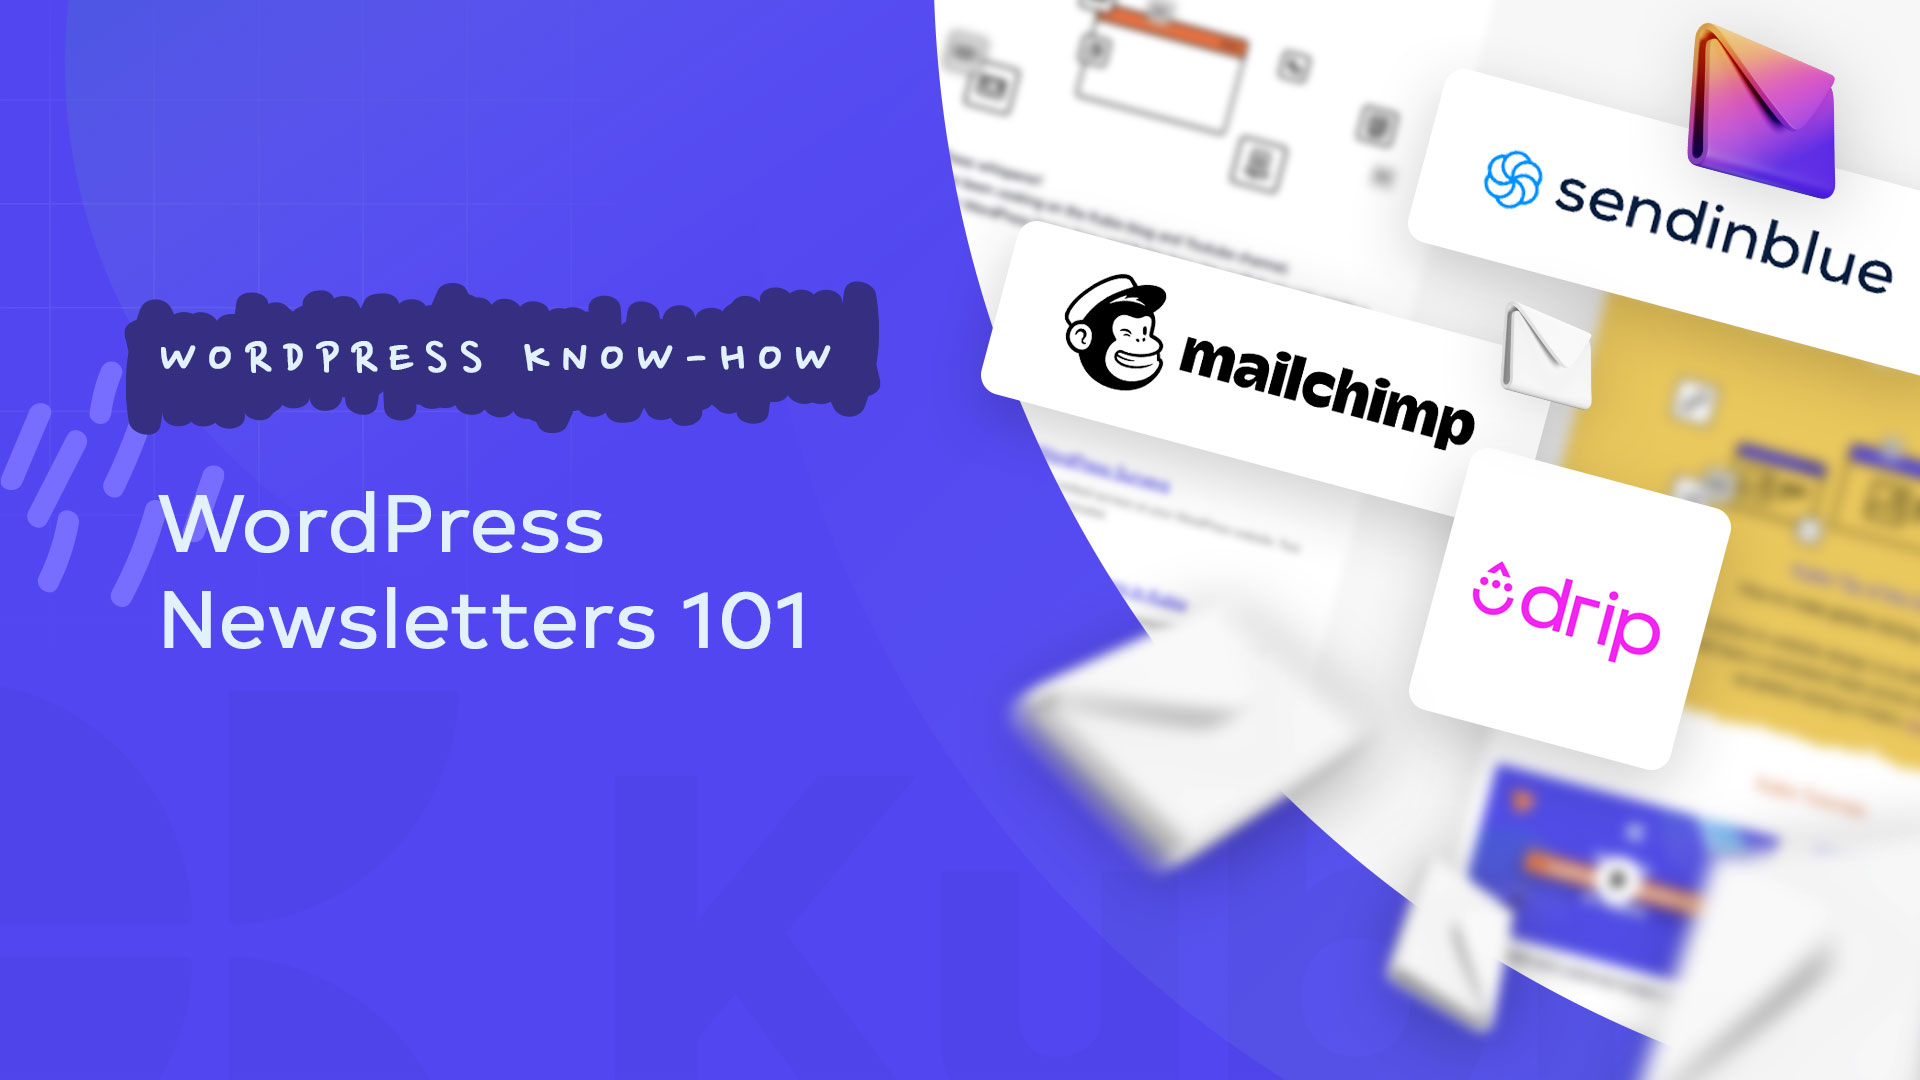
Now, let’s take a look at the most popular email marketing tools out there.
Some of them are working only with wordPress, others can work with any CMS.
Meet the email marketing tools we tested and love
Drip
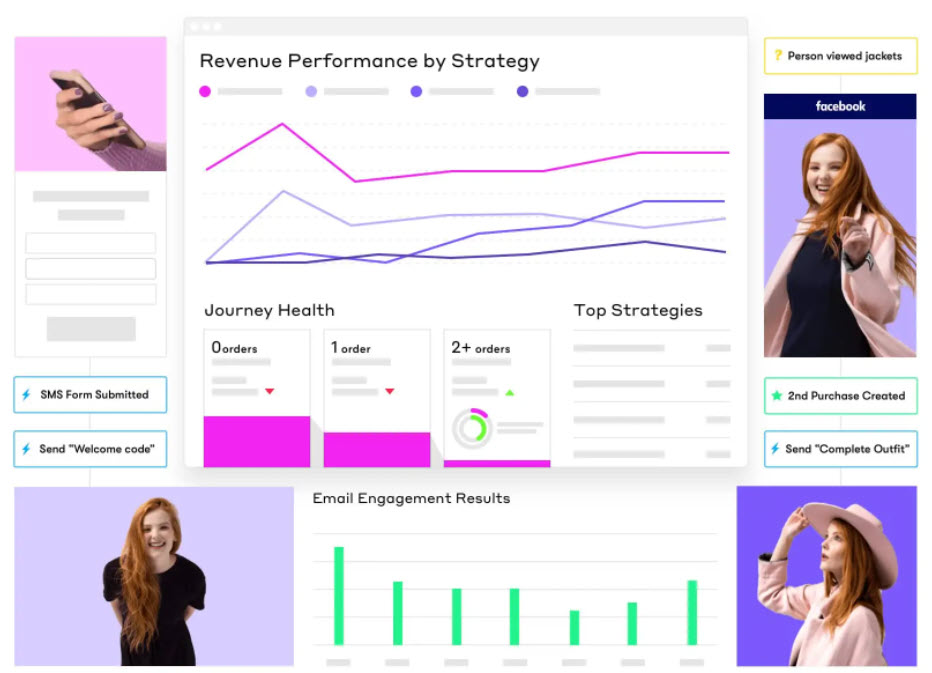
Used by over 30,000 marketers, Drip has an intuitive interface that makes email campaign creation smooth.
Here are the features we love:
- Pre-built email templates,
- HTML builder if you’re into code,
- A/B testing options,
- Multichannel touchpoints available (SMS, social),
- Pre-built automations for e-commerce,
- Powerful email segmentation and personalization,
- Liquid templating – a templating language is a “bridge” between all the data in Drip—ranging from a person’s information to marketing copy—and what gets written in emails or specific data fields. You can use liquid templating to further customize your workflows. With this option, the sky’s the limit when it comes to email marketing automation. Your priority would be to properly segment your users, and Drip will give you the proper tools for personalization.
Now, Drip works well with the most popular CMS and e-commerce platforms out there.
If you want Drip to work with your WordPress website, you can install their specially built WordPress plugin. If you want Drip for WooCommerce, there’s this plugin that you can use.
Drip pricing starts at $19/month, and rises in relationship with the size of the contact list. This means that if you want to pay less, you should always clean your database, and also remove unengaged contacts.
Sendinblue
Sendinblue is also a CMS-agnostic email marketing tool. It has over 300,000 users worldwide, Kubio being one of them. We love its user-interface. From adding contacts, building lists, creating emails, and workflows, everything works smoothly.
Here are the features we’re sure you’ll love:
- Chat options,
- SMS marketing,
- Transactional emails,
- Landing page creation,
- Email heatmap,
- Send-time optimization. For example, we’re sending emails based on their highest chance of interaction,
- Advanced contact list segmentation,
- Form generation,
- Drag and drop editor,
- Facebook Ads integration.
In terms of pricing, Sendinblue’s paid plans start when you want to send more than 20.000 mails a month. Different paid plans will add new features to the product.
When it comes to integrating WordPress and Sendinblue, you can use their own plugin.
Mailchimp
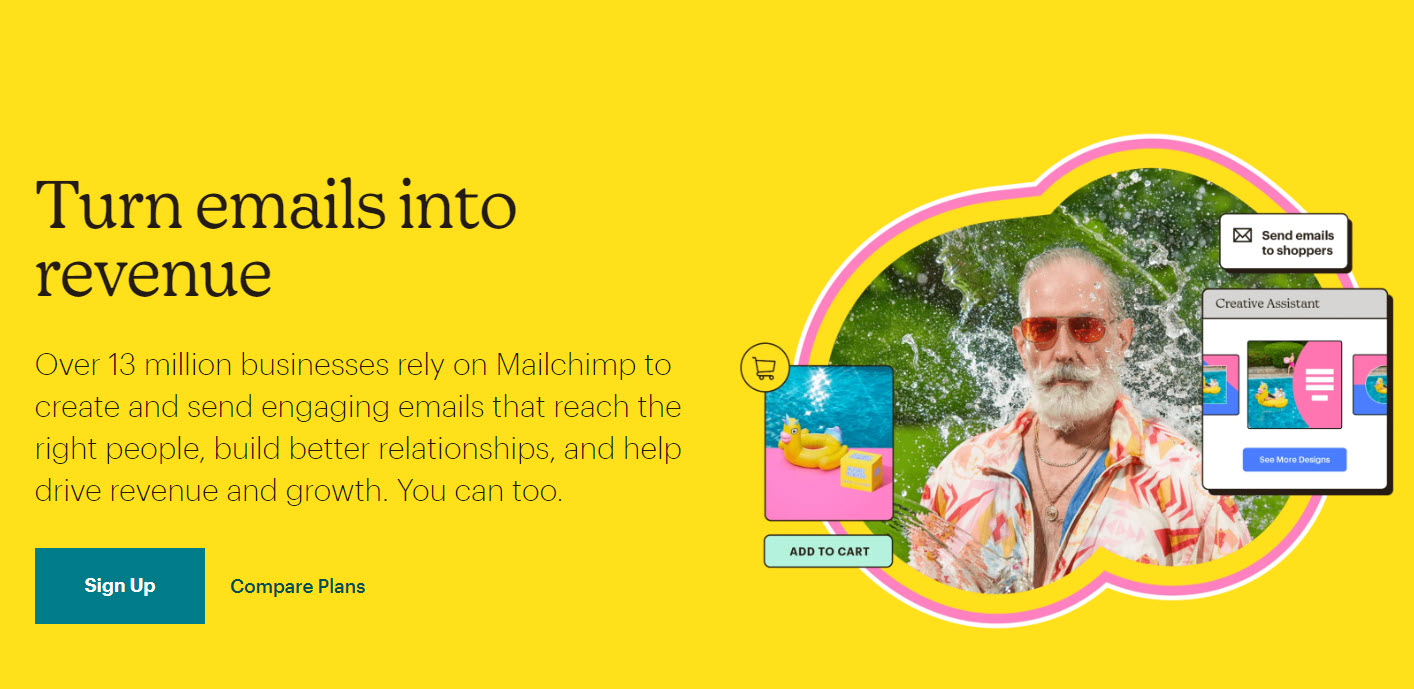
Probably the most popular email marketing tool out there.
Here are the features that you’ll love:
- Easy-to-use design tools and flexible templates,
- AI-powered Creative Assistant that will generate custom designs,
- Transactional emails,
- Sending-time optimization,
- Custom triggers,
- Pre-built automations,
- E-commerce automations (abandoned cart emails, product recommendations, product follow-up, customer re-engagement, etc),
- A/B and multivariate testing,
- Campaign benchmarking,
- Personalized suggestions for copy, design, imagery,
- Great Insights features.
When it comes to WordPress integration, you can use the WordPress plugin called “MC4WP: Mailchimp for WordPress”. It is not built by Mailchimp, but it has more than 2 million users,
Hubspot
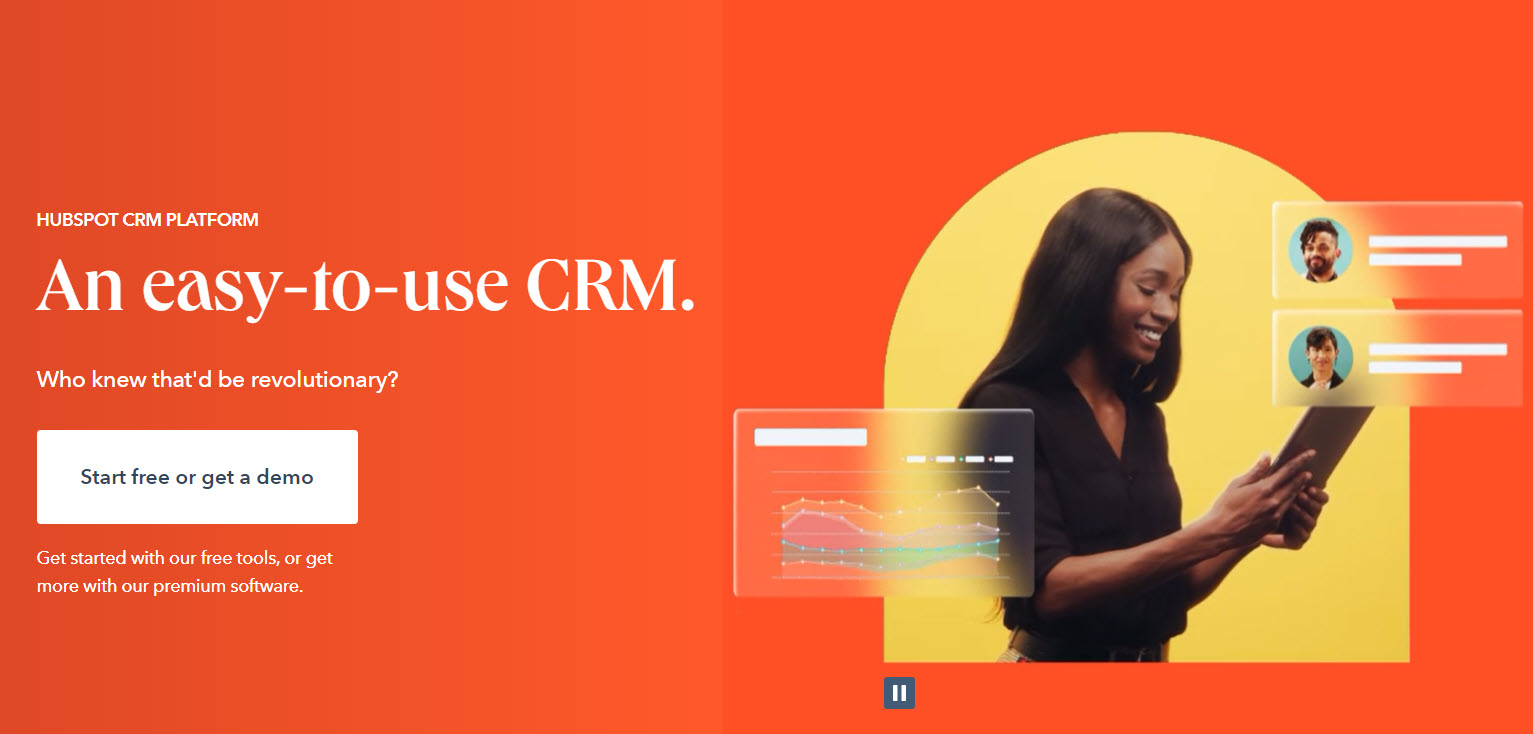
Hubspot is one of the biggest Customer Relationship Management systems out there. This means that their tools go beyond email marketing.
Now, Hubspot has released some free email marketing tools, that you can use together with their free CRM.
Here are some of the features that you will love:
- A/B testing,
- Bulk emails that are tested and optimized for every device type,
- Drag and drop editor,
- Extensive template library,
- Email personalization.
So, if you only need to send out those newsletter campaigns, Hubspot’s free email marketing tools might just do the trick.
How do you work with Hubspot and WordPress? Well, there’s a plugin we know ;), it’s called: WordPress Hubspot Plugin. No surprise here :).
Now, let’s put one of the tools to work!
I chose Sendinblue, because we’re using it here.
WordPress newsletters: how to set them up using Sendinblue
When you wanna kick off with any email marketing tool, you will need to create an account. The same works for Sendinblue.
Installing and setting up Sendinblue
Next, you need to install and set up the Sendinblue WordPress plugin. Here’s how you do it:
- From the WordPress dashboard, head over to Plugins -> Add New.
- Start searching for the Sendinblue plugin.
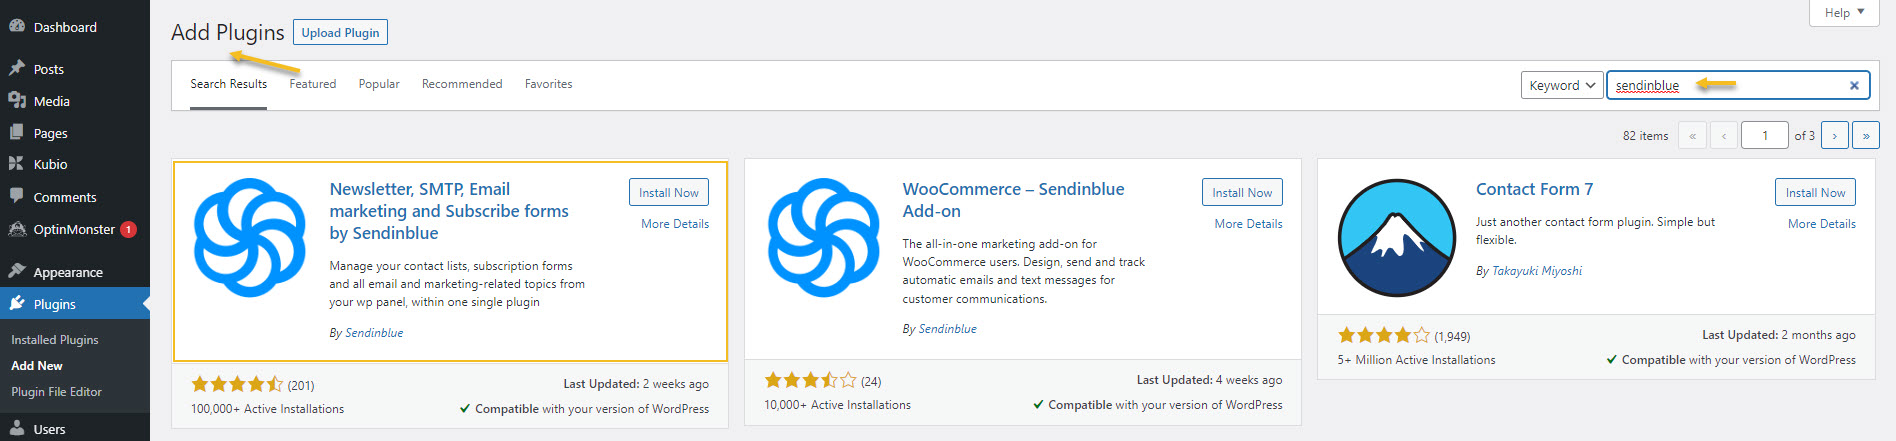
- Click on “Install Now”, then on “Activate”.
- Go ahead and locate the Sendinblue menu in the WordPress dashboard.
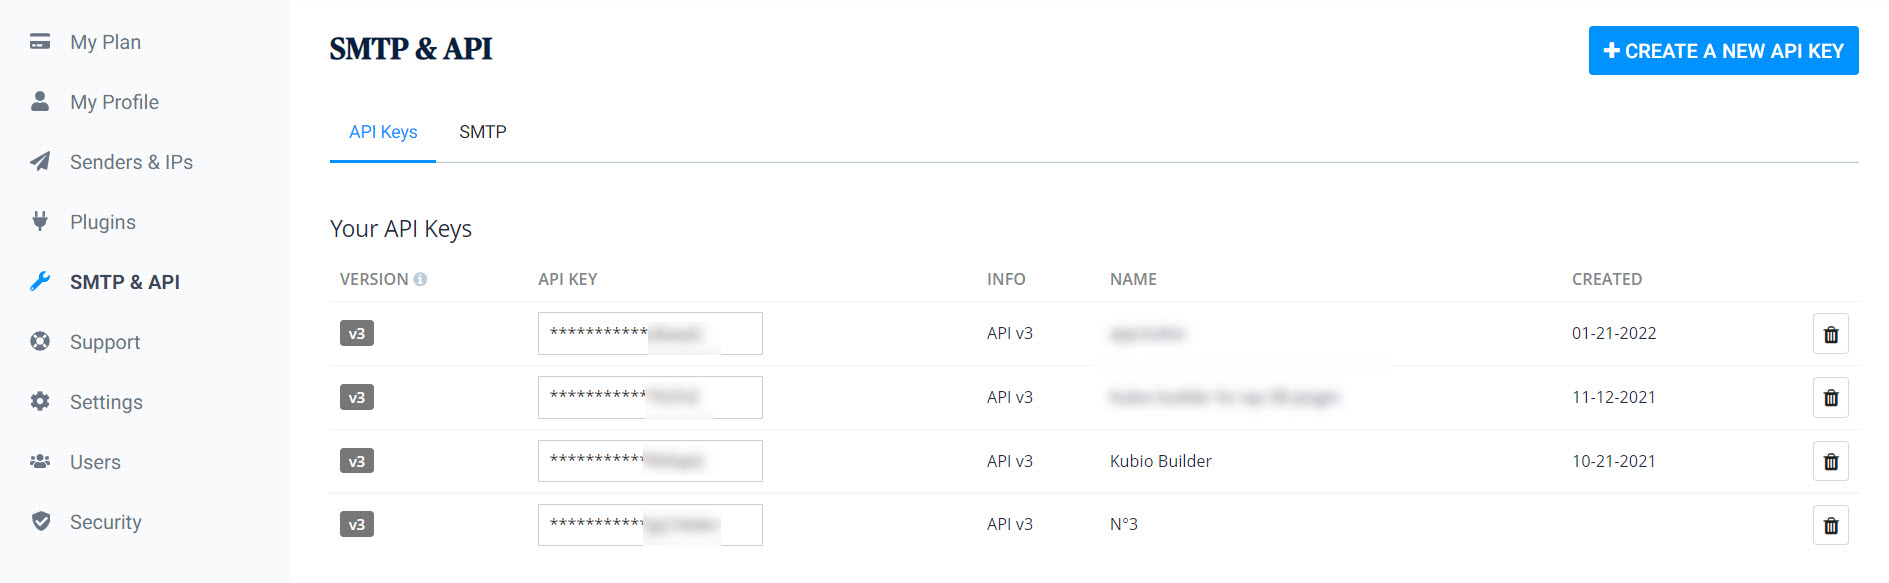
- Go to your Sendinblue account and generate an API key.
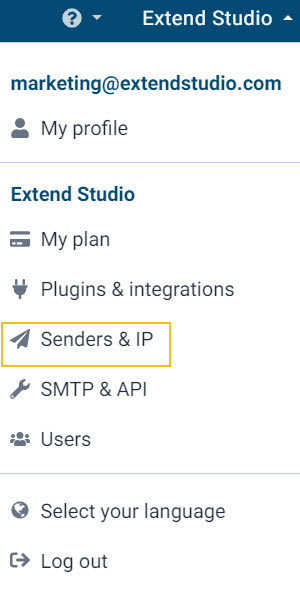
- Go to your profile in the upper right of the dashboard and select “Senders and IP”. This is where you establish the mail that will be sending out the newsletter.
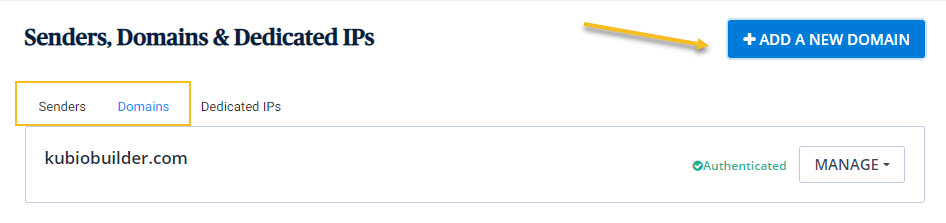
Go to ”Senders” and add an email address, then to “Domains”, and paste the website address.
Now, your WordPress website is properly connected to the Sendinblue account.
Next, go back to the Sendinblue account to create your first contact list.
- Select “Contacts” from the upper-menu, then “Lists”, from the menu on the left.
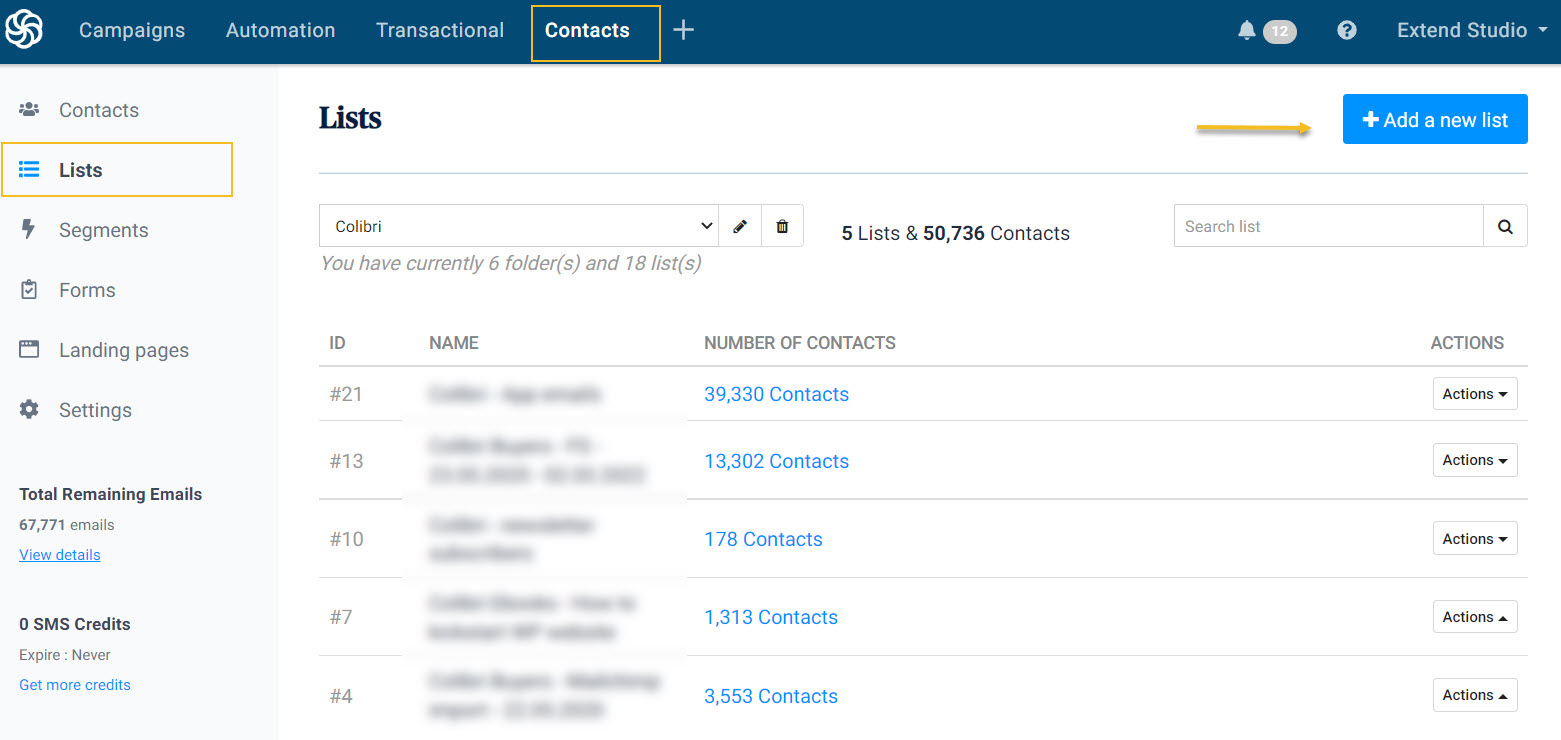
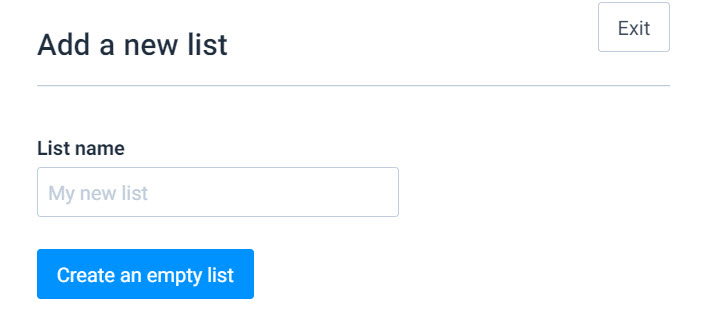
- Click on “Add a new list”.
- Name your list and save it. You could go with “Newsletter subscribers”.
The moment people will subscribe to your newsletter, you’ll end up seeing them inside this list as contacts.
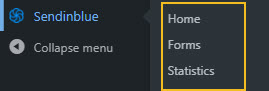
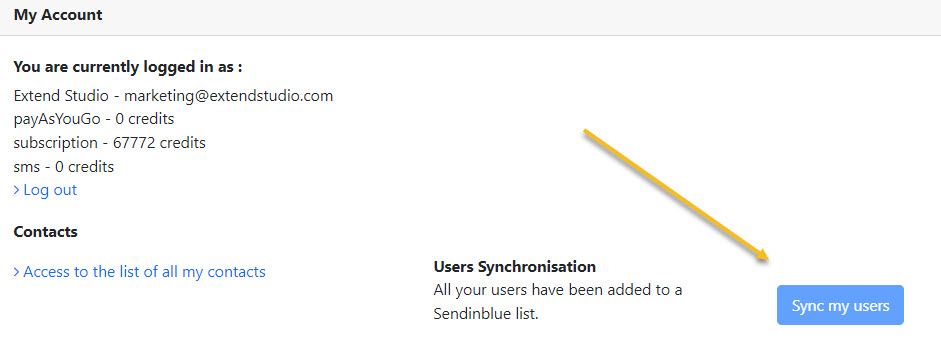
Now, these lists usually sync with WordPress in real time. This might happen with newly created lists. But, from time to time, you might need to sync the users. For this, go to Sendinblue – Home, inside the WordPress dashboard, then click on “Sync my users”.
Creating forms to collect newsletter subscribers
It’s time to create a form in order to collect subscribers.
Here, at Kubio, we placed such a form on the blog, inside the hero:
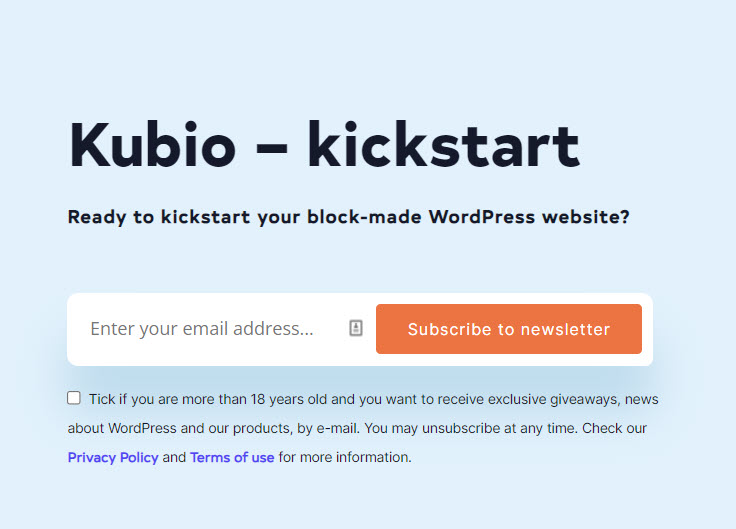
It is pretty basic. It has an email field, a button, and consent.
Let’s see how you can create such a form with Sendinblue.
- Go to the “Forms” option under the Sendinblue menu in the WordPress dashboard and click on “Add New Form”.
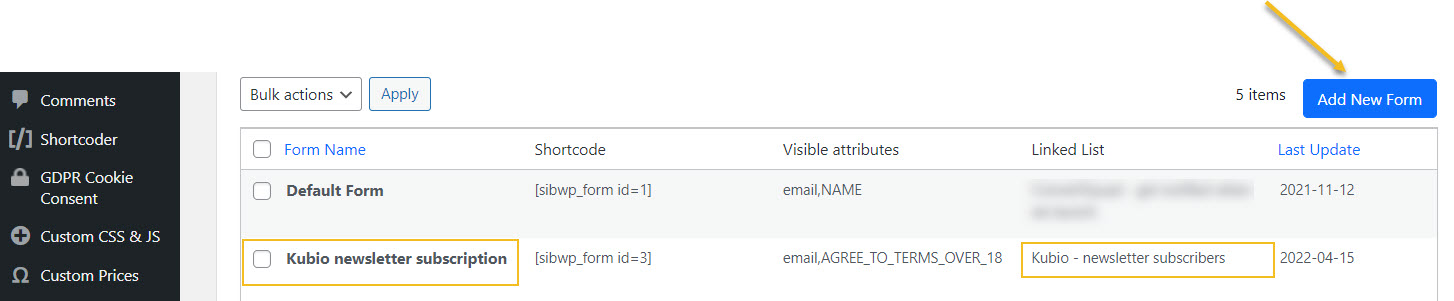
- Name your form.
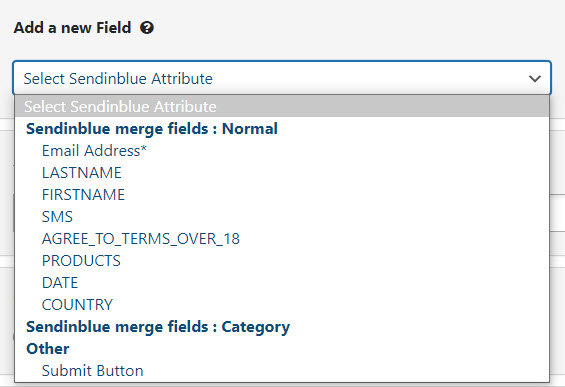
- Add other fields to the form. There’s a list that you can choose from.
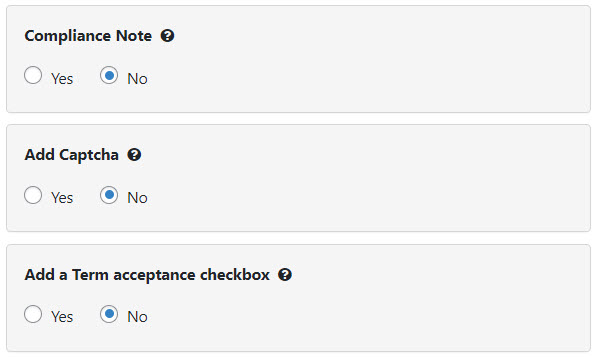
- Add consent and compliance notices.
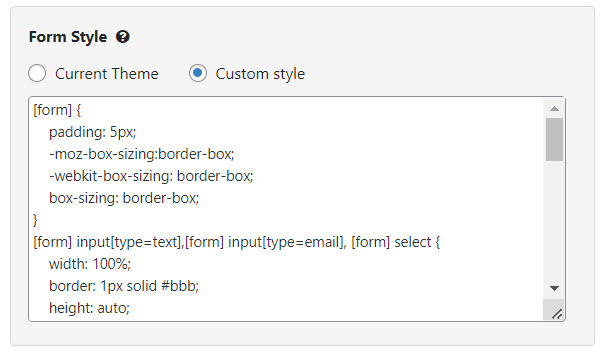
- Style the form. This is how the default Sendinblue form for WordPress looks like:
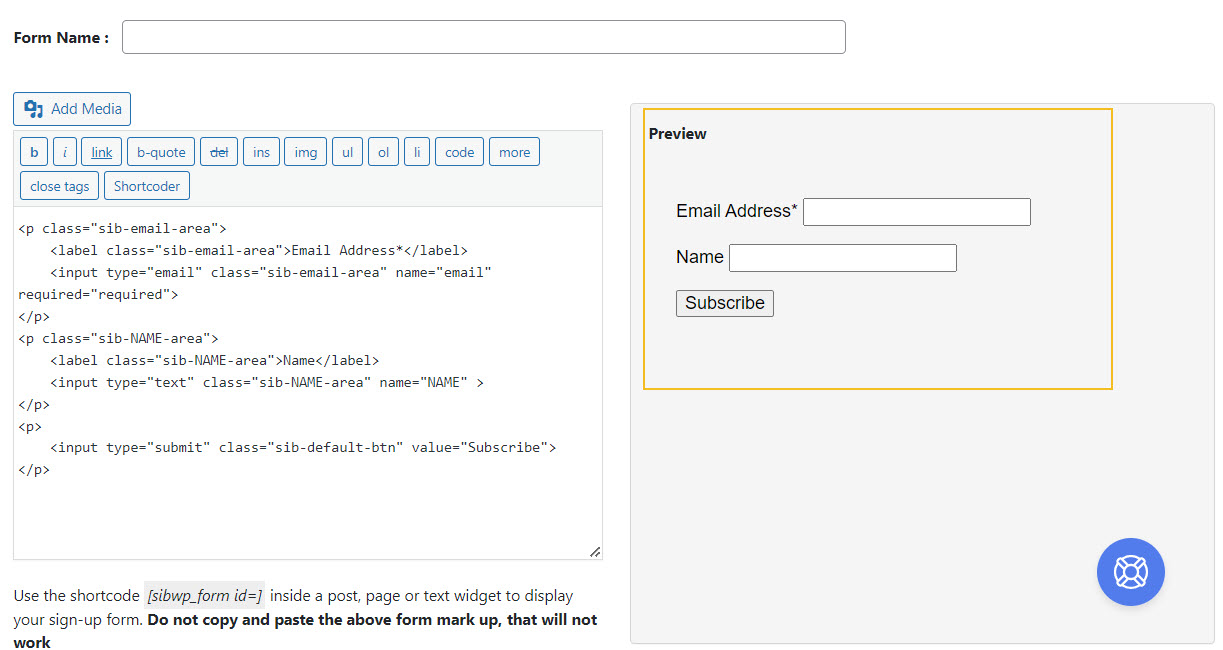
It does not have any styling here. But, you have two choices here. Either you add your own CSS, or you just let the form adapt to the theme style (the easy way out).
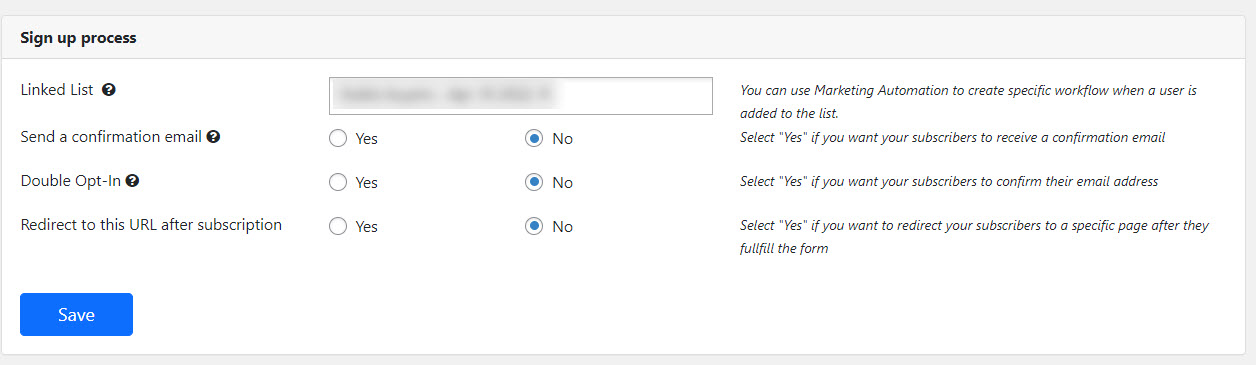
- Choose the list where all the contacts from the form should go to. Remember that lists are created inside the Sendinblue account, as I showed you earlier.
- Customize the success and error messages for the form.
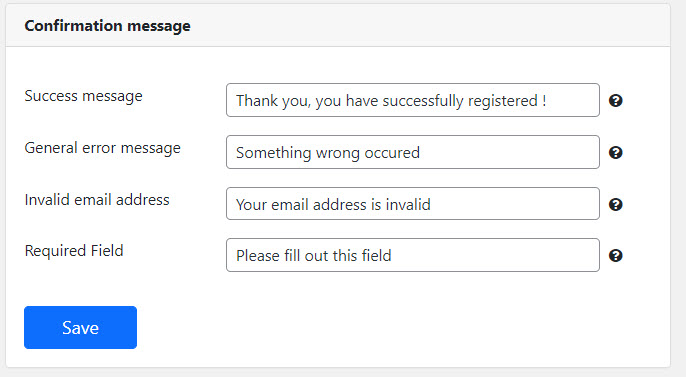
And you’re done with the form. Don’t forget to save it!
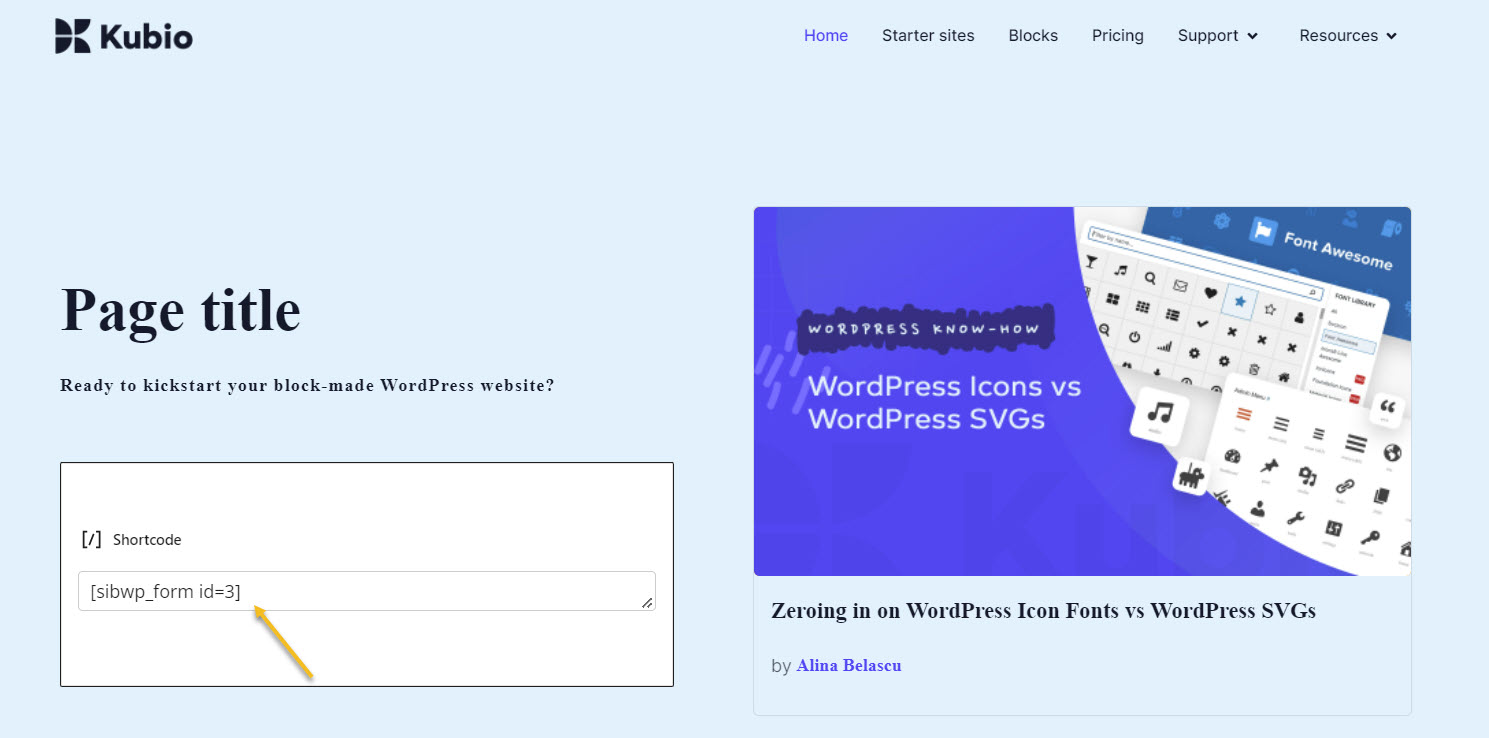
All that you have to do now is to place the form on a page or post.
Each form that you create will have its own shortcode. Just copy it wherever you want.
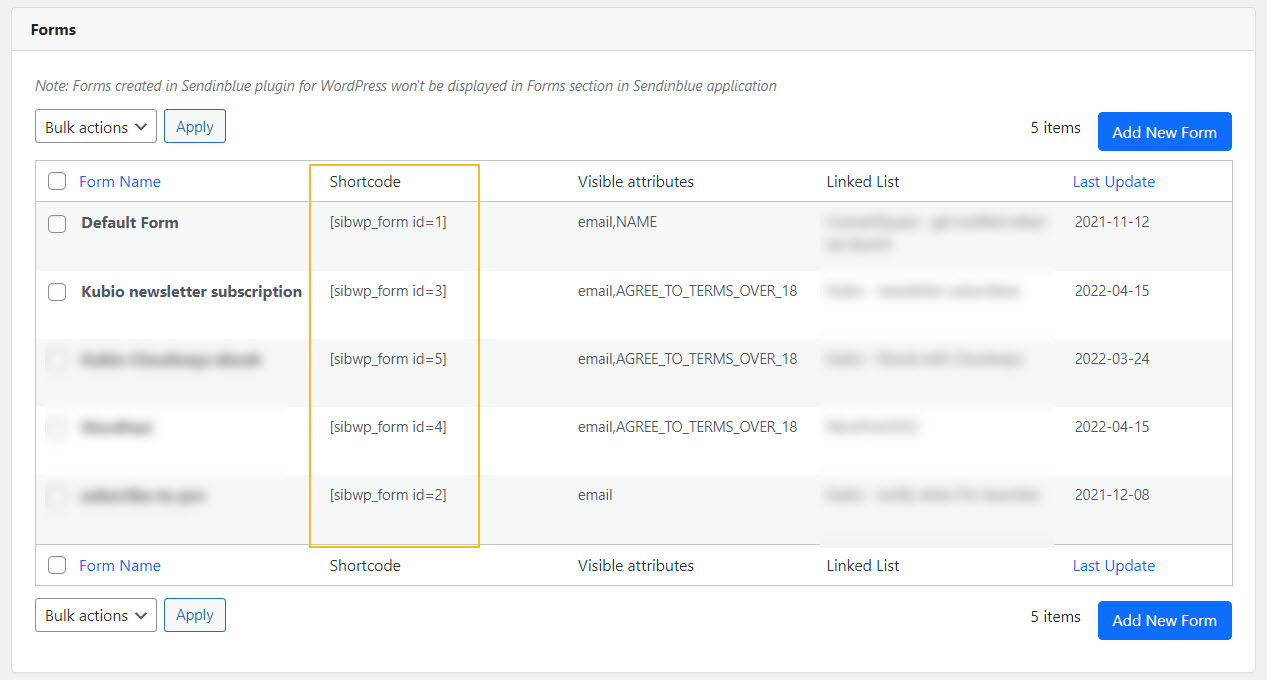
When you work with Gutenberg blocks, you can use the shortcode block. This is how we did it for Kubio.
Create an email in Sendinblue
Now, it’s time to go to Sendinblue to create the first newsletter campaign. Let’s take a look at the steps:
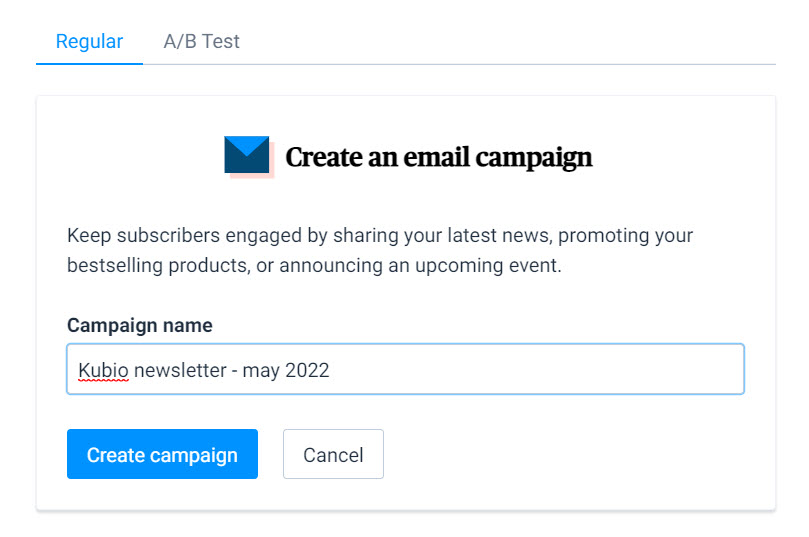
- Go to Campaigns -> Create an email campaign.
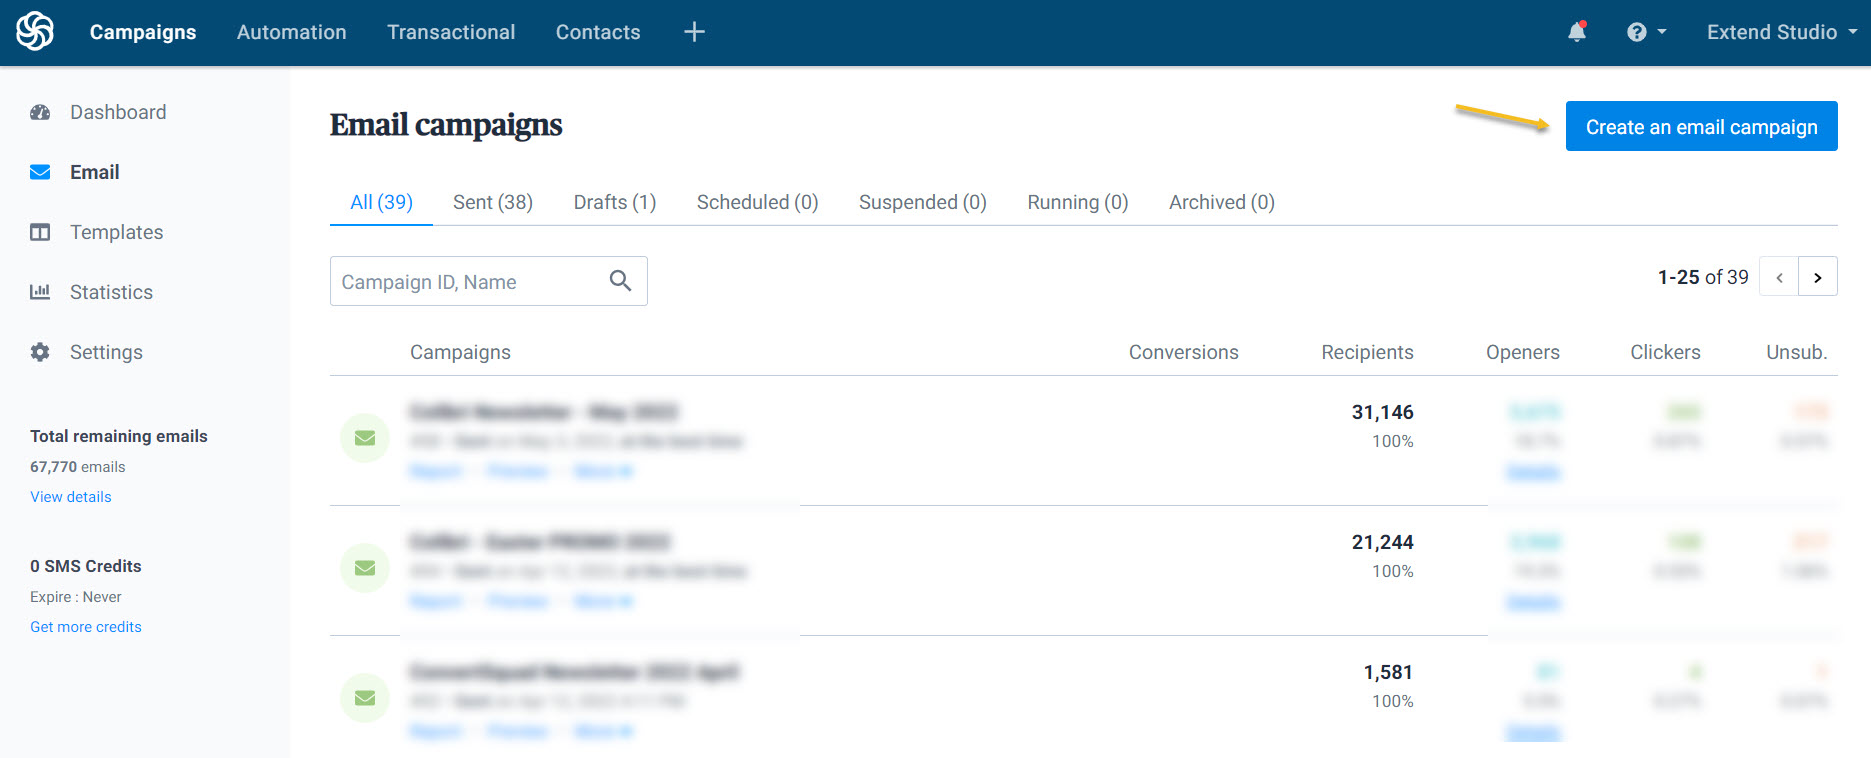
- Name the campaign and select “Create campaign”. I’m always making sure to state that this is a newsletter campaign. I also like to mention the date. You could figure out a template for naming campaigns.
- Choose the email sender, choose the list you want to send the campaign to, and add a subject line.

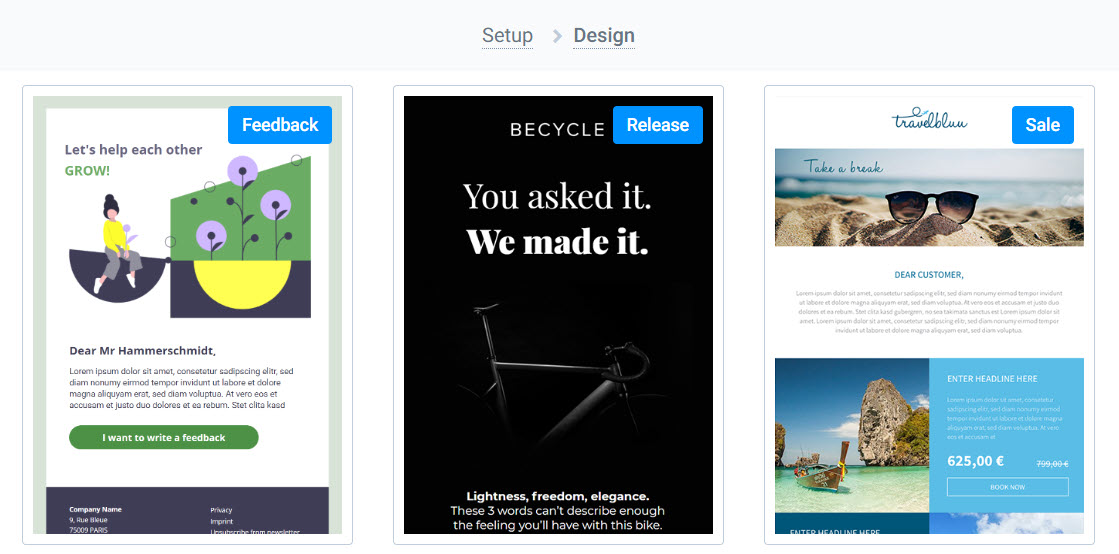
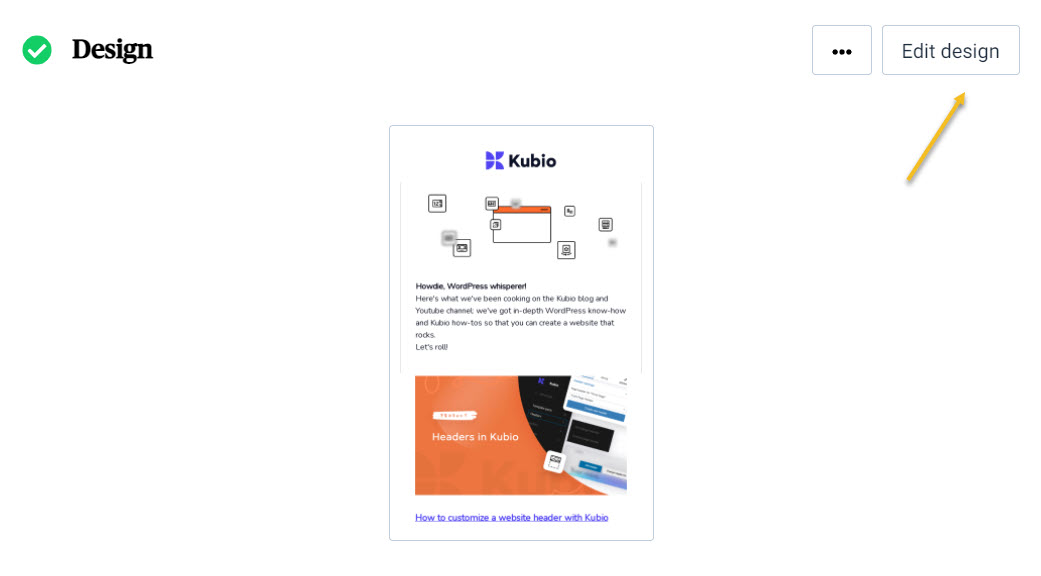
- Design the email. You could start from a predefined template, and then make further edits inside the editor. It’s intuitive, trust me.
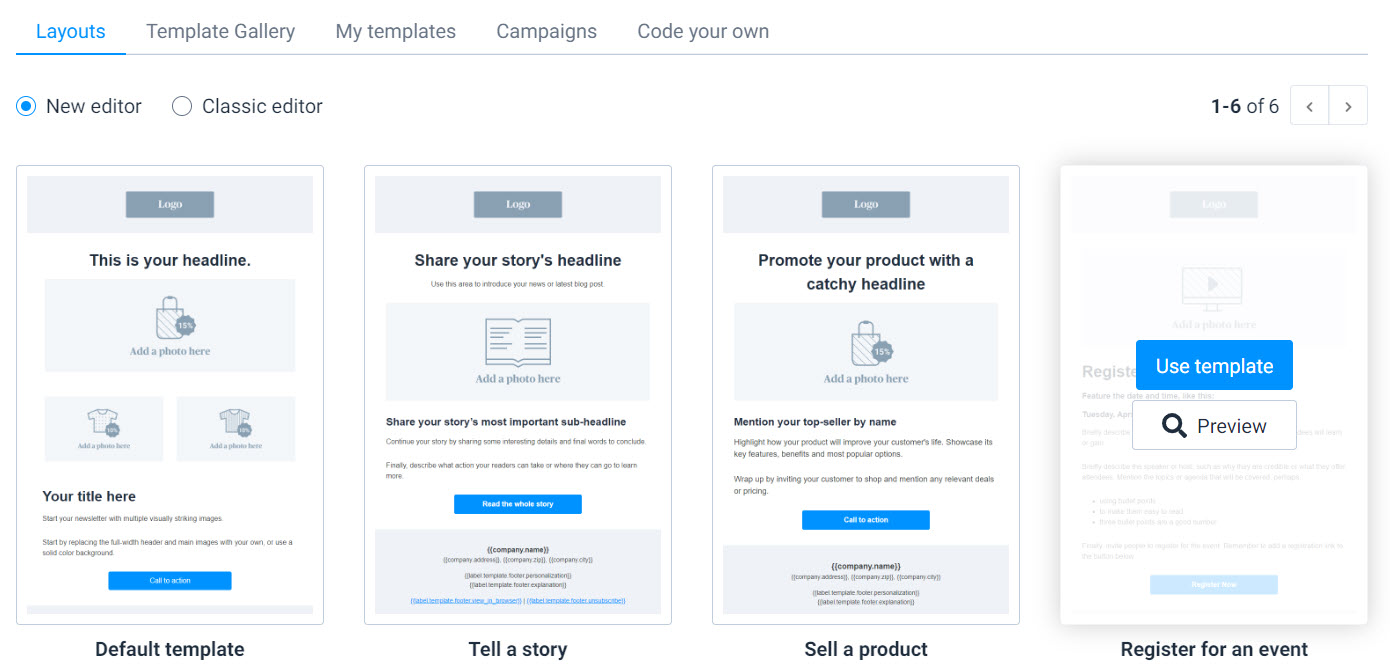
In Kubio we prefer to go with the “Code your own option” and just paste soome HTML there.
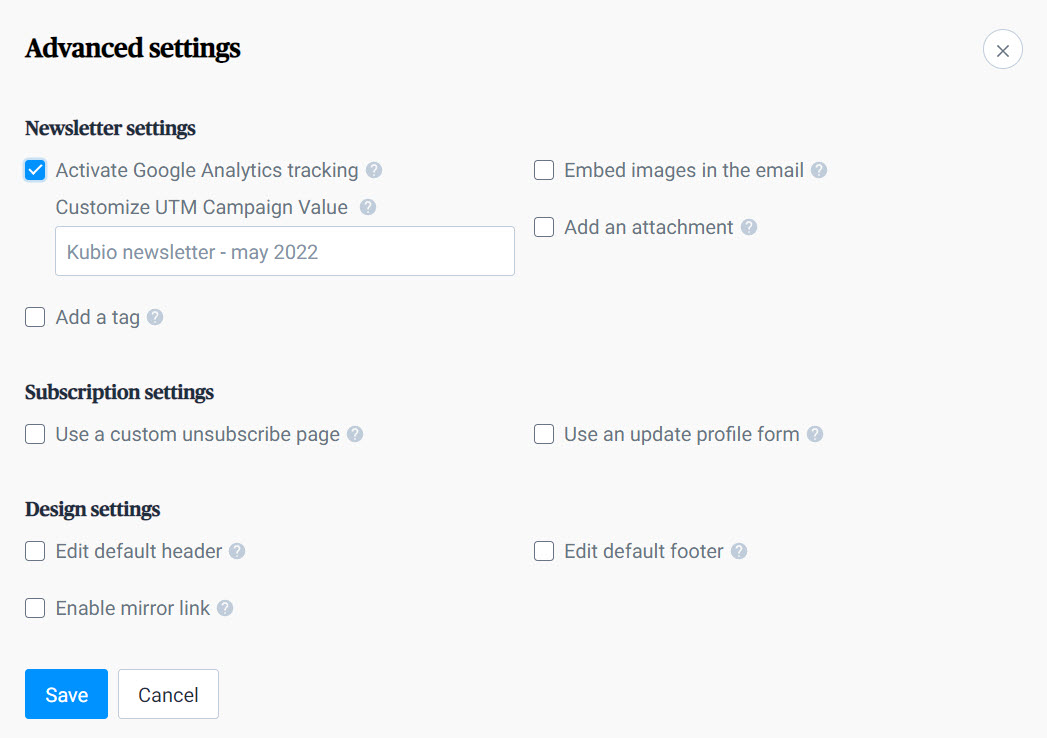
Other settings: from Analytics tracking to subscription settings. Here’s how you can connect Sendinblue with Google Analytics.
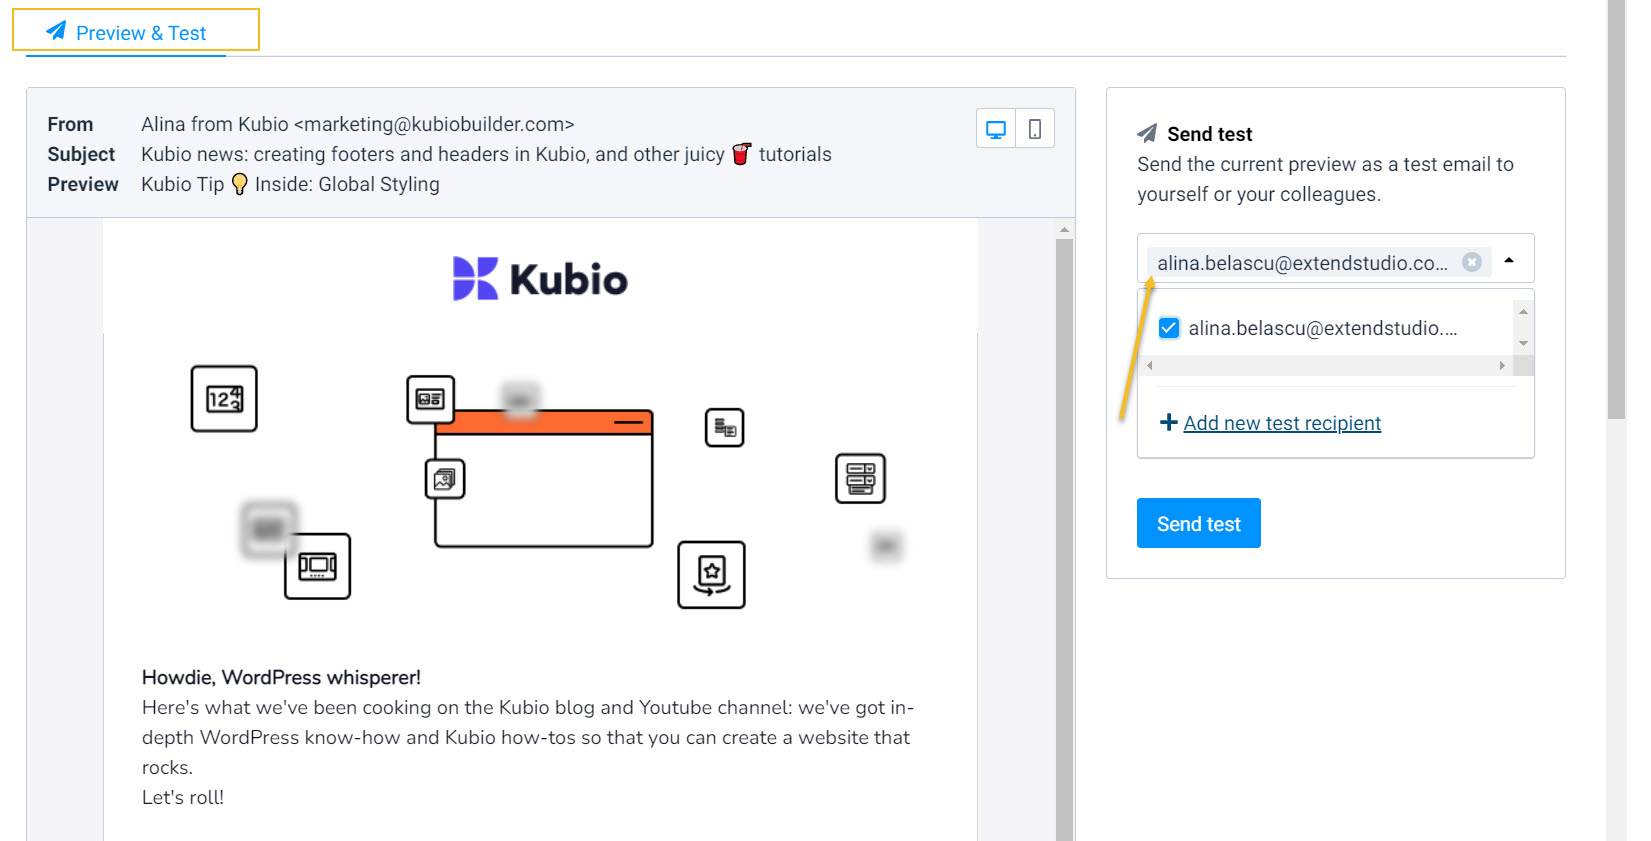
- Save, preview and test the mail. Don’t you ever send an email without testing it!

This means that you need to check the email’s design on desktop and mobile, and then send it to yourself. Make sure to check all the links inside.
- Schedule the newsletter for publishing
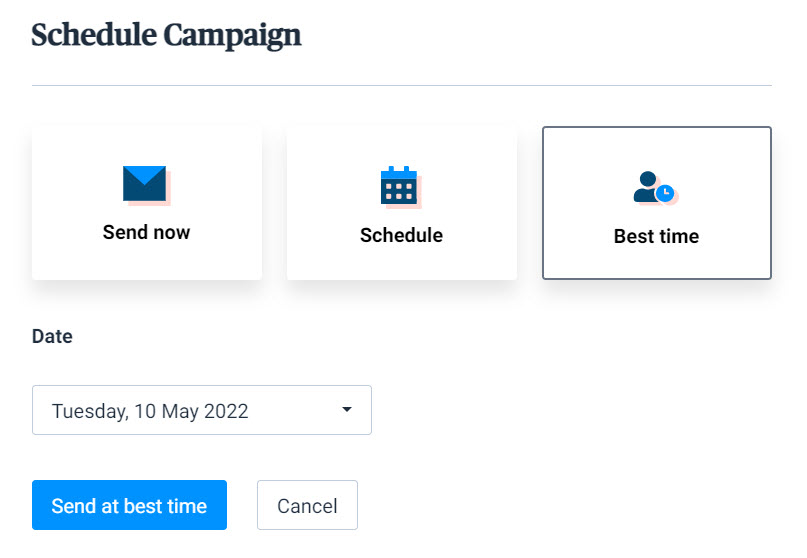
That was all!
Now, no matter the email tool you’re gonna use, the steps are kinda the same.
“Newsletters are dead”. Are they now? (Design and copy ideas)
There are some voices out there that say that newsletters are dead…
I say maybe..if you don’t use the right strategies.
Stats show that 99% of email users are checking their email daily, while 4 out of 5 marketers said they’d rather give up social media than email marketing. Emails are 40 times better at acquiring new customers than Facebook or Twitter. This means that email marketing is still an efficient way to connect with prospects and customers.
Now, how do you ensure your newsletter is as effective as it possibly can be?
Well, it’s time to talk about newsletter metrics, design, and copy.
So follow me.
Newsletter metrics
The average open rate for emails across all industries is 21.33% according to a massive study conducted by Mailchimp.
The study shows you other stats as well, segmented by industry. Check it out, because it shows real data from billions of emails, sent in campaigns that had at least 1,000 subscribers, across startups, SMBs, and Fortune 500 companies. Here’s a tiny sneak peek at these benchmarks:
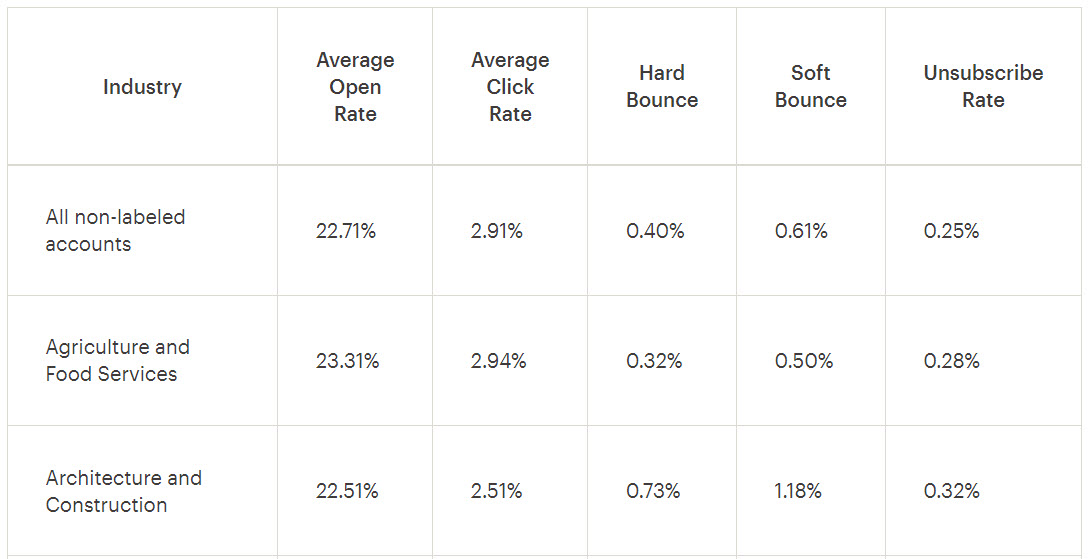
What does this mean for you? That you will need to monitor your open rates, and see where you stand. Based on that you start to optimize.
Now, the first thing email users see with regards to your email is the subject line. A subject line can make or break your open rates. They are crucial. And optimization should start from there.
As you’ve probably noticed, the tools I listed before have A/B testing as a feature, this means you can use it to understand which subject lines make your users tick and click. Here’s a case study on the topic, showing how content-specific newsletter subject lines out-performs generic subject lines.
Also, take a look at link clicks, and try to figure out which newsletter links get the most clicks, so that you can better adapt your content.
An average click through rate for newsletters is 2.51% according to GetResponse. But, take this with a grain of salt, because the industry matters.
Newsletter design best practices for non-designers
Visual hierarchy in newsletters
When you start to figure out the structure of your newsletter, you should remember that hierarchy is important.
There are several patterns that can make your newsletter more readable, among which the Z and F patterns are the most popular.
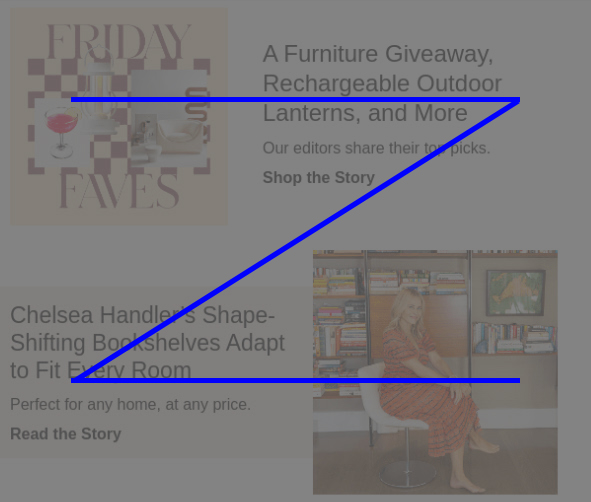
The Z-Pattern traces the path of your eyes when reading, which is left to right, top to bottom. This means that you should place the most important content in the newsletter across the Z line.

Here’s a newsletter example from Domino. See how the elements that most draw the attention are placed in a Z shape?
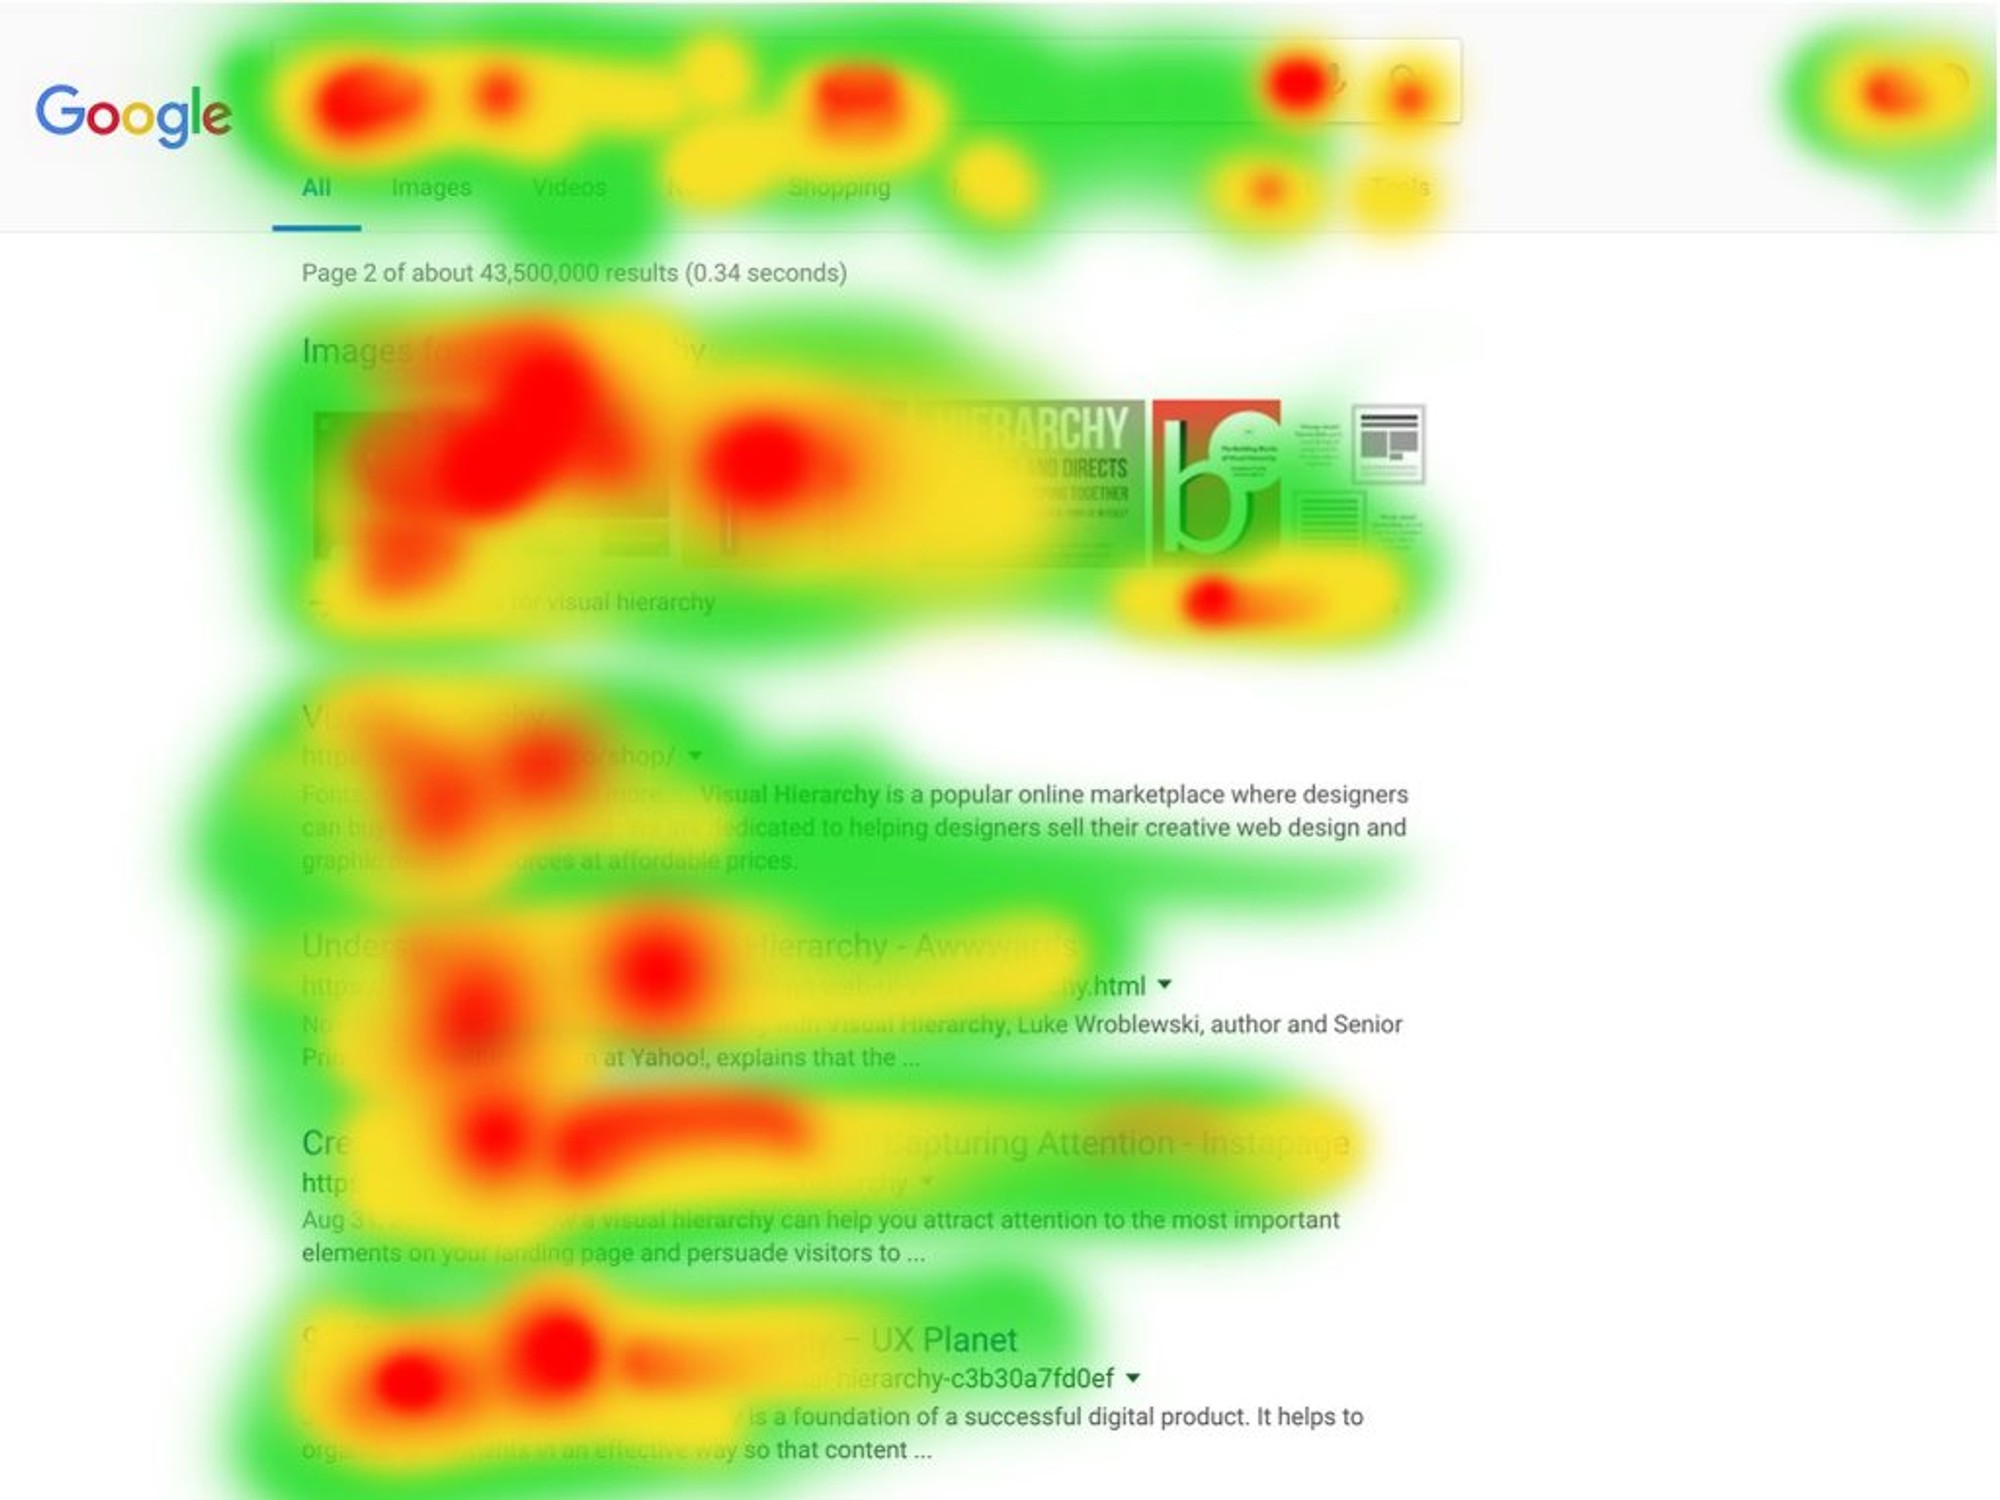
The F-pattern literally shows how people read a website.
We read content left to right, then back to the left. But, because we love skimming, we will not end up reading whole lines. This is why F comes from “fast”. This shape was discovered by Nielsen, in an eye tracking study.
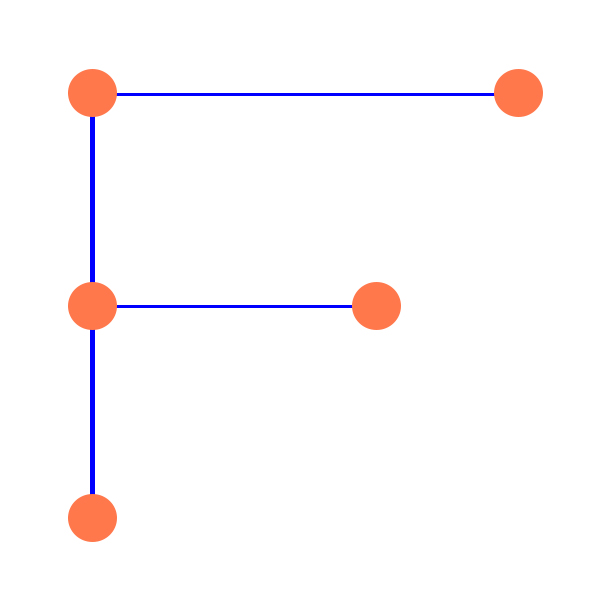
The F pattern is also used in the Google search engine.
The right newsletter colors
You should go with the colors that reflect your brand, and make sure that the contrast is ok, allowing readers to understand your message.
Now, you probably have a brand color palette, but, if you want to explore other colors, you can use a tool such as Coolors to grow the color palette with proper colors.
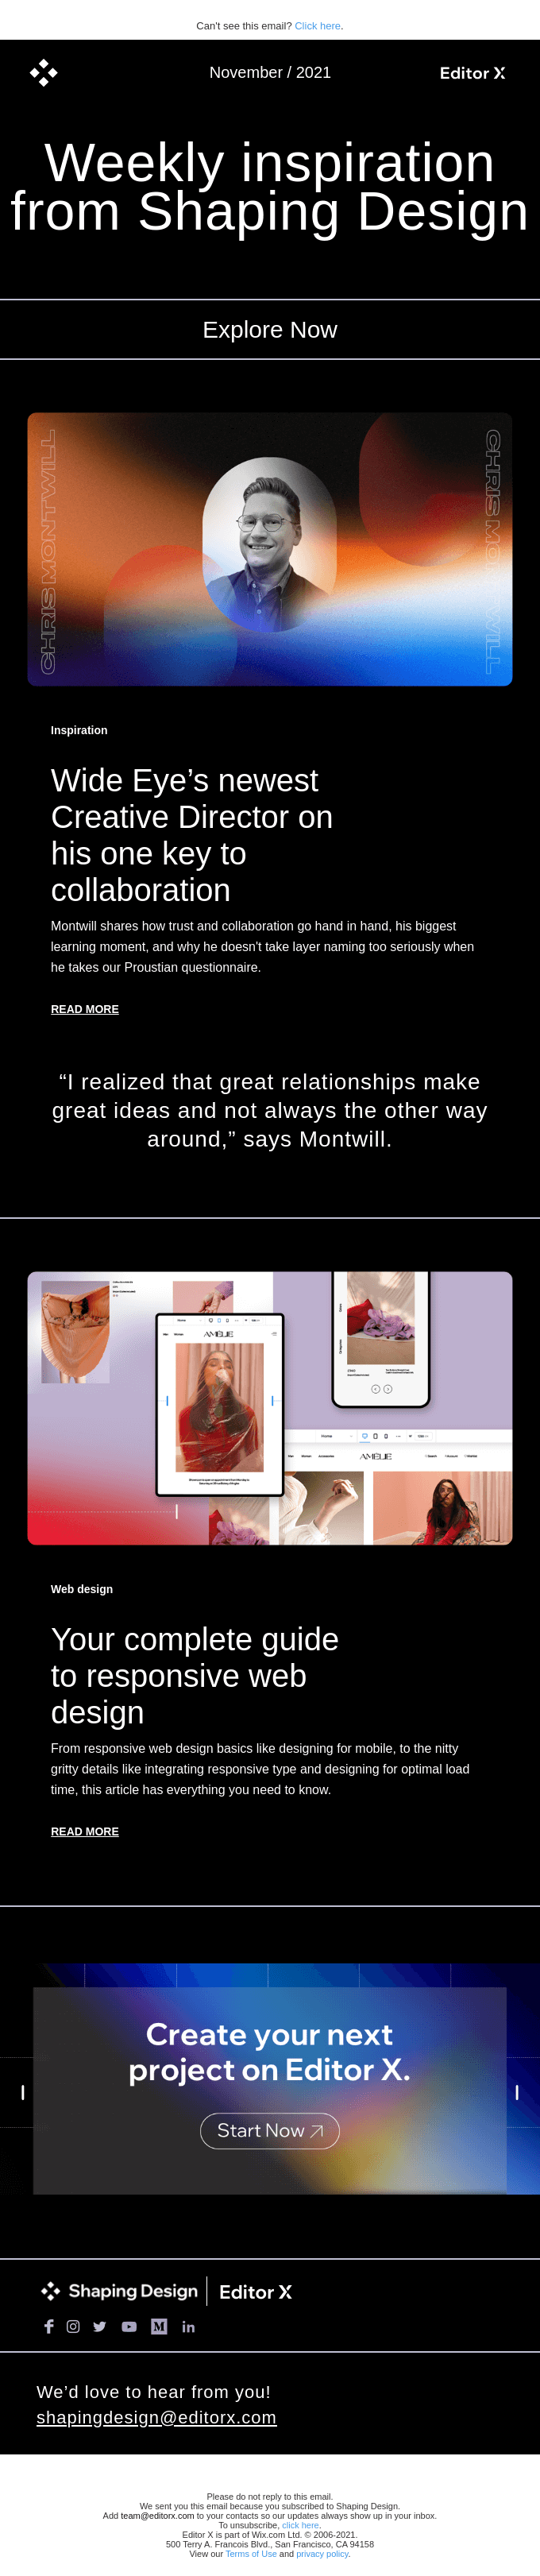
Now, be careful how you use those colors. You can get bold if you want, like the folks at Editor X, but also remember that a minimalist approach also works. Sometimes less is more.
Less is more: the power of whitespace
Because we all skim through content, we need to use design elements that give the impression that an email is easy to read. This is where white space comes in. It helps your newsletter look less visually overwhelming.
For example, I just love the Headspace emails. They stick to their promise: relaxing the world. And I haven’t seen emails more visually-relaxing than theirs.
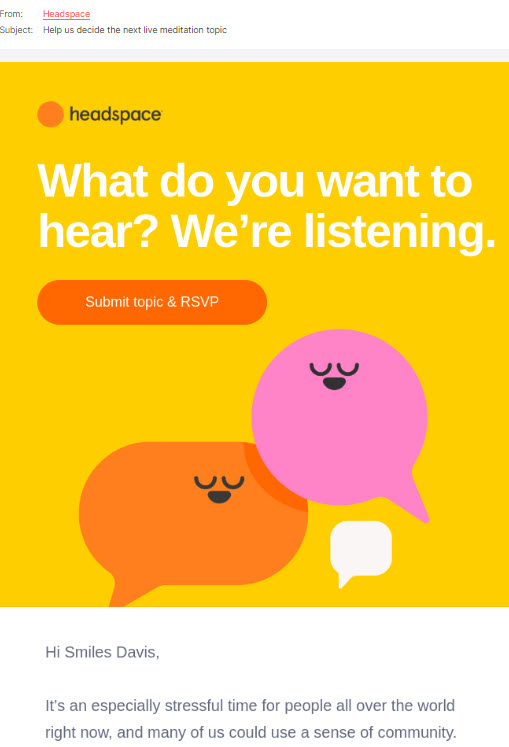
A warm color palette combined with lots of whitespace, and illustrations that just breathe, are the recipe for good newsletter design by Headspace.
Careful with your font choices
I love discovering new fonts. And I truly understand the temptation of using fancy fonts on a website or inside a mail. But not all that glitters is gold.
When it comes to your newsletter font you should know that you might need to find something different from the one you use on your site. Why so? Some fonts won’t always display correctly in all email clients. And when this happens, a different font will end up being shown, that might mess up your tone and readability.
So, in order to stay on the safe side, you need to stick to email-safe fonts. And here they are: Arial, Trebuchet, Verdana, Lucida, Times New Roman, Tahoma, Georgia. I know, none of them are sexy.
Newsletter copywriting tips
Newsletter copywriting should focus on engaging your audience and convincing them to take action (watch a video, read an article, buy something, etc).
You can use WordPress newsletters to:
- Inform subscribers about a new product, or some new product features,
- Share resources with the readers: articles, tutorials, guides, etc.
- Announce promotions,
- Celebrate milestones,
and more.
Now, there are three main elements that you should focus on when doing copywriting: subject line, body and call to action.
In order to nail copywriting, you will need to go to your audience, and understand their needs. What info would they need? What info would they find useful, or engaging? Take a look at how your desired audience engages with competition in social media, subscribe to the competition newsletters. This will five you plenty of insights.
Next, you need to create newsletter content that will meet both your goals and your audience goals.
Take a look at how Headspace creates engagement with the audience:
They involve their community in product decisions, and allow them to suggest medication topics. Yeah, they’re nailing it.
Now, here are some quick tips for newsletter copywriting:
- Add your readers’ names at the start of the newsletter (e.g “Hi, John!). You can do this in your subset line as well.
- Use relevant emojis in the subject line. It will make your email stand out among other emails.
- Don’t go with general subject lines. In the Headspace example above the subject line was short and to the point: “Help us decide the next live meditation topic”.
- Use a more conversational tone throughout the body copy.
- If you’re doing a promotion, try to use FOMO strategies.
Over and out!
Wrapping up
Creating a WordPress newsletter isn’t something I might call easy…
But under proper guidance, you can send out your first newsletter in less than a day. The next ones will take only a couple of hours.
Just follow the hints we provided in this article and you’ll do just fine!
If you liked this article, and want to have access to similar content, make sure to subscribe to our YouTube Channel. You can also follow us on Facebook.