Are you looking for a way to optimize WordPress images? Find out more in this article.
Optimizing images is a process of saving space without reducing the quality of the images. The process can be longer if the number of images is large and the respective images “weigh” a lot. Although the process may seem complex, it is quite easy. Nowadays, technology has progressed quite a lot, and now the process can be automated.
To optimize images in WordPress, you can use plugins and tools that automatically compress images. Usually, they reduce the size of images by up to 80% without losing visual quality.
An optimized image can be up to 75% smaller than the original, especially when we are talking about images for the online environment.
Optimizing images is recommended, and we find this recommendation both among tools that check the loading speed of websites and among specialists.
How does Image Optimization work
In simple terms, the optimization process uses technology that compresses the images, helping to reduce the space they occupy without noticing the loss of quality to the human eye.
The most important benefits of image optimization are the following:
decrease in site loading speed;
improving the SEO score;
improved sales conversion;
reduced consumption of used space;
reduced internet bandwidth consumption;
decrease in hosting and CDN costs;
faster backups.
Except for videos, images are the “heaviest” elements on a web page. They occupy around 21% of the “weight” of a website.
As we know that the loading speed of a site also matters in the search engine optimization (SEO) process, optimization should be done by everyone. Regardless of the type of website, this optimization can help you be successful on the Internet. According to some studies, a delay of one second in loading the site can cost you up to 7% of sales, 11% of views, and 16% of customer satisfaction. If these statistics are not important enough for you to get down to business, then you must know that Google offers preferential treatment to fast sites.
How to save space with image optimization
The key to a correct optimization regarding the use of images on the Internet is to find the balance between quality and space. You must know that we are not talking about optimizing images in general. Images dedicated to movies, photo albums, and so on should not be optimized, as they are used offline. Images used only on the Internet, displayed on websites, must be properly optimized. There are three elements that have a huge impact on optimization:
image format (JPEG, PNG, GIF);
compression (higher compression level = smaller file);
image dimensions (height and width);
By choosing the perfect combination between these three elements, you can reduce the “weight” of the image by up to 80%;

Image format
For most website owners, there are only three image extensions that matter: JPEG (JPG), PNG, and GIF. Choosing the right format has an important role in optimization.
Simply put, you want to use JPEG for images with many colors, PNG for simple images or with transparent backgrounds, and GIF for animated images.
PNG is an uncompressed format that offers superior image quality. The problem is their too large size. On the other hand, JPEG is a compressed format and slightly reduces the quality of the images. Thus, JPEG images take up less space on the server that hosts you. GIFs use only 256 colors and are also compressed images. They are perfect for animated images.
Runtime
There are several levels of image compression. Each level is defined by the tool used for compression.
Most image editors, such as Adobe Photoshop, GIMP, Affinity Photo, and On1 Photo, have their own image compression function.
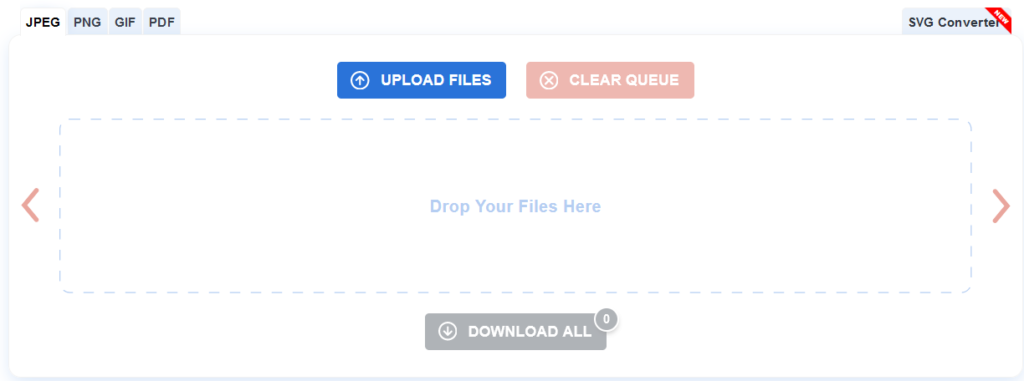
You can save images on your computer and then use an online tool such as TinyPNG or JPEG Mini for easy compression.
These two methods help you optimize images before uploading them to WordPress. However, there are also WordPress plugins that help you optimize them automatically once they are loaded. Many people prefer using these plugins. Among them are Smush, Optimole, EWWW, and Image Optimizer.
Image sizes
Normally, when you import a photo from your phone or digital camera, it has a very high resolution and very large dimensions. These photos have at least a resolution of 300 dpi and a size starting from 2000 pixels. They are perfect for printing or using on a computer. They are not suitable for display in the online space.
Reducing the dimensions (height and width) will automatically reduce the “weight” of the image. You can use the Resize function using an image editor on your computer.
For example, I optimized a photo of 1.8 MB, 300 DPI resolution, and 4900 x 3200 pixels. I chose the JPEG format for better compression and resized the photo to 1200 x 795 pixels, reducing the image to 103 KB. 94% of the weight of the original photo has been lost.
Editors and tools for image optimization
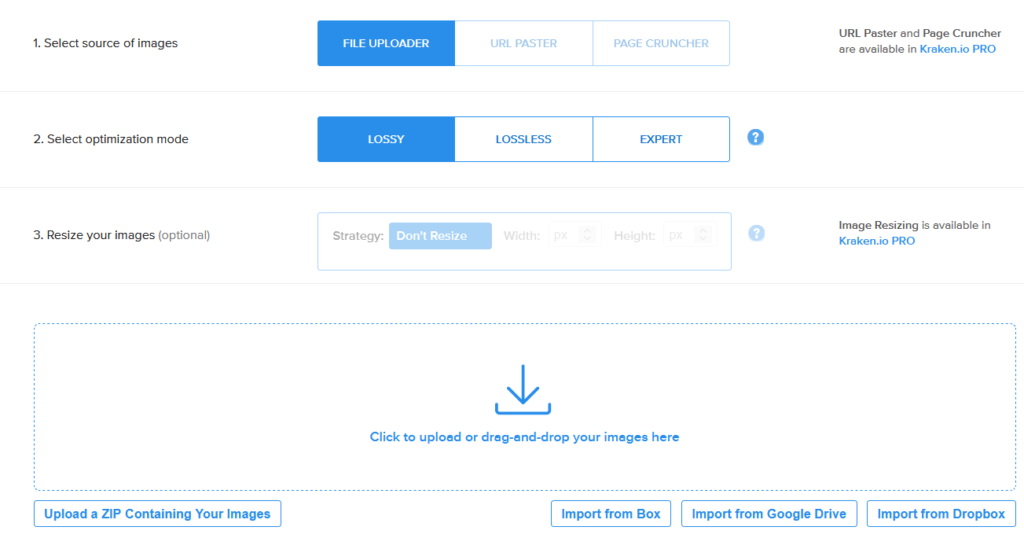
I previously mentioned several image editors, but also online tools, and WordPress plugins that can optimize images. We recommend using tools that help you optimize before uploading to WordPress. This way, you save space faster on the server that hosts your website.
Adobe Photoshop is the most popular image editor. It is a licensed one, so it is not free. It also has a compression function to save images so that they are optimized for the web. Simply, you use the specific save function, after which you choose the image format and different quality options, if there are any for that format. You can also see the dimensions, but also the “weight” of the image.
Gimp is another popular image editor, probably the most popular free editor. It is a beloved alternative to Adobe Photoshop. It can be used for web optimization of images, but it does not have as many options as Photoshop. Once the image is opened in GIMP, you must export it as a JPEG to compress it.
TynyPNG is a free online tool that helps you reduce the size of PNG images. You just need to access the website and upload the PNG or JPEG files for compression. There is also a WordPress plugin and an extension for Adobe Photoshop of this service.
Feel free to check the rest of our articles on our blog or watch Kubio tutorials on Youtube.


