
Want to add custom fonts in WordPress? Custom fonts allow you to freshen up and make your design stand out. In this article, we will show you how to add custom fonts in WordPress using Google’s Fonts method, TypeKit, and CSS3 @Font-Face.
Using custom fonts in WordPress themes has become a general trend. In fact, there are some themes that come fully loaded with hundreds of custom fonts. However, loading too many fonts can slow down your website. That’s why we’re going to show you how to properly load custom fonts so your website doesn’t slow down.
The right font not only increases the readability of a website, but also the reading pleasure in general. Because fonts often have a high recognition value, they also play an important role in marketing. We will show you what is important.
Choosing the right font is very important for the overall design of a website. It contributes significantly to the appearance and legibility. Anyone designing their own website should therefore definitely think about the fonts at an early stage.
When designing a website, a barrier-free reading flow for the visitor should be one of the top priorities. The more readable the text is, the easier it is for people with impaired vision or dyslexia to cope with it. But even for people without visual impairments, the displayed fonts can have different effects on the reading experience. Because a font that is inviting and as easy to read as possible can make all the difference, especially when reading on a digital screen. When it comes to design, the rule of thumb is, for example, that strong contrasts and – in the case of scrolling text – left-justification increase legibility.
Web fonts provide an individual touch
Some of the most well-known fonts such as Arial , Verdana or Times New Roman are pre-installed on computers with Windows or Mac operating systems and in the most common browsers. Such pre-installed fonts are called “web-safe fonts”, but the terms “system fonts” or “browser fonts” are also common. An exception is the Android operating system, which manages entirely without web-safe fonts.
Web-safe fonts have the advantage that they are already available on almost all devices and browsers and always look exactly the same. However, because they are used on many websites and are also used for text documents, they lack individual charisma. For applications where originality is required (e.g. for marketing and branding purposes), system fonts are therefore usually unsuitable and therefore rarely in demand.
If you want to make your own website more personal and increase its recognition value, you should use fonts that have been individually designed by designers. In technical jargon, such fonts are called web fonts . Many content management systems (CMS) come with a set of pre-installed web fonts that are easy to use.
But before we look at how to add custom fonts in WordPress, let’s first look at finding custom fonts.
How to find custom fonts to use in WordPress
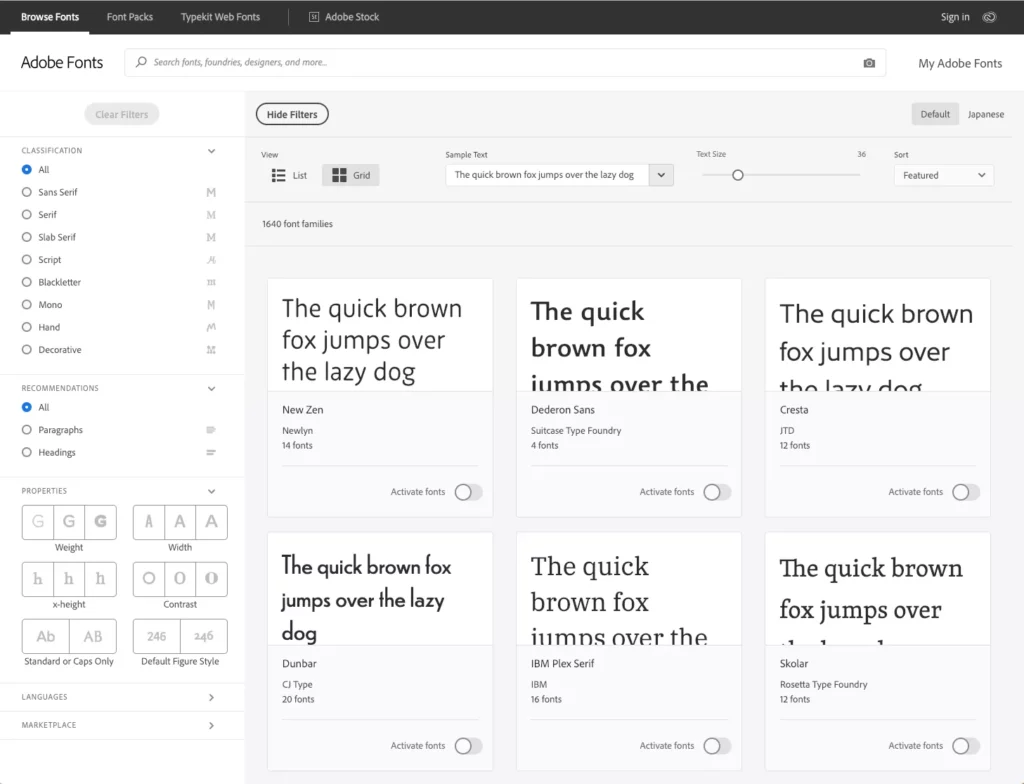
Fonts used to be expensive, but not anymore. There are many places where you can find free web fonts such as Google Fonts, Typekit, FontSquirrel, and fonts.com.
If you don’t know how to mix fonts, try Font Pair. Designers can combine beautiful Google fonts together.
When choosing your fonts, remember that using too many custom fonts will slow down your website. For this reason, you should choose two fonts and use them throughout your design. This also leads to consistency in your design.
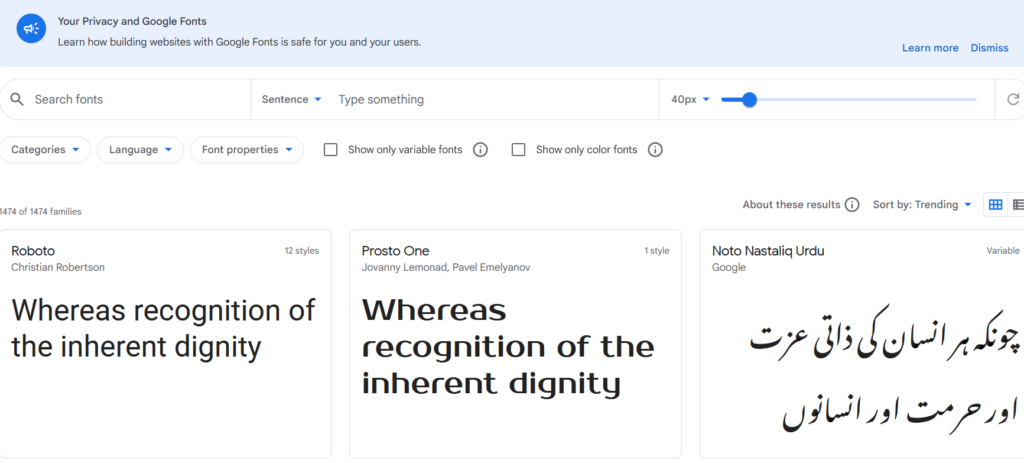
Google Fonts is the largest, free and most used font library among website developers. There are several ways to add and use Google Fonts in WordPress.
Method 1: Add Custom Fonts Using Easy Google Fonts Plugin
If you want to add Google Fonts and use them on your website, this method is by far the easiest and recommended method for beginners.
First you need to install and activate the Easy Google Fonts plugin. Check out our step-by-step guide to installing a WordPress plugin for more information.
After activation, you can go to Appearance » Customizer page. This will open the live theme customizer interface where you will see the new Typography section.

Clicking on Typography will bring up different areas of your website where you can apply Google Fonts. Click “Edit Font” below the section you want to edit.
Under the font families section, you can choose any Google font you want to use on your website. You can also choose the font style, font size, padding, border and more.
Depending on your theme, the number of sections here may be limited, and you may not be able to directly change the font choices for many different areas of your site.
To fix this, you can also use the plugin to create your own controls and use them to change fonts on your website.
First you need to visit Settings » Google Fonts and give a name for your font control. Use something that will help you quickly understand where you use this font control.
Click the “Create font control” button and you will be prompted to enter CSS selectors. You can add HTML elements you want to target (e.g. h1, h2, p, blockquote) or use CSS classes. You can use the Inspect tool to find out which CSS classes are used by the specific area you want to change.
Now click the “Save font control” button to save your settings. You can create as many font controllers as you want for different areas of your website.
To use these font controllers, you need to go to Appearance » Customizer and click on the Typography tab.
Under Typography you will now also see a ‘Theme Typography’ option. Clicking on it will bring up your custom controls that you created earlier. You can now just click the Edit button to select the fonts and appearance for this control.
Don’t forget to click the save or publish button to save the changes.
Method 2: Manually Adding Google Fonts in WordPress
This method requires you to add code to the WordPress theme files. If you haven’t already, check out our guide to copying and pasting code in WordPress.
First, go to the Google font library and select the font you want to use. Then click the quick use button under the font.
You will be taken to another page where you will be asked to choose the styles you want. You should only choose styles that you think you will actually use.
Then scroll down a bit until you get to the embedding code section. You need to copy the embed code under the default tab and paste it into the header.php file of your theme or child theme right after the tag.
That’s all you have successfully added to your WordPress site.
You can use this font in your stylesheet like this:
.h1 site-title font-family: ‘Open Sans’, Arial, sans serif;
For detailed instructions, see our guide to adding Google fonts to WordPress themes.
Adding Custom Fonts in WordPress Using Typekit
Typekit is another free and premium resource for awesome fonts to use in your design projects. They have a paid subscription as well as a limited free subscription that you can use.
Just sign up for a Typekit account and create a new kit.
Next you need to choose a font from the Typekit library and add it to your kit. After that, get the embed code for your kit and go to the admin panel of your WordPress site.

Now you need to install and activate the Typekit Fonts for WordPress plugin. Once activated, simply visit Settings » Typekit Fonts and paste the embed code on the plugin’s settings page.
That’s all, you can now use the Typekit font you selected in your WordPress theme’s stylesheet:
h1 .site-title font-family: ‘modesto-condensed’, Arial sans serif;
For more detailed instructions, check out our tutorial on how to add awesome typography in WordPress with Typekit.
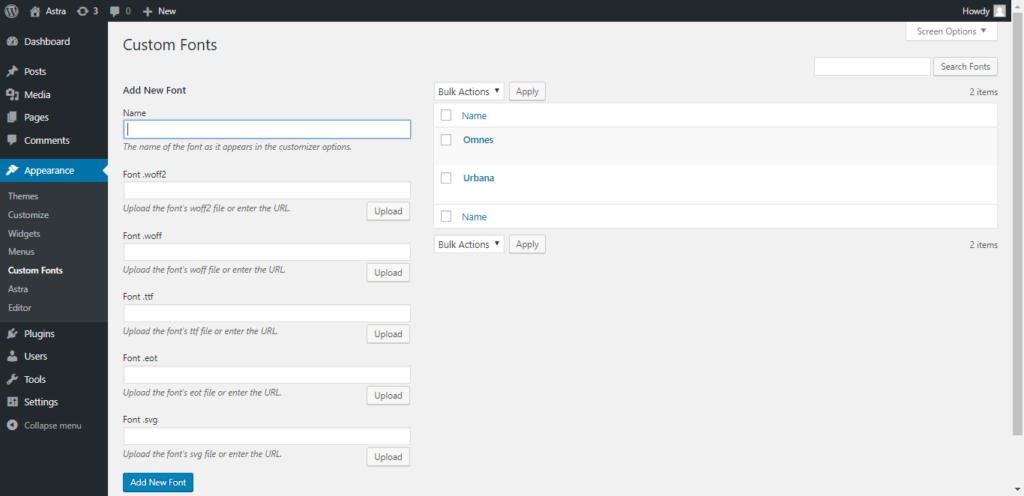
Adding Custom Fonts in WordPress Using CSS3 @font-face
The most direct way to add custom fonts in WordPress is adding the fonts using CSS3 @Schriftartmethod. With this method, you can use any font on your website.
The first thing you need to do is download the font you want in a web format. If you don’t have the web format for your font, you can convert it using the FontSquirrel webfont generator.
Once you have the webfont files, you need to upload them to your web hosting server.
The best place to upload the fonts is in a new “Fonts” folder in your theme or child theme directory.
You can upload the font using your cPanel’s FTP or file manager.
After you’ve uploaded the font, you need to load it into your theme’s stylesheet using the CSS3 @font-face rule, like this:
@font-face font-family: Arvo; src: url (http://www.example.com/wp-content/themes/your-theme/fonts/Arvo-Regular.ttf); font weight: normal;
Don’t forget to replace the font family and URL with your own.
After that, you can use this font anywhere in your theme’s stylesheet like this:
.h1 site-title font-family: “Arvo”, Arial sans serif;
Loading fonts directly with CSS3 @font-face is not always the best solution. If you’re using a font from Google Fonts or Typekit, it’s best to serve the font directly from the server for best performance.
We hope this article helped you add custom fonts in WordPress. You might also want to check out our guide on using icon fonts in WordPress and changing font size in WordPress.
Feel free to check the rest of our articles on our blog or watch Kubio tutorials on Youtube.