
Did you know that WordPress has a prebuilt feature to create multiple sites using the same installation?
A WordPress multisite is mainly used by businesses, schools, and blogs that want to run separate sites but want management under the same standard dashboard.
This article aims to educate you about the installation and management of a WordPress multisite.
This is a trendy feature and is desired by developers.
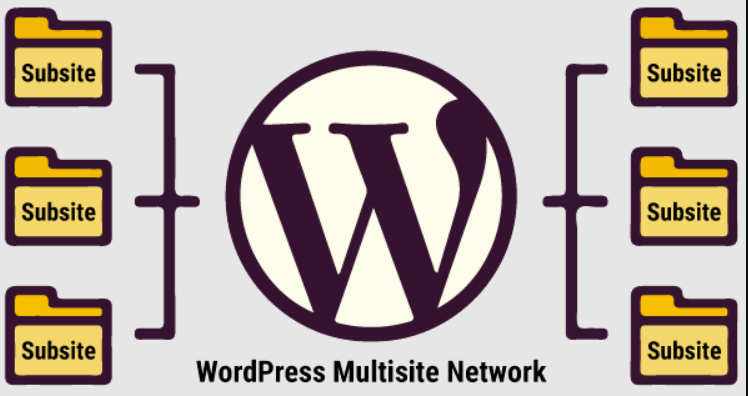
What is a WordPress multisite?
It is a feature that allows us to develop and run several WordPress sites from a common dashboard. A few years ago, it was called WordPress Multi-User. You can use this feature for various purposes, such as – simultaneous updates with a single click.
Here are some advantages of WordPress multisite
There are several situations in which it is good to use this feature. Among these situations, we need to manage several websites from the same common dashboard.
Another great advantage is that each site has a unique admin who can manage it.
The third advantage of WordPress Multisite is the fact that it allows us to update the plugin much more quickly.
Why do you need a WordPress multisite?
When we want to install/use this feature, it is a question that comes to mind.
Well, if you run a store site that has several sections managed by different teams.
You have several subdomains like the blog, demos, etc.
You have a business that has subsites on various product categories / geographical areas and countries.
Key requirements for a WordPress Multisite
It is essential to understand what are the key requirements when you want to install this feature in WordPress.
The first requirement is that your hosting allows you to manage several domains in a single hosting package. Sometimes you don’t really need a VPN for this feature; you can even use shared hosting for sites with low traffic/activity, but hosting experts recommend purchasing a VPN network.
Besides that, you need to know how to install WordPress correctly. After that, you need a backup and to deactivate the already installed plugins.
After that, you have to make sure that you have access to the server via FTP. Again, it would help if you had basic know-how for editing and using files via FTP.
You can add new sites on a WordPress multisite network using subdomains or sub-directories.
Example of a subdomain:
http://site2.example.com
Example of sub-directory:
http://example.com/site2/
If you want to use subdomains, then you must configure Wildcard subdomains in the hosting part.
How you can set up Wildcard subdomains
Now it depends on the hosting service used; the cPanel dashboard may vary a little, but don’t worry because the structure is almost similar regardless of the hosting provider.
First, you must log in to the cPanel section of your server, then go to the domains section and click on subdomains.
Here you can create your subdomain very easily.
A multisite WordPress allows you to set different domains for each individual website that is part of the multisite network.

To set custom domains, you must use the mapping feature and update the nameservers in the domain registrar account.
How to enable the WordPress Multisite Network Feature
You should know that WordPress comes with the Multisite Network feature already installed. So you have to install WordPress usually, then activate this feature.
To activate Multisite, you must connect to the FTP client or cPanel and look for the file wp-config.php.
Click on the edit button and add the following line of code:
/* Multisite */
define( ‘WP_ALLOW_MULTISITE’, true );
After adding the above code to the wp-config.php file, you can hit save.
This code directly installs the multisite feature in WordPress. After this step, you still need to activate the feature.
The first time you have to deactivate all the installed plugins.
You can now head over to Tools » Network Setup page to configure your multisite network.
After this step, you will see a notification in the WordPress dashboard telling you which Apache’s mod_rewrite module is installed on servers.
Now I have to tell WordPress what type of domain structure you will use in the sites in your network. For example, sub-directories or subdomains.
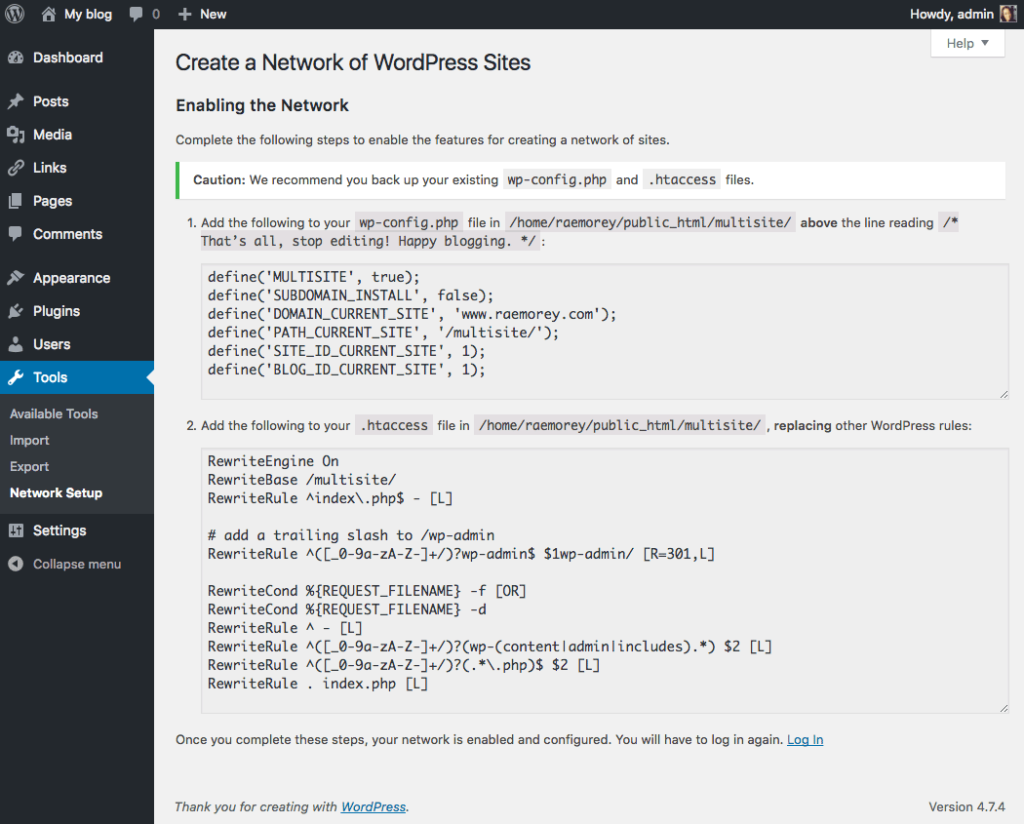
After that, suitable titles for each network must be added.
Click the install button to continue.
How to configure Network settings
Good. Congratulations! You have now set up the multisite network – but there is one more step, we must configure it correctly.
Go to the dashboard and here click on Network Dashboard to change the settings, add new sites, and other useful configurations.
Here you will see new menu items for multisite networks. See the Right Now section – which allows you to create a new site and add new users.
To configure network settings, you must click on the settings button in the admin sidebar.
Here the first option in the network setting is to set your site name and admin email address.
In the section called “Registration Settings” you will set some important elements.
By default, both user and site registrations are disabled on the network.
You can choose to open your site for user registration, allow existing users to create new sites, or allow both user and site registration.
If you want the multisite network to be open for registrations, you can check the “Registration Notification” section – this allows you to receive notification emails every time a new user or site is registered in your network.
The settings of a new site
This section allows you to configure the basic options for the sites that are created in your network.
You can very easily modify the welcome emails and contents of the post, page, and comments.
The plugin settings menu
Now that we have set the multisite options, we can go to the next step.
This option allows you to activate the administrative menu for the plugins section of your network of sites.
How to add other sites to the WordPress Multisite Network
To add a new site to the WordPress multisite network, you can click on Sites located under My Sites – Network Admin.
Here you will see a list of the sites installed in multisite.
To add a new site, click on Add New Site, where you must provide the web address of the new site.
After you have set the email address for the new site, you can click on Add Site.
How can you add Themes & plugins
You should know that the site administrator in the multisite network cannot install themes and plugins.
Only the network admin can install themes and plugins.
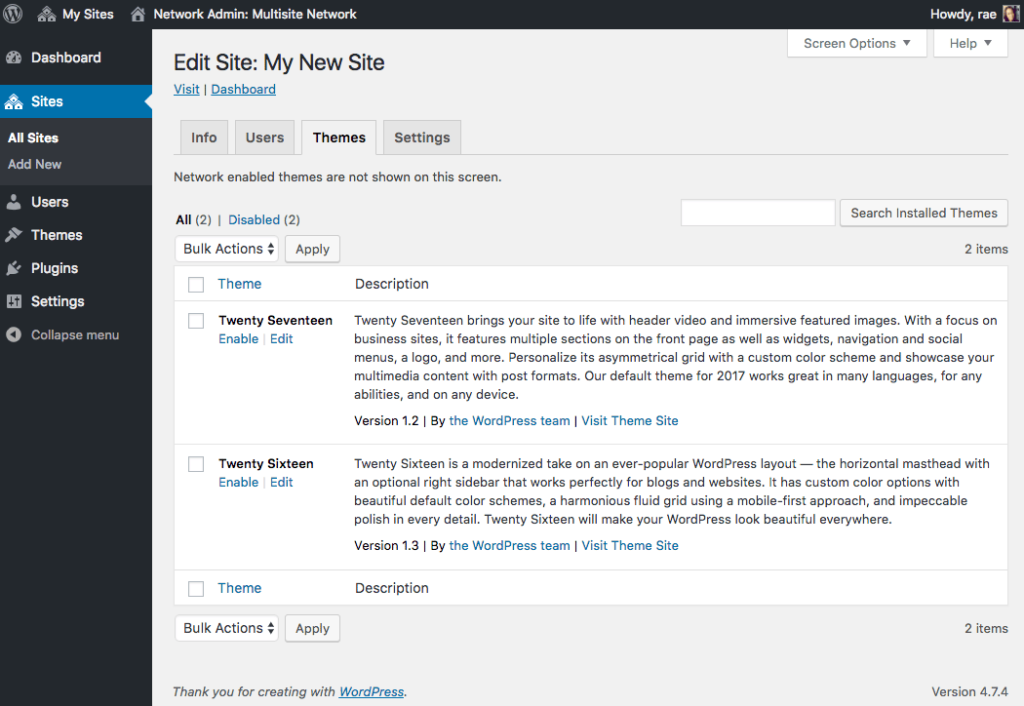
To add new themes, you must go to the My Sites section at the top of the dashboard. Then click on Network Admin and then on Themes.
Here you will see a complete list of all the themes installed in the multisite.
If you want to activate the option to make a theme valid on other sites, you can click on the Network Enable option that is under the theme.
To install a new theme on a website, you must click on the Add New button at the top of the screen.
How to add default content on Multisite websites
WordPress allows you to edit some default content for each site on your multisite network.
So you can go to the settings section, click the network setting and add content to the New Site Settings section.
Feel free to check the rest of our articles on our blog or watch Kubio tutorials on Youtube.