

What does WordPress full site editing mean?
Well, if sidebars, headers, and footers were managed separately in WordPress until recently, with WordPress 5.9, this changed.
Until January 25th, 2022, the block experience was affecting only the content of pages and posts in WordPress. Now, the full site editing features (or FSE) allow you to style your website from head to toe in a single block-based interface. So, blocks are a key concept of WordPress full site editing. We’ve written a thorough article on WordPress blocks here, make sure to check it out.
Blocks are now replacing the widgets most of us were used to, so whenever you enable a full site WordPress theme, you’ll no longer have access to them. The Customizer will also be missing. Both the widget and Customize menu links will be re-enabled in the dashboard when you activate a plugin that uses them. You can find the full site WordPress themes here when you filter for “full site”.

Right now, there are only 47 themes available, but the number is steadily growing.

Twenty Twenty-Two is the WordPress official full site theme, and it has over 100,000 active installs.
A second key concept for full site editing is the Global Styles Interface. The third concept of full site editing is the Site Editor. Here you can create post and page templates and structural blocks that you can use inside templates.
In this article, we’re going to go more in-depth with these last two concepts. So, follow me!
The WordPress Global Styles Interface
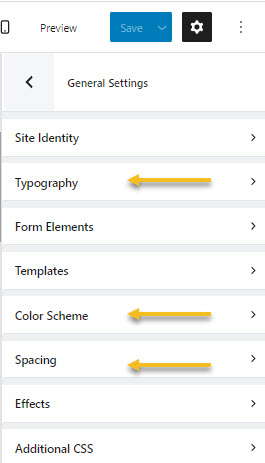
You can make changes to global styles if you head over to the upper-right of any page, then click on the black and white circle to access the features.
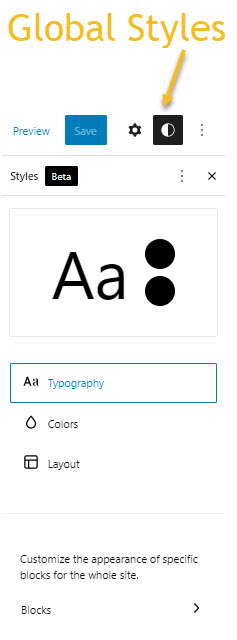
Here you can make changes to the site’s overall typography, colors, and layout, but as well to individual blocks.
Let’s take them one by one.
Global Typography
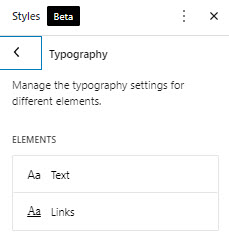
This option allows you to make the following typography changes with regards to text and links:
- Font family;
- Font size;
- Line height;
- Font appearance (bold, italic, etc).
The available font families might vary from theme to theme. With the Twenty Twenty-Two theme there are only two fonts available, while the Bricsy theme adds 5 more font families.

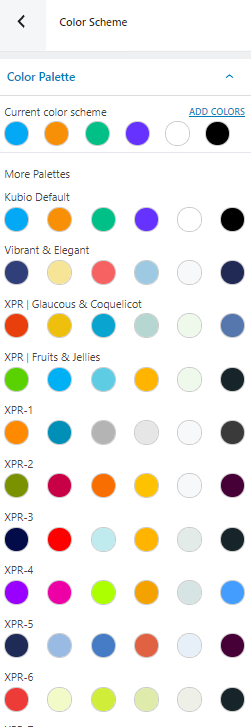
Global Colors
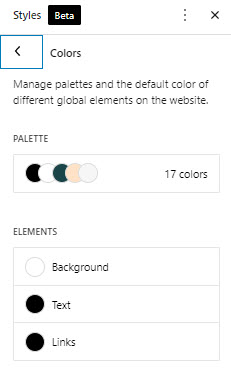
When it comes to global colors, you can make changes to text, links, and backgrounds. Each theme will provide a certain color palette, that you can customize. You can choose between solid and gradients colors.
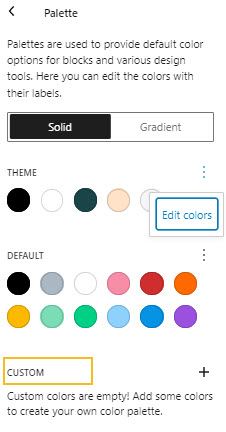
If you choose to edit the theme colors, you can select the colored circle that shows right next to the foreground, background, etc. You will open up a pop-up with a slider from where you can choose your desired color. You can toggle on the HEX option, and you can paste your own color code if you want.
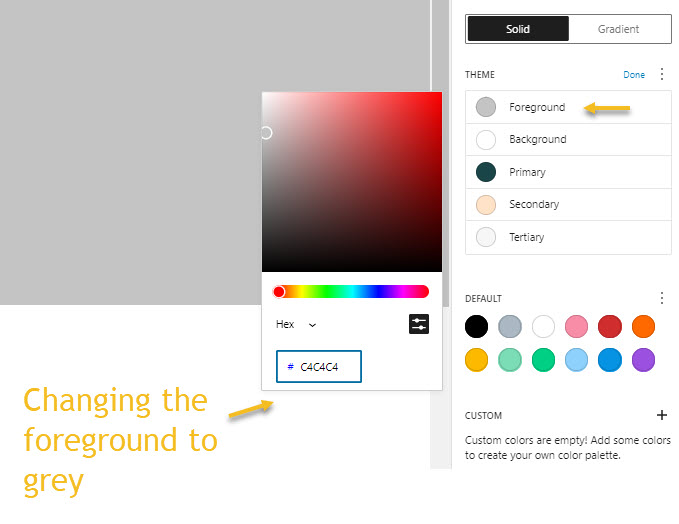
You can do the same for the default colors.
There’s also an option for you to create a color palette from scratch if you go for “Custom”. From the “+” sign you can define your own colors.

Global Layouts
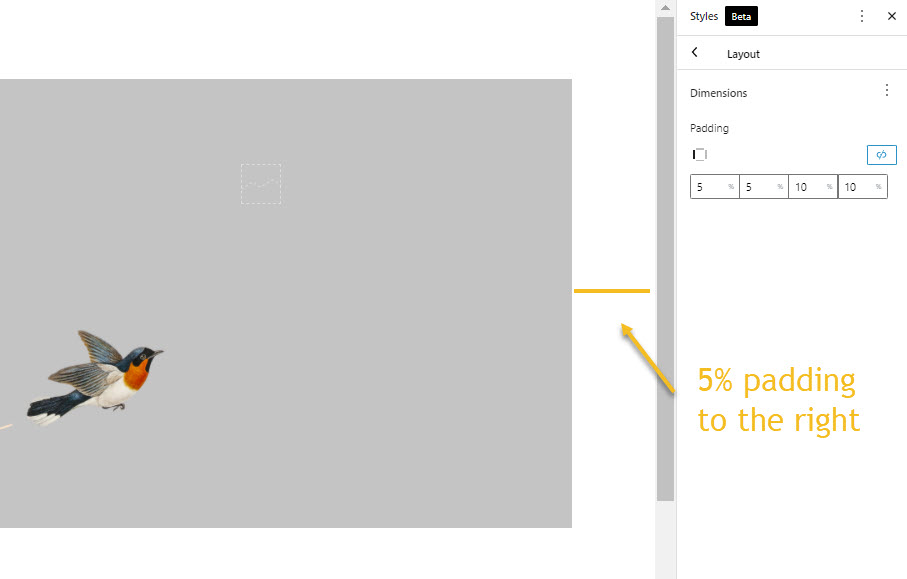
The layout feature lets you set up website spacing, aka paddings. The padding is the space that’s inside the element, between the element and the border. Padding goes around all four sides of the content, and you can set up different paddings for top, bottom, left, or right.
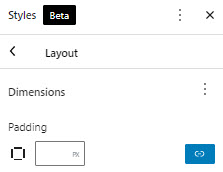
The default option lets you set up an equal padding on all sides. If you want to assign different paddings across sides, select the “Unlink sides” icon.
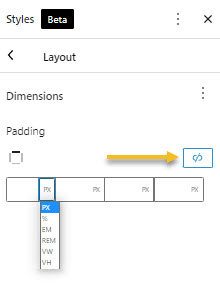
The tiny rectangle on the left will show you to which side you are making changes. Paddings can be expressed in percentages, pixels, ems, or rems. Here’s a resource that can help you understand the differences between these measurements.
Global Block Styling
When you click on the “Blocks” option you will see a list of blocks that you can choose from.
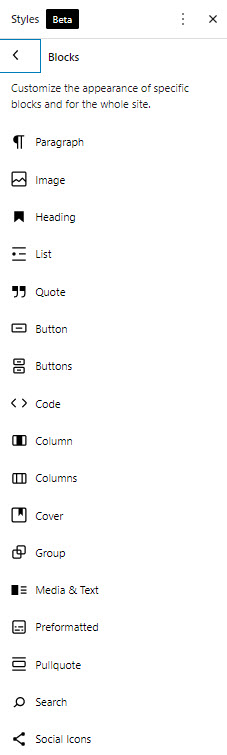
Depending on the block you select, you will be able to customize its typography, colors, or layout. For example, in the case of the button block, you can make changes to all three of them.

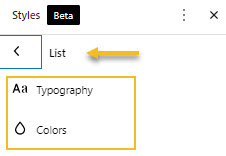
In the case of the list block, you can style the typography and colors.
The process of making color, typography, or layout changes is described above.
As you could notice by now, the styling options aren’t many. If you want to have full control over them, you could opt for a block-based page builder. They give you tons of both global and block styling options.
Let me give you example, so that you can get a glimpse of the opportunities.
Let’s say you are using Kubio page builder.
Making Global Style Changes Using Kubio
Global Typography Styling in Kubio
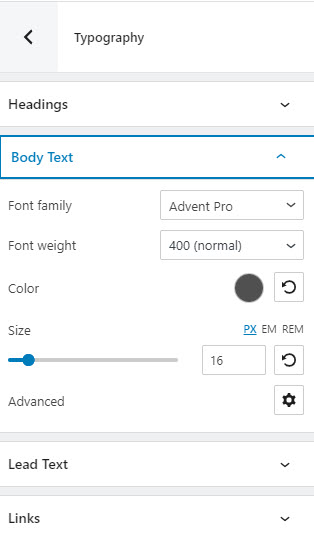
In the case of global typography, you can redefine the global settings for headings, body text, lead text, and links.
No matter what you choose, a heading, a link, etc, you can customize the following:
- Font Family. Tons of Google fonts are available for you to choose from. If scrolling isn’t your thing, and you already know the font you want to use, you can type its name in the search box.
- Font Weight. This refers to the relative thickness of a font’s stroke. In this case, 300 is the thinnest font-weight, while 800 is the thickest one.
- Font Color. You can pick a color from there, use the slider, or just type in your desired color code in the “HEX” field. Then, you can switch to the RGB color mode if it suits you better from the dropdown arrow. You can also adjust the opacity. The slider offers you values from 0 to 1, 1, meaning there’s no transparency.
- Font Size. You can use the slider to make the font size smaller or higher. You can use PX, EM, and REM for font sizes.
- Advanced. This will open up a new panel with several other editing options.
- Transform. This option allows you to make letter capitalization changes.
- Style. This is where you can make your font italic or bold.
- Line height. This is where you can control the amount of space between baselines in a block of text. A text’s line height is proportional to its type size. In this case, the default is 1.6x the actual font size. You can decrease it or increase it if you want. Just make sure that your text doesn’t look too crowded or too loose.
- Letter spacing. This refers to the space between letters in a piece of text. In the case of headlines, to improve readability, it is advised to use tighter letter-spacing. For smaller type sizes, looser letter spacing can improve readability.
Global Color Styling in Kubio
In terms of colors, there are several color palettes available, but you can easily create your own.
Global Spacing and Global Forms in Kubio
In terms of layout, you can also make global adjustments to margins as well, not only paddings. While paddings control the spacing inside an element, margins control the spacing outside of the element, or between other elements.
Kubio also lets you set up a global style for forms as well. A form is made of form fields, form button, form submit button, and form reset button. You can define their overall style inside General Settings -> Form Elements.
The customizations can be made across the normal, hover, focus, and disabled states for the form fields, and buttons (form button, submit and reset buttons).
Global Styling: case closed. It’s now time to switch to the Template Editor.
The WordPress Template Editor
Page templates are useful when you want to apply the same design style to more pages. You save lots of time by using templates, instead of creating pages from scratch.
The template editor allows you to create and assign block templates to specific posts and pages. You can access it from Dashboard -> Appearance -> Editor.
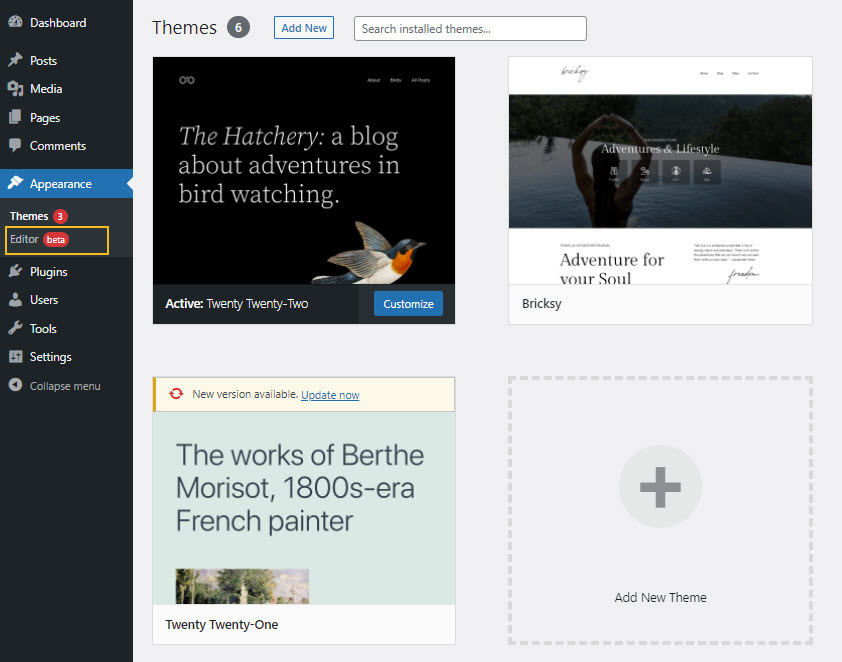
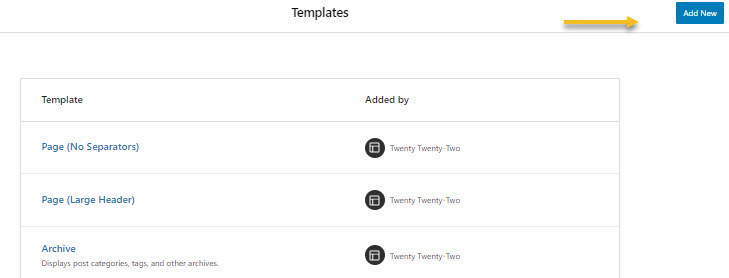
If you select the Templates option you’ll be seeing several templates, from page, single post, to 404 and search. The available templates may vary from theme to theme. The theme I am using now is Twenty Twenty–Two.
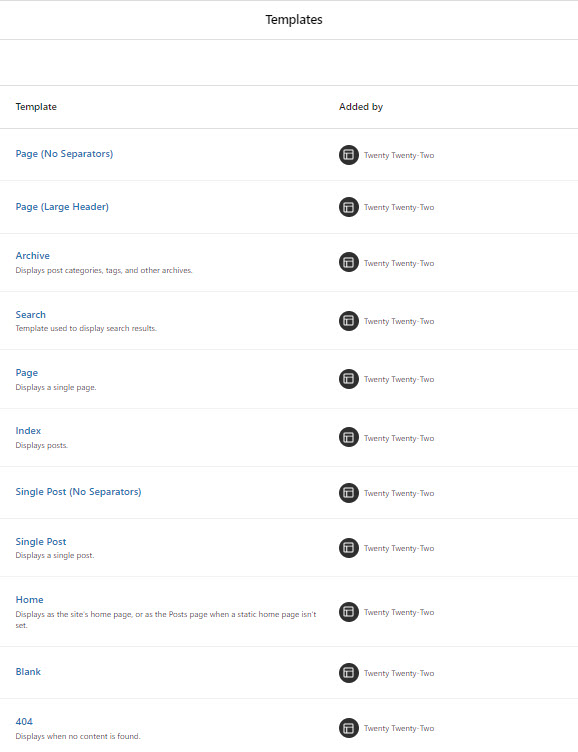
Let’s select the “Home” template.
You can now delete or add blocks to this page until you obtain the design you want. Next, you just go ahead and save the template. Here’s an article we wrote on how to work with WordPress blocks.
You can assign this template to any new page you want. The same works for the rest of the templates.
You can even create a brand new template from scratch.
Let’s see how you can assign templates to pages. There are two ways.
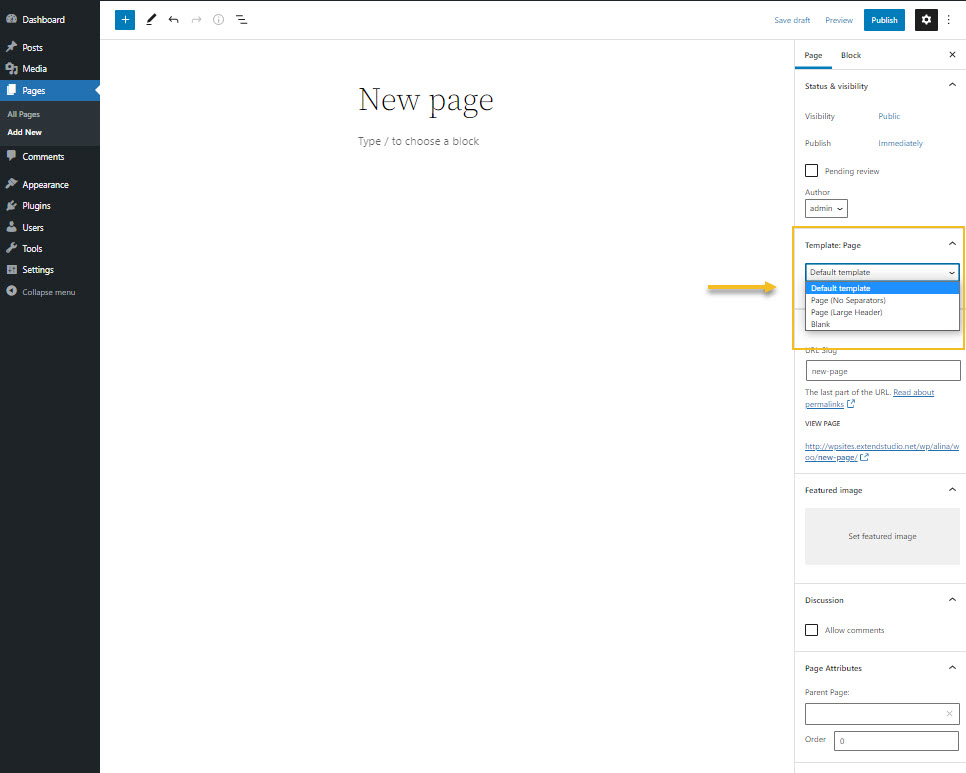
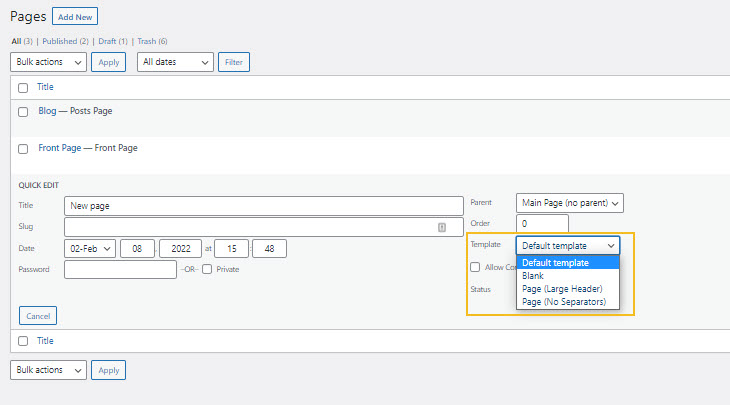
Whenever you create a page, or want to edit one, go to the page editor on the right, and select “Template”. Choose your desired template from the dropdown.
And here is the quickest way for doing this. From the WordPress dashboard, head over to “All Pages”. Hover over the name of a page and select “Quick Edit”.
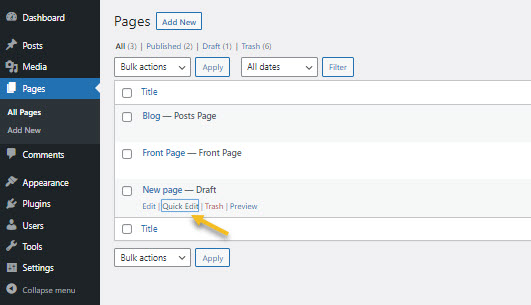
Now, you can assign an available template from the “Template” option.
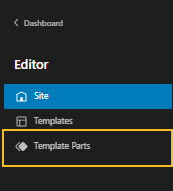
Template Parts in WordPress
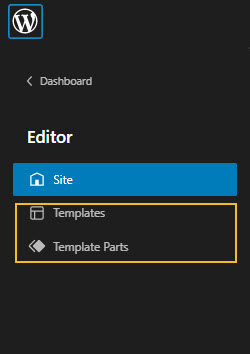
The template editor also allows you to define and edit template parts. You can do this by going to Appearance -> Editor, and then selecting ” Template Parts”.
As seen in the previous chapter, each theme comes with its own set of specific page templates.
These templates are block-based. Templates might also use in their design smaller templates, for header, footer, or sidebars. It’s all very modular in WordPress.
Here you can define these smaller templates, properly named “Template Parts”.
From the “Add New” button you can create different template parts if you want. Maybe you want a different footer on the resource pages, or the blog. You could have a different header on feature pages, and a different one on the front page.
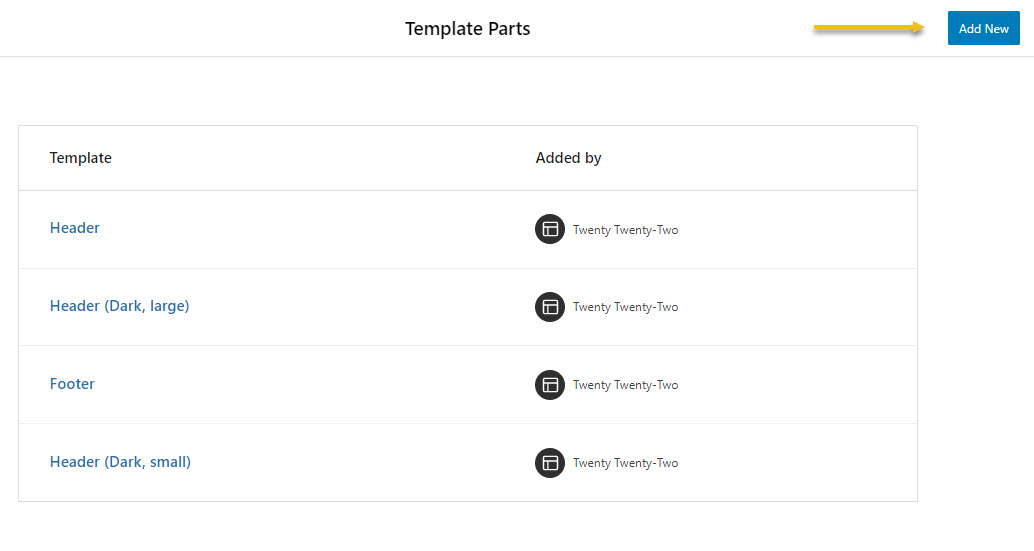
You will need to name the template part, and then decide its purpose: general, header, or footer.
What’s cool about this Editor is that the approach is the same, for both page templates and template parts. You can assign blocks to them, style them however you want, then save them for later use.
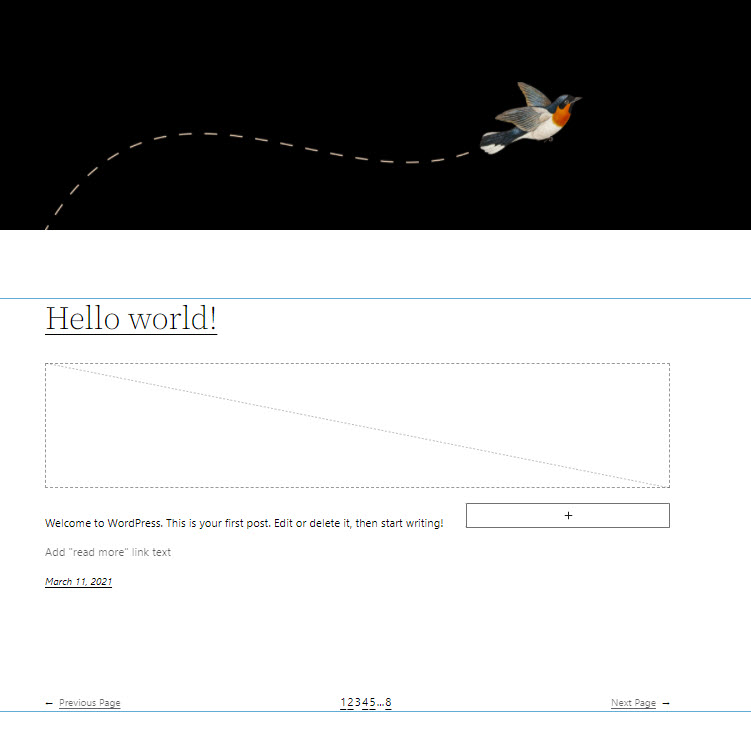
For example, this is a page from the Twenty Twenty-Two theme.
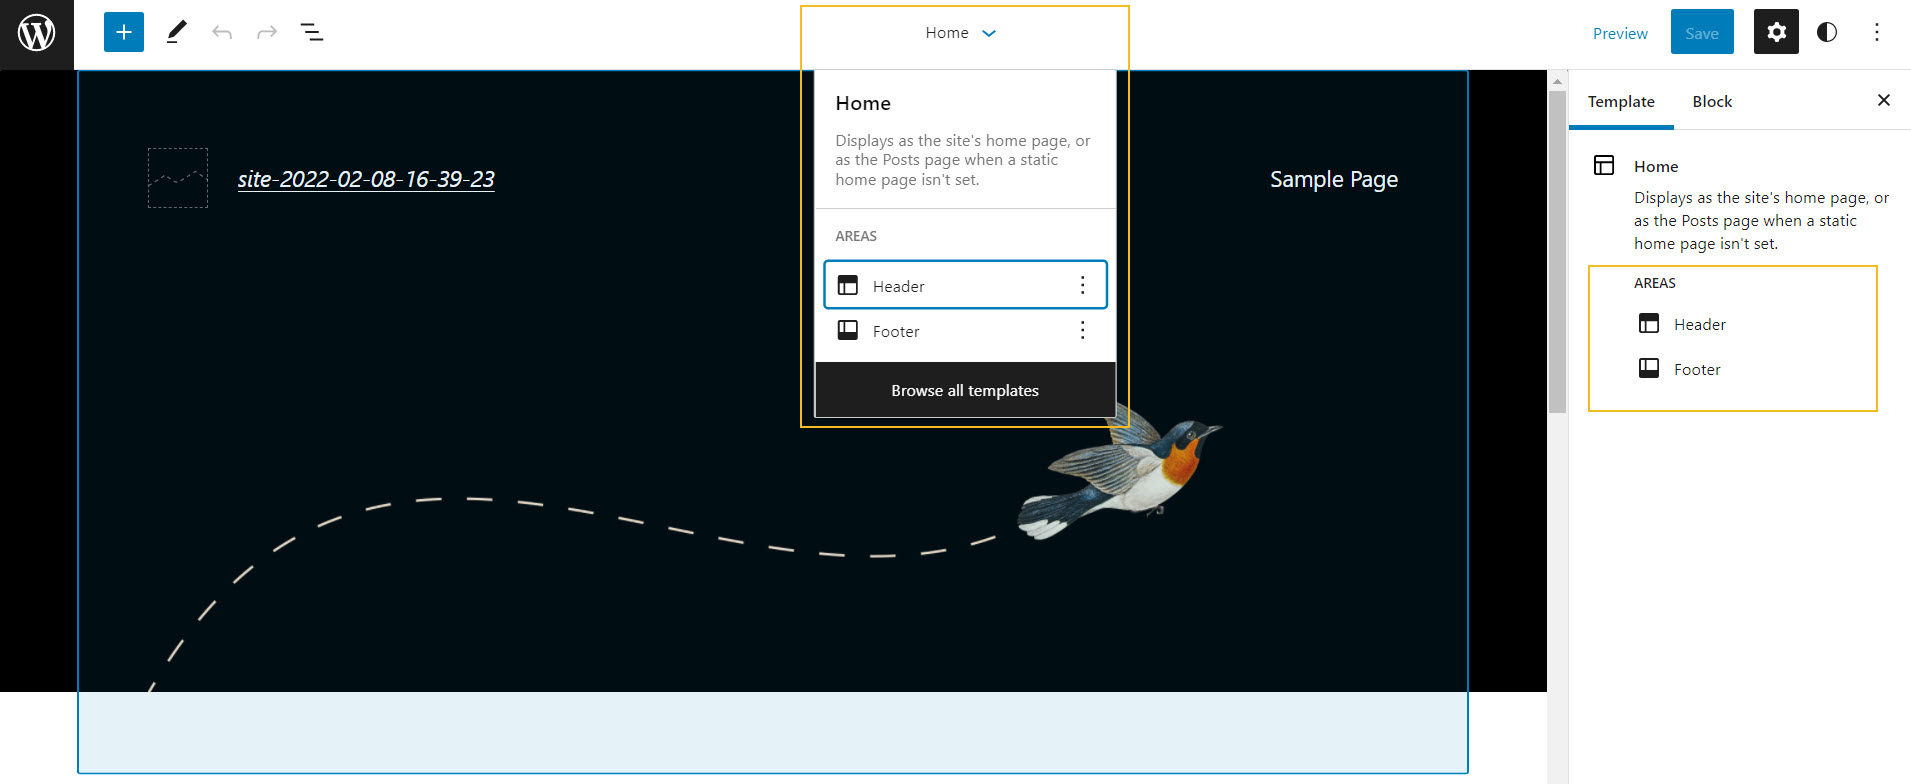
At the top, in the center, there’s the name of the page. If you click on the dropdown arrow, you will see the template areas included on the page. In this case, we have a header and a footer. The same areas can be seen in the panel on the right-hand side.
When you select the template part, you’ll notice a toolbar that allows you to duplicate it, move it, replace it, or even delete it.

From now on, you can alter the layout of pages however you want. Templates and template parts are here to make your work easy.
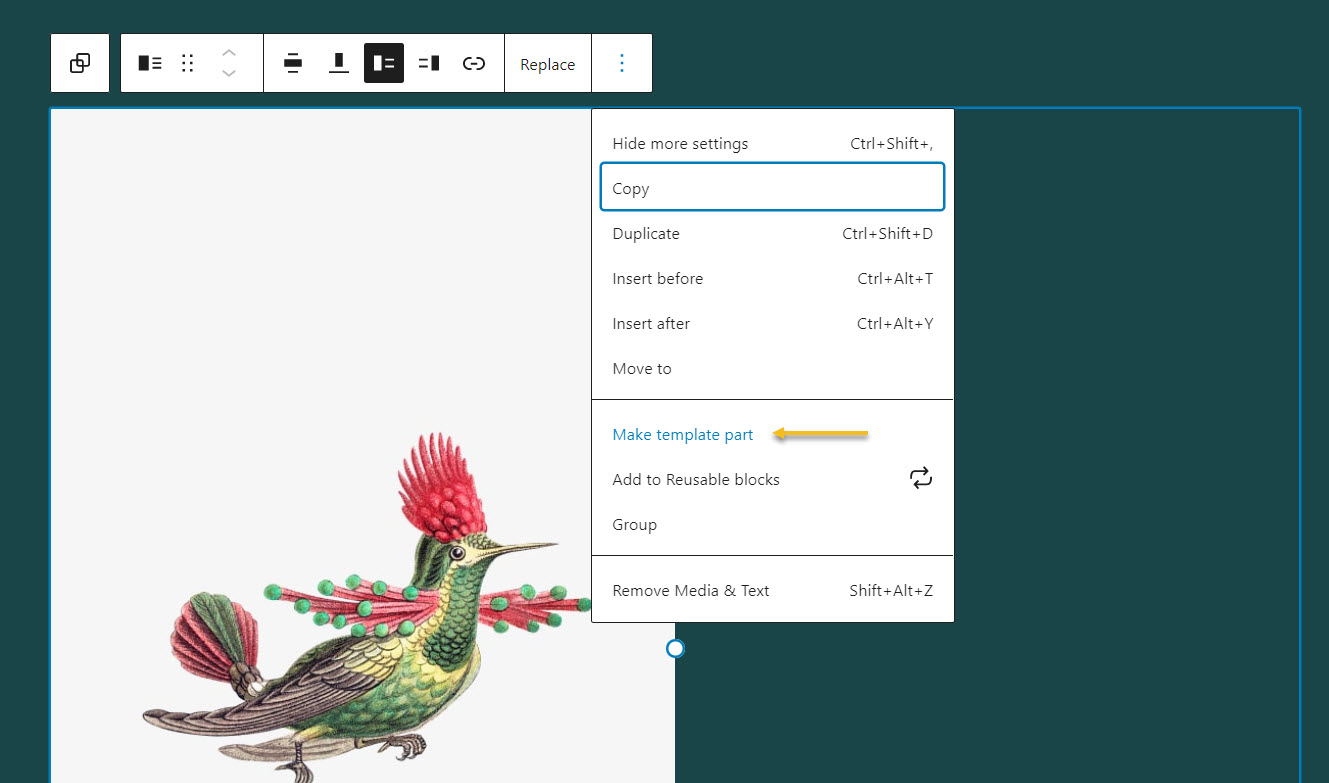
Another cool thing is that you can turn any group of blocks into a template part. You can just select the pattern block, and choose “Make template part”, from the toolbar.
Now, when you want to customize your theme, there’s one important thing you need to remember: work with child themes! We have covered this topic in a previous article. Check it out here.
If you liked this article, and want to have access to similar content, make sure to subscribe to our YouTube Channel. You can also follow us on Facebook.