
Proper backgrounds are important in web design, because they can enhance the website’s expressiveness, and better emphasize content.
With Kubio builder you have lots of customization options when it comes to setting up backgrounds. And we’re gonna go through all of them in this article.
You’ll find out how to:
- Change the background color,
- Add image backgrounds,
- Add gradient backgrounds,
- Use video backgrounds (PRO feature),
- Create slideshow backgrounds (PRO feature),
- Apply overlays (PRO feature),
- Apply the parallax effect.
Before jumping into the topics you should know that with Kubio you can make background changes to:
- Rows, columns, and sections.
- Certain advanced blocks (carousel, accordion, counter, slider, etc.).
Now, here’s an article we wrote a while back explaining the differences between rows, columns, and sections, as well as how blocks and other elements can nest one inside the other.
Nesting and element selection in Kubio
Why is this important? To make the proper element selection for the background change. For this, you can use the breadcrumb view at the button of the canvas.
For example, the counter below is inside a column, the column is nested inside a row. The row is placed inside the section. The hierarchy starts with the Document – the top level element of pages in Kubio. In HTML, this is called “Body”.
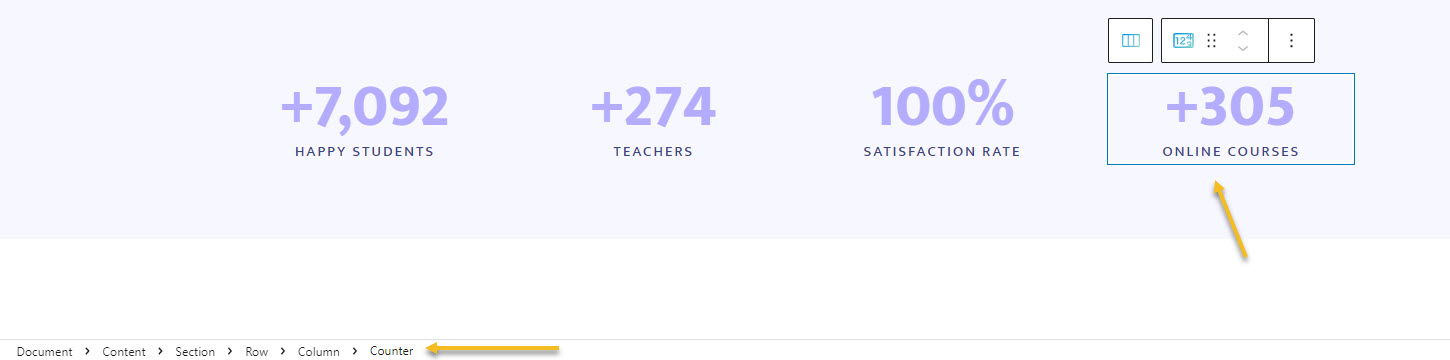
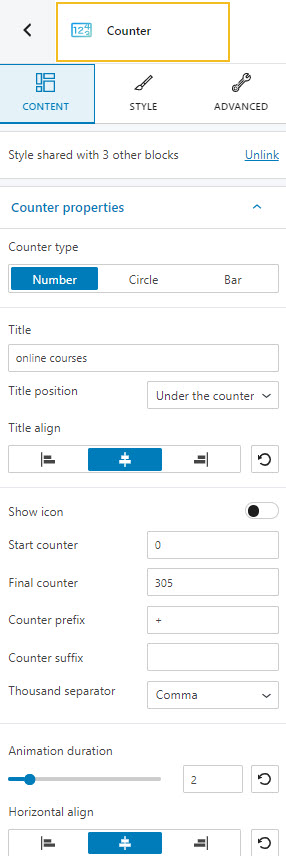
Now, the counter block is selected. If you look on the right side of the canvas you will notice a block editing panel. The name of the selected element is written on top of it: Counter. It’s here where the Kubio magic happens.
Now, let’s go back a bit to the breadcrumb view and click on the row inside the breadcrumb.

Notice how the selection on the canvas is changing? The counter is no longer highlighted, but the row.

If you look on the right side of the canvas, the block editing panel has “Row” written on top of it, meaning that you’re now making edits to a row.
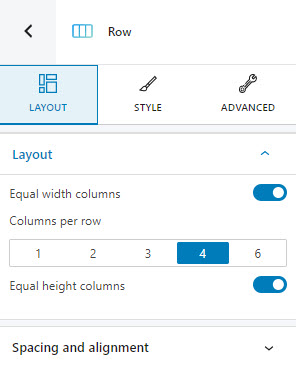
Now, whenever you want to make a background change, first you need to make the element selection, then, go to the block editing panel on the right. Here, you can select either the “Style” level, or the “Advanced” one.
They usually have the same background customization options.
Now that we have our setup done, let’s go ahead and make those background changes.
On your marks, get set, go!

Kubio tutorial on how to manage backgrounds
If you’re not into reading, this tutorial will guide you through all the background options inside Kubio. In less than 4 minutes you’ll be a PRO at this :).
Changing the background color in Kubio
First, let’s select a section to play with. Let’s go ahead with the one containing the counters mentioned before.
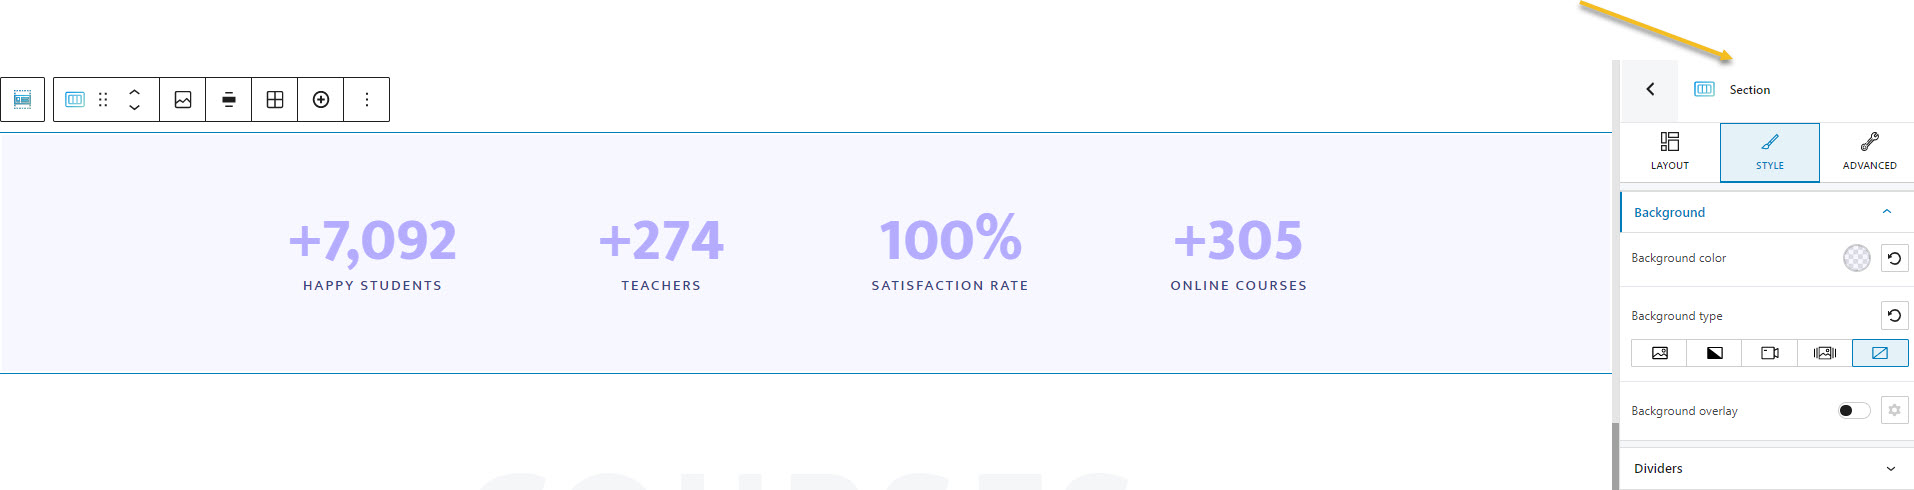
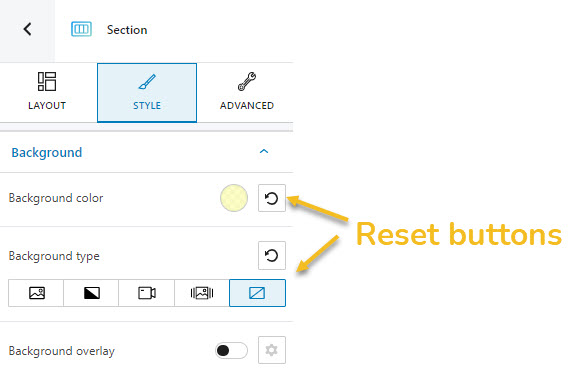
From the Style option let’s go to Background -> background color. Let’s click on the colored circle.
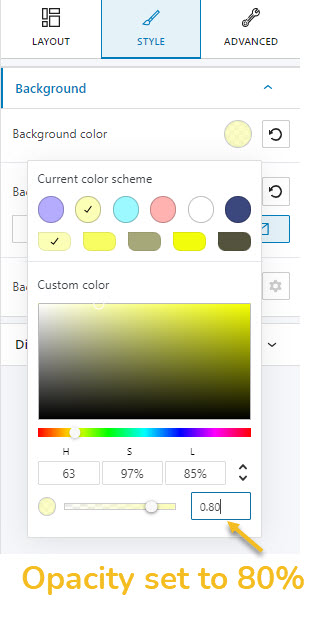
A panel will open up that allows us to pick a color from the current color scheme or gradient from a color, pick a color from a slider, or just type in a desired color code in the “HEX” field. We can also switch to the RGB color mode if it suits you better from the dropdown arrow.
You can also adjust the opacity of your color. The slider offers you values from 0 to 1, 1, meaning there’s no transparency.
You can always reset the color to the default value when you select the reset button.
,
Adding image backgrounds with Kubio
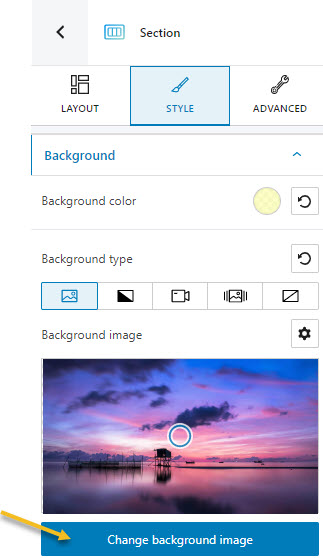
From Background – > Background type, go ahead and select “Image”. You will see a default image showing up. You can easily change it after clicking on the “Change background image” button.
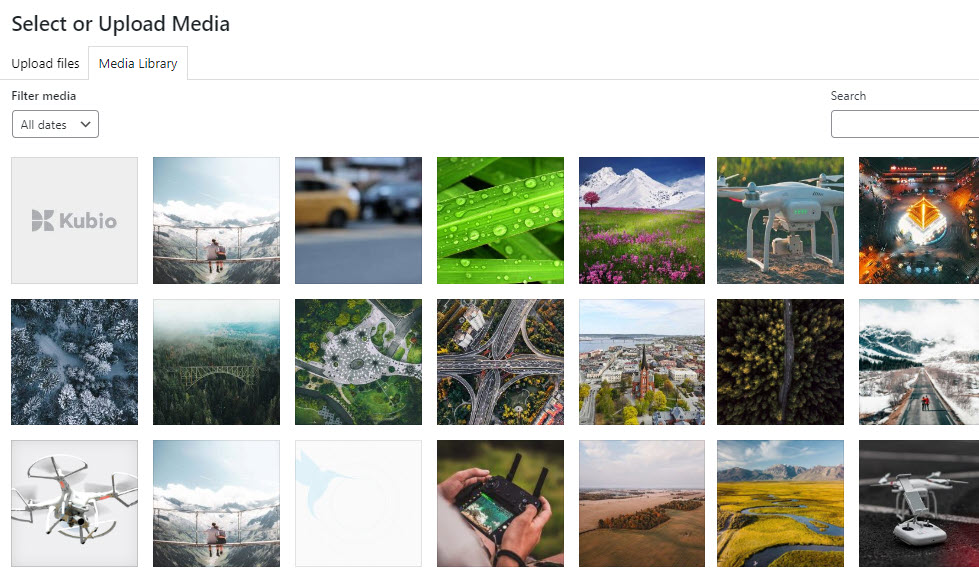
You can upload your desired image or pick one from the Media Library.
Here’s how the section now looks like:

The contrast between the text and background is not ok. There are two fixes to this:
- Change the text color and/or size,
- Add a background overlay.
Jump here to find out how to manage overlays.
Adding gradient backgrounds in Kubio
If you prefer a gradient as a background, select the gradient icon from the “Background type”. You will have 5 free gradients available, and more than 100 in the PRO plans.
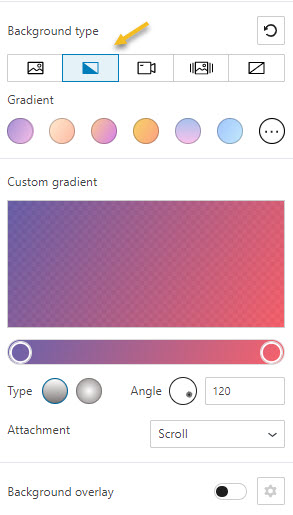
If you select the 3 horizontal dots you will uncover the gradients list. Scroll down until you see the one you like, then click on it to apply it.
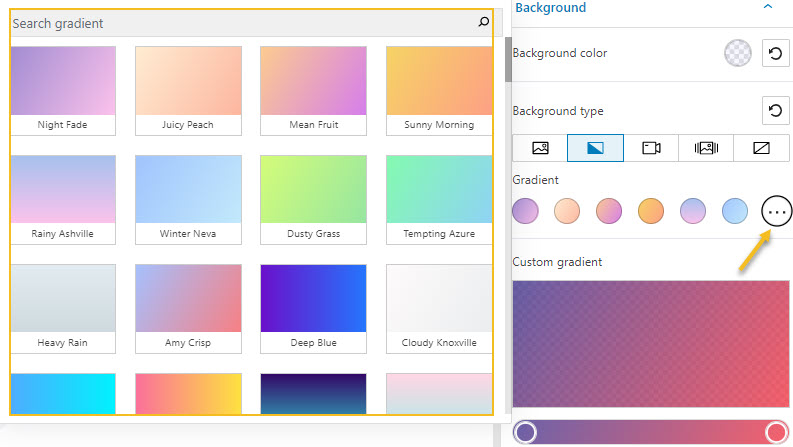
There’s also a custom gradient option. Use the slider to add new color points.
There are two types of gradients that you can use: linear or radial. You can adjust your gradient by using the slider (for both the linear and radial gradients) or the angle (in the case of linear gradients).
Here’s a discrete radial gradient applied to a section..

In the case of the attachment option, you can choose between fixed and scroll. If you choose fixed, you’ll notice that the moment you scroll, the gradient will lag behind.
You can also toggle on the overlay feature. Here’s how you can work with overlays.
Next to the overlay option you can see the parallax one as well. You can toggle it on when using a PRO plan.
Using video backgrounds in Kubio (PRO feature)
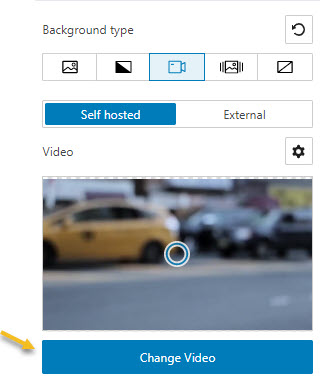
Now, let’s switch the background type from gradient to video.video will be applied to the section or block.
Notice the circle on top of the video? You can move it in order to change what’s in focus.
Now, you will be able to use as background::
- a self hosted video. You can pick an existing video from the Media Library or upload one. Start by clicking on the “Change video” button to replace the default video that is now showing up.
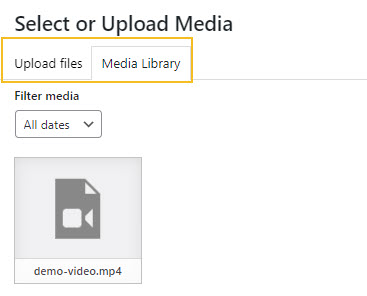
This will open up the Media Library. You can choose an existing video from here, or upload a new one.
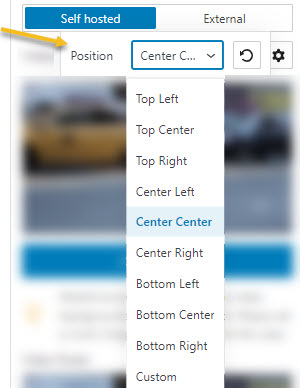
For self hosted videos you can also choose the position of the video background. Click on the settings icon next to “Video” to open the options.
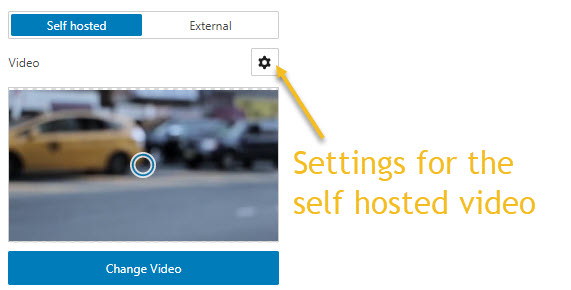
There are 9 positions available, and a custom one, where you can specify your own top and left position (percentage values).
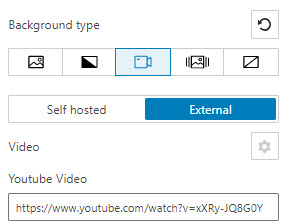
- an external video. You can paste a Youtube URL.
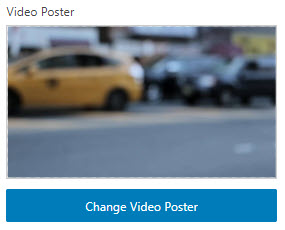
Because mobile browsers usually disable video backgrounds to save bandwidth, you are recommended to set a cover image for the video. Go to the video poster option and click on “Change video poster”. A window will open with the Media Library. You can choose an image from here or upload one.
Creating slideshow backgrounds in Kubio (PRO feature)
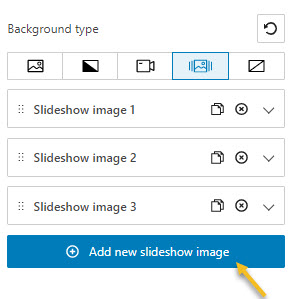
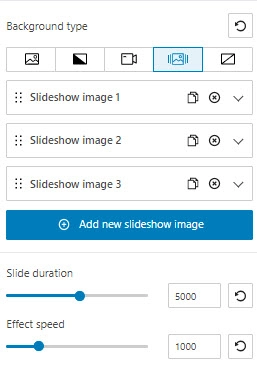
If you select the slideshow background option you see the following customization options::
- Add a slideshow image. Just click on the “Add new slideshow image” button to add one.
- Change images inside a slide. For this you can click on the dropdown arrow inside each slide. You will now see the image, and a button saying “Change image”.
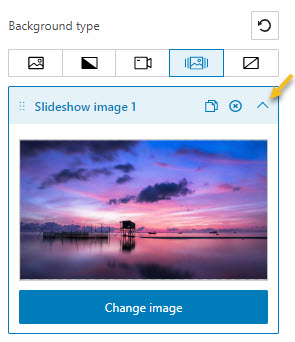
Click on the button to open up a window with the Media Library. You can choose an existing image or upload a new one.
- Remove slideshow image from the “x” sign,
- Reorder slides by drag and drop,
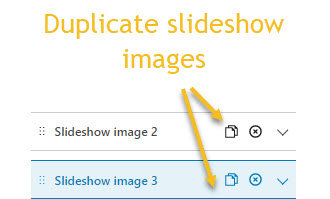
- Duplicate slideshow images,
- Set up the slide duration,
- Set up the effect speed.
- Add an overlay. Jump here to find out how to manage overlays.
Here’s how my slideshow looks like:
How to add background overlays (for image, gradient, video, and slideshow backgrounds) – PRO feature
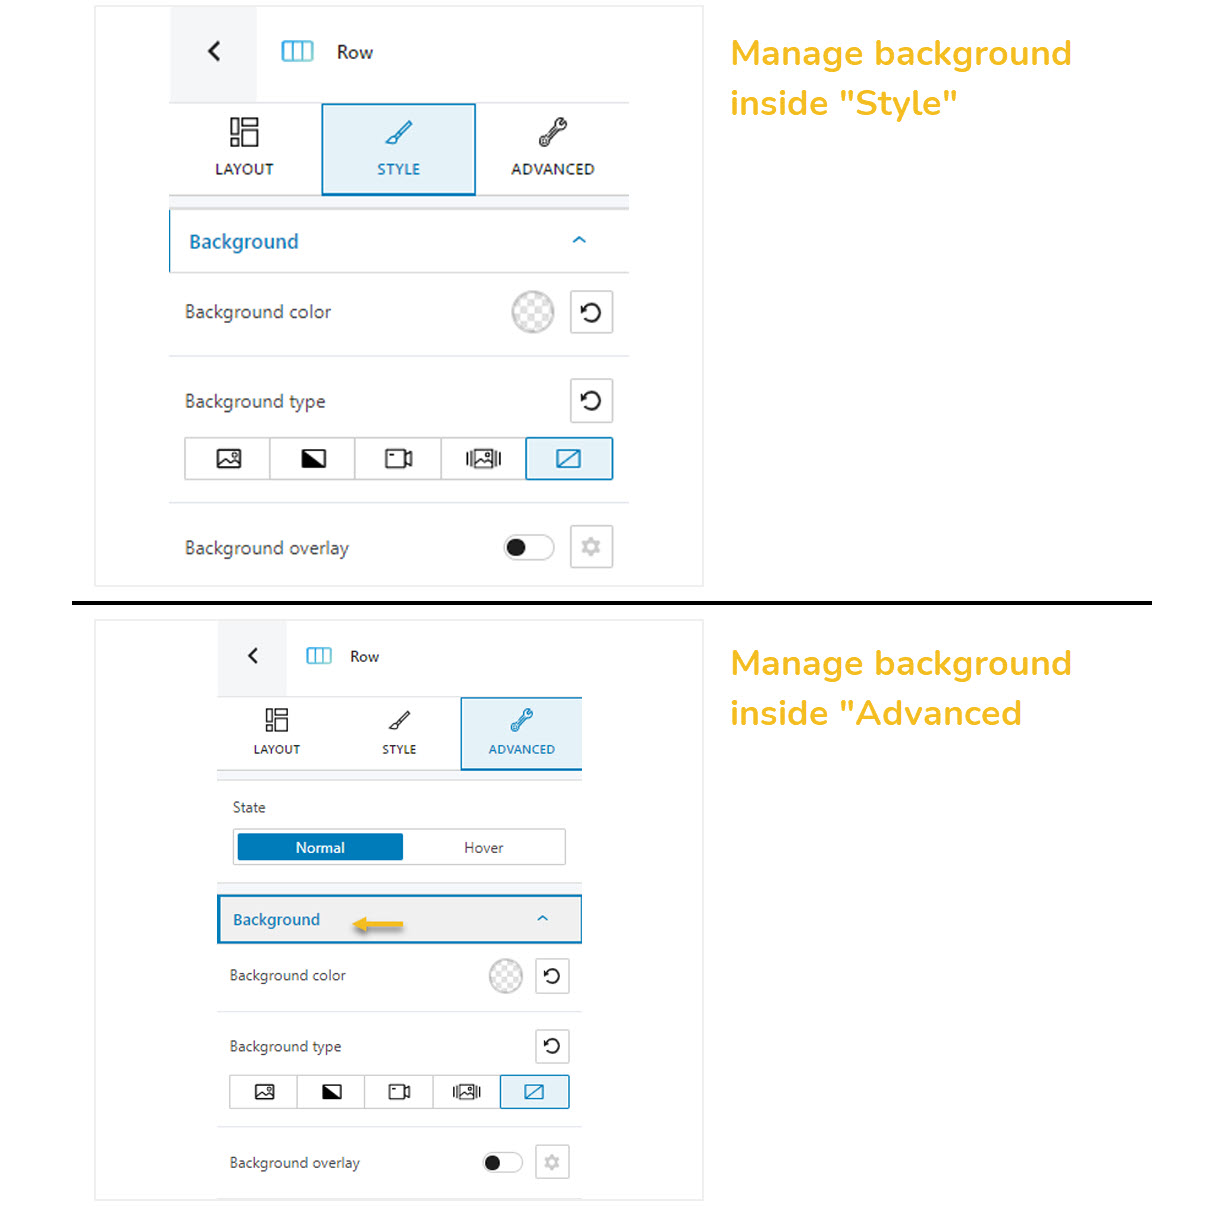
Whether you make background customizations inside “Style” or “Advanced” in the block editing panel, you will need to head over to Background -> Background type to manage overlays.
Overlays are a PRO feature available for all the background types.
We’ll start by toggling on the “Background overlay” feature.
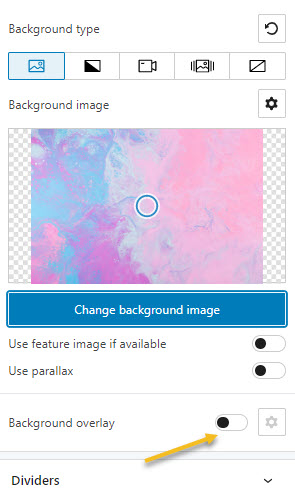
If you click on the settings option next to the overlay option you will notice a window with several customization options.
You can use a color, gradient, or shape for the overlay. Each option comes with some specific customizations. Let’s check them out:
Color background overlays
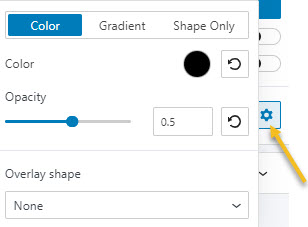
In the case of a color overlay you can:
- Make color overlay changes,
- Set up the overlay’s opacity,
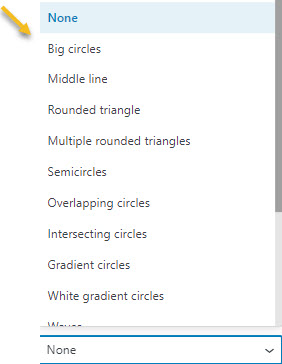
- Apply shapes to the overlay. There are 15 shapes available.
- Set up the amount of light needed for the shape (the slider contains values from 0 to 100, 100 being the darkest).
I’m gonna add a pink background overlay to my background image. The opacity is set to 0.8.
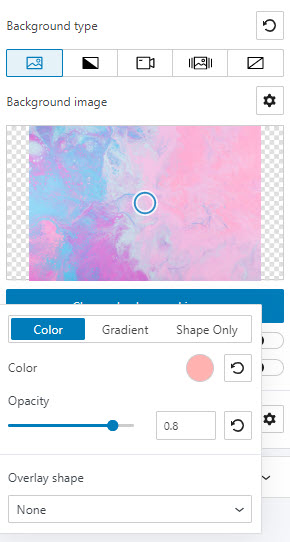
Here’s the result:
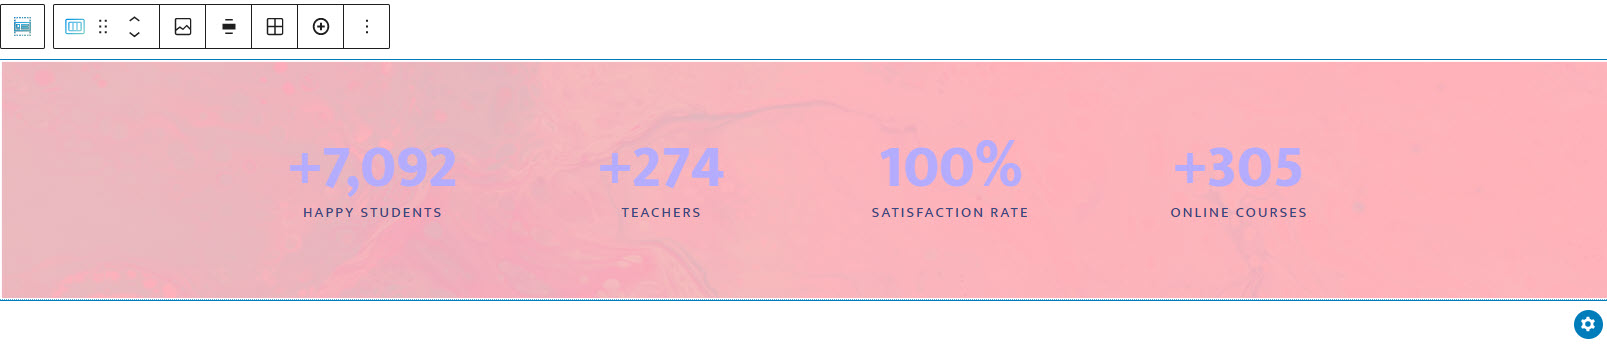
I’m not happy with the contrast, so I would also change the text color to white, in this case.
Gradient background overlays
Gradient overlays are managed in the same manner as gradient backgrounds. You can jump to the gradient chapter here.
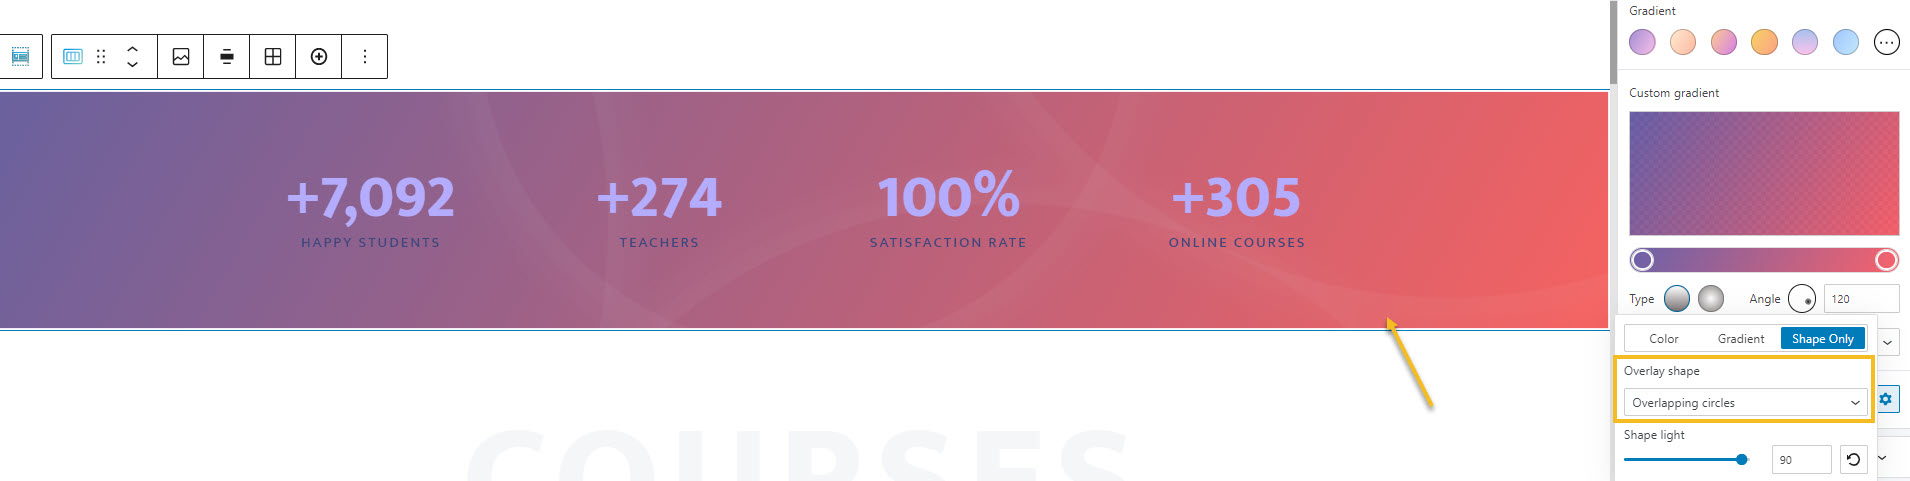
Shape only overlays
Here you can choose between the 15 shapes available.
Now, be careful not to overcrowd the background. Adding shapes on top of an image or a video, can be kinda…much.
Here’s how an overlay with overlapping circles looks like on top of a gradient background.
And, you’re done!
You now know how to manage backgrounds in Kubio.
If you liked this article, and want to have access to similar content, make sure to subscribe to our YouTube Channel. You can also follow us on Facebook.