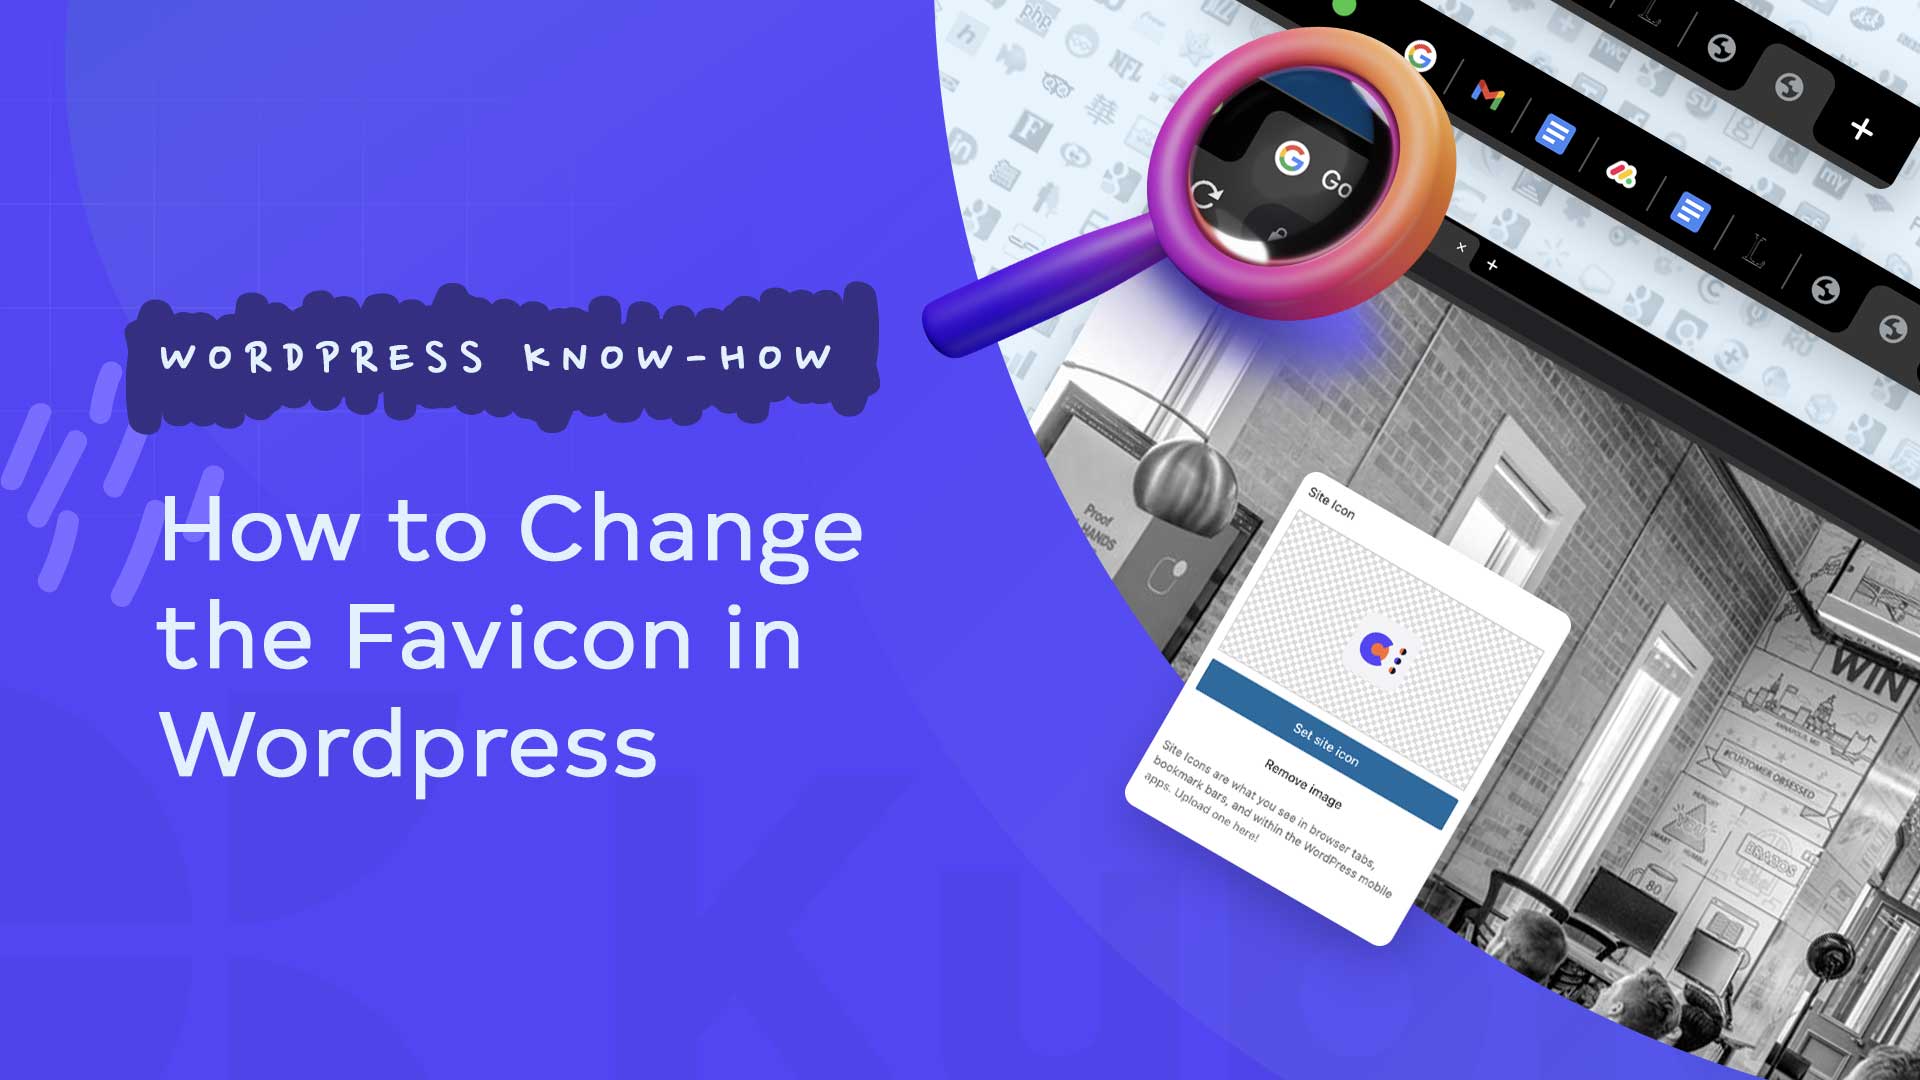
Do you want to change the WordPress favicon? The favicon is the small icon that appears next to the URL in the web browser. It’s a great way to add some branding to your website and differentiate it from the competition. The default size of a favicon is 16×16 pixels and the main function of it is to display website logo in the browser tab.
In this blog post I will show you how to change the favicon in WordPress and also give you some tips on what to look out for when choosing it.

What is a favicon and why should you use it?
The word favicon is short for favorites symbol and originally comes from the favorites function of Internet Explorer (also called bookmarks by many browsers). This is a small image that appears next to the website’s URL in the web browser. It will also appear on the tab for your site.
Favicons are used to help users quickly identify websites that they have bookmarked or added to their favorites list.
Also, adding a favicon to the WordPress website is a great way to improve website branding.
Alternative favicon names also include browser icon, favorites icon, shortcut icon, tab icon, URL icon, and bookmark icon, among others.
Did you know that on mobile in Google search results a small icon appears next to the website title? It is visible and can attract attention. At the time of developing this article, Google is working on displaying this icon on the desktop as well.
You have probably seen that specific icon for each site and when you have several tabs open at the same time. Thus, the respective icon, also called favicon, helps users to quickly identify each site in the browser.
Besides the fact that a favicon helps a lot to recognize a brand / site, it makes it much more professional and credible. Thus, the trust of the visitors will increase.
How Can You Develop a Favicon for Your Website Made in WordPress
The first step is to choose a suitable theme for your favicon. Of course, your logo is best suited for this. You then bring this into a square format (512 x 512 pixels).
Next, save the file as a JPG. If you want the background to be transparent, you can also save the image as PNG or GIF.
With the created file you can finally create your own favicon. Either directly in WordPress or with an online tool.
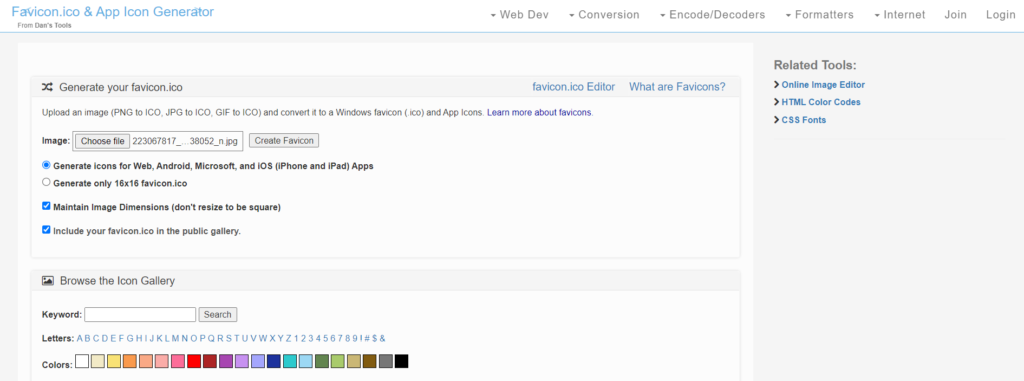
In order for a favicon to appear, it must be referenced in your website’s code. In the past, only the ICO file format was used for this. This includes the required icons in the sizes 16×16 pixels and 32×32 pixels for the browser.
<link rel=”icon” href=”/favicon.ico” type=”image/x-icon”>
But over the years other output devices such as mobile phones, tablets and apps have been added. In order for a website icon or favicon to be displayed here as well, other image formats must be integrated.
Example Apple Touch Icon:
<link rel=”apple-touch-icon” sizes=”180×180″ href=”apple-touch-icon.png”>
You can change the size with your graphics editing program. This works with any software. It is important that your favicon is still clearly recognizable even in its small size. Please pay attention.
Next, you need to save the image in .ico format. As this is the required file format. However, most graphics programs cannot convert to this format.
That’s not a problem though, as there are many online services that allow you to change the favicon. This allows you to turn your graphic into a real favicon that you can then integrate into WordPress.
How to change WordPress favicon easy and fast
The favicon in WordPress can be changed relatively easily, depending on the theme that you use. The only thing to note is that the WordPress favicon should be square. An image size of 512 x 512 pixels is often recommended (may vary depending on the theme). Based on the initial image, (several, smaller) favicons are then created in the background, which are displayed depending on the end device and/or software used (e.g. for tablets, iPhones, PCs, etc.).
With many WordPress themes, the setting for the favicon is located in the customizer.
Below I will show you how to change the WordPress favicon in the following themes:
Kadence WP
Astra
Avada
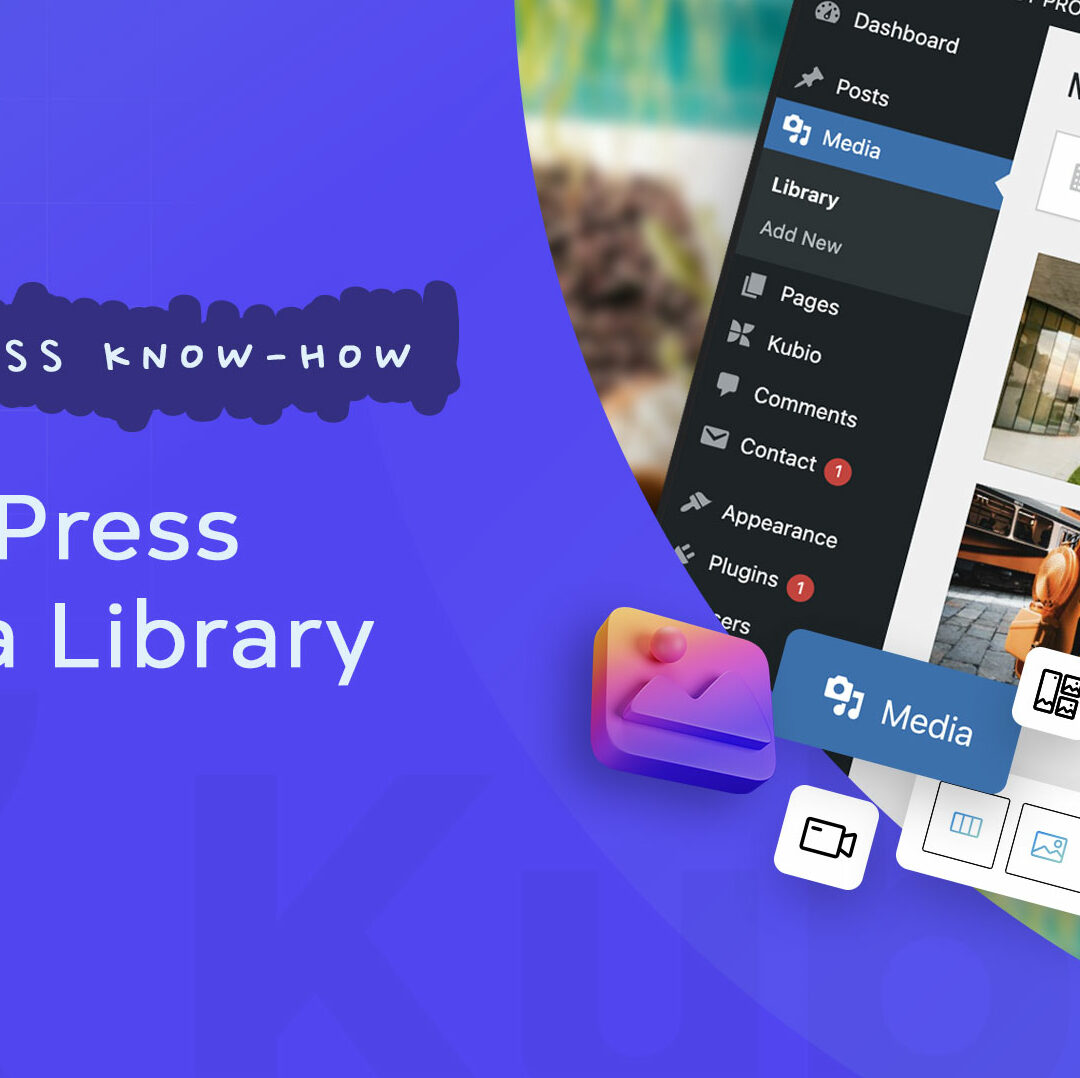
Kubio
Kadence WP – Change favicon
In order to change the WordPress favicon in this theme, you must first call up the Customizer. (Dashboard -> Theme -> Customizer)
Once the Customizer is open, the Page Identity tab can be selected in the left navigation menu.
Now the desired favicon can be set (referred to here by Kadence as the website icon).
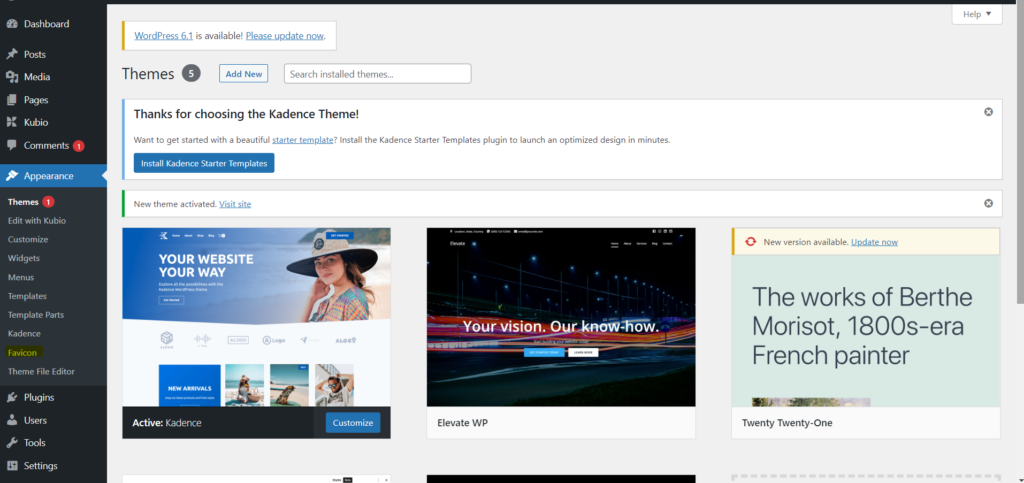
After clicking on the Select website icon, either a favicon can be uploaded or an existing image can be selected from the WordPress media library.
Astra – Customize WordPress Favicon
Similar to the Kadence theme, the settings for the favicon are also located in the customizer of the WordPress theme Astra. (Dashboard -> Theme -> Customizer)
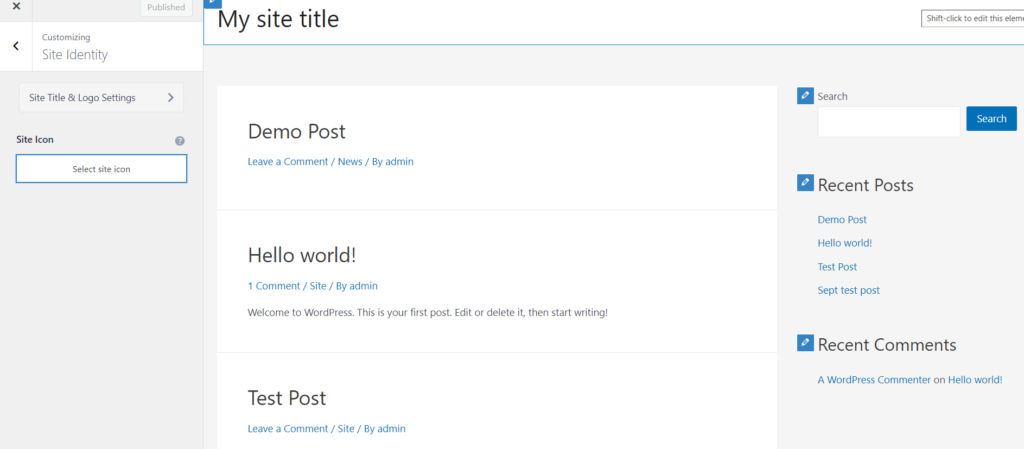
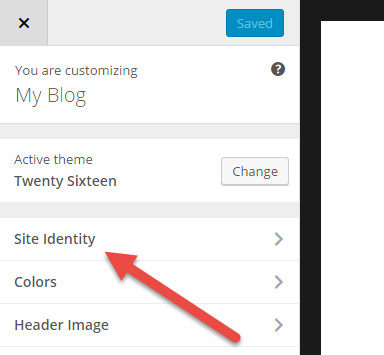
In the Customizer, click on the Site Identity menu item. The favicon can then be set. (The term website icon is used here instead of favicon).
Avada WordPress Theme – Set Favicon
On the one hand, the WordPress theme Avada offers the possibility to set the favicon in the customizer. This works the same way for this theme as I described for the Hello Elementor theme.
On the other hand, Avada Extra offers its own Avada options. In these options, the favicon can and should be set when using the Avada theme.
If you want to change the WordPress favicon, hover over the Avada entry in the dashboard and select Options. Then the view of the countless (and in my opinion very confusing) settings that Avada offers opens. Click on the menu entry Logo and then select Favicon. Now you can set the favicon as well as an Apple iPhone icon and an Apple iPad icon.
Kubio Builder – Change Favicon
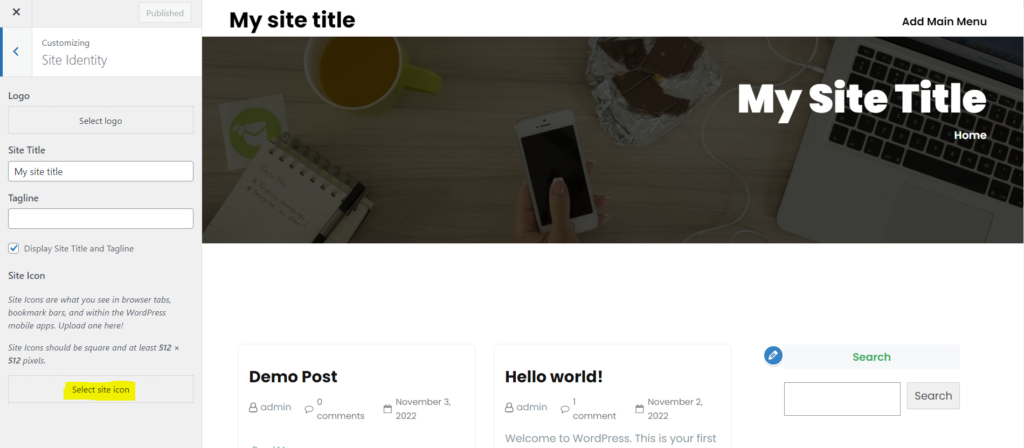
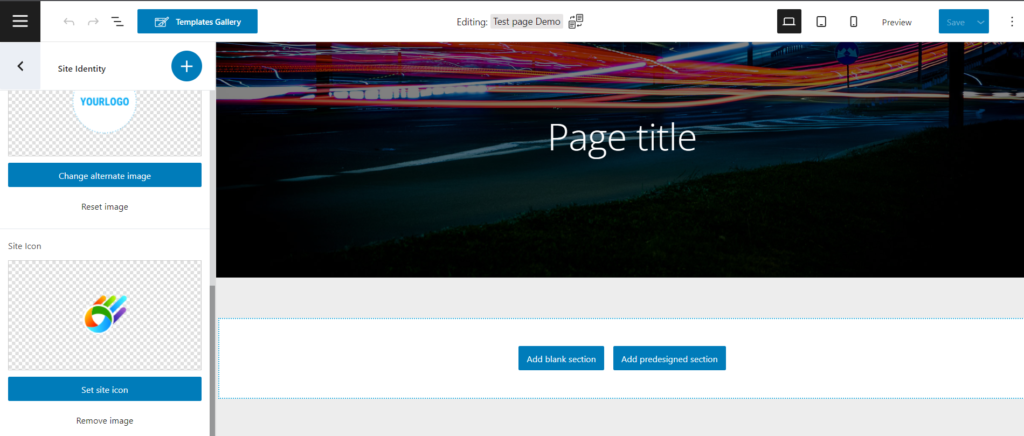
If you are using Kubio Builder in order to create a landing page or any kind of page in WordPress and you want to change the favicon on your website, then go to Apperance -> General Settings ->Site Identity -> and then you will see the Site Icon Option. Here you can easily change the favicon on your website by using Kubio Builder.
WordPress Plugin – Favicon by RealFaviconGenerator
Not every WordPress theme provides options for the favicon. And sometimes you are not satisfied with the possibilities that a theme offers in the area of favicon. Finally, the WordPress theme should deliver the specified favicon adapted for different end devices. Unfortunately, this functionality is not always available.
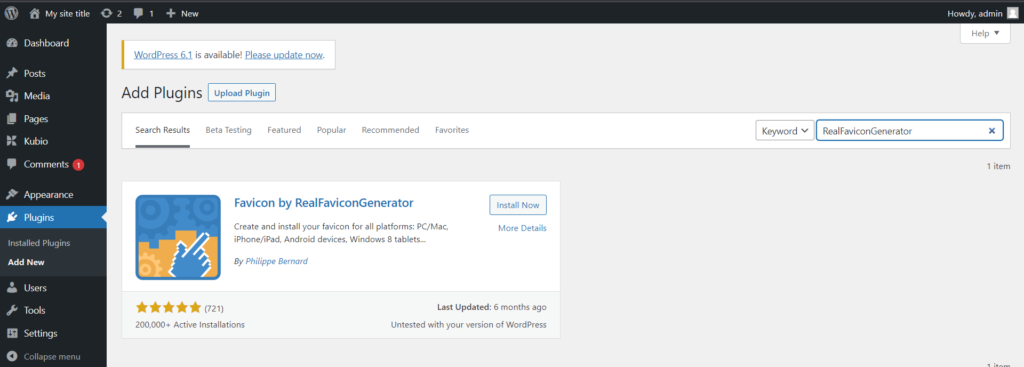
One way to fix any problems with the WordPress favicon is to use the Favicon by RealFaviconGenerator plugin. As the name suggests, this plugin is a favicon generator. More specifically, the favicon generator of the website https://realfavicongenerator.net/ is accessed.
After installing and activating the plugin, you can make the settings for your WordPress favicon in the dashboard under Design -> Favicon. After you have set an image as a favicon, the favicon generator is accessed via an API. With this, the plugin generates several favicons, which are each output appropriately for the various end devices and applications (e.g. for iPhone, tablet, Internet Explorer, etc.).
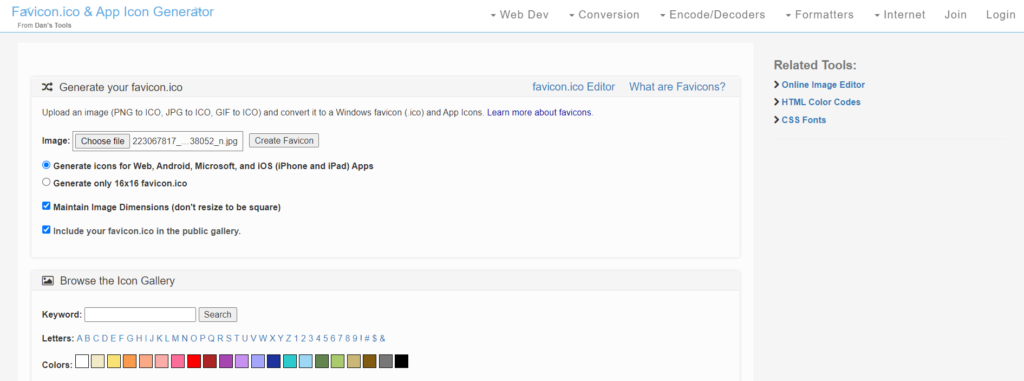
You can also use some free online tools that can help you build a nice favicon.
Here are some nice favicon generators that you can use for free:
1. Favicon.cc
2. Favicon Generator
Manually insert WordPress favicon via an FTP client
Of course, you can also add a favicon to your WordPress website manually via an FTP client (e.g. “FileZilla”). If you decide to go this route, upload the image you want to use as a favicon to the root of your WordPress installation. Then the file name must be changed to “favicon.ICO”. Last but not least, you now have to check whether the favicon is now displayed. (Otherwise, you should use another method or research your theme’s documentation and contact support if necessary.)
Conclusion
The favicon should increase the recognition value of your website and at the same time improve the usability of browser bookmarks. The WordPress favicon is also a way to refine branding.
Customization options in WordPress vary depending on the theme you use, but many themes include settings for the favicon in the customizer.


