
Tired of your WordPress site feeling static and boring? Hover effects might be just what you need!
These effects breathe life into your website by adding interactivity to images, buttons, and other fixed elements. They can help guide visitors, highlight important information, and make your site more visually appealing. But if you’re not a coding expert, adding hover effects might seem overwhelming.
That’s why we’re introducing you to Kubio, a plugin that makes creating hover effects easy – no coding necessary. In this article, we’ll walk you through four straightforward steps to add these effects to your site. Ready to give it a try?
Best WordPress plugin for adding hover effects: Kubio
Kubio is a versatile WordPress plugin that transforms the default editor, allowing users to create stunning websites with ease.
With its intuitive interface and powerful customization options, Kubio is great for beginners and experienced developers who want to design professional-looking sites. Here are a few reasons to choose Kubio for adding hover effects to your site:
- Extensive customization options: From zoom and flip effects to color transitions, Kubio offers a wide range of hover effects. You can adjust duration, direction, backgrounds, spacing, borders, shadows, and typography, giving you complete control over your site’s interactive elements.
- Responsive design: Kubio ensures all designs are mobile-responsive right from the start. You can customize settings for different devices and preview changes in real time.
- AI integration: New to web design or looking to streamline your workflow? Kubio AI is your personal design assistant, helping you create layouts and customize styles with just a simple prompt.
- User-friendly interface: Kubio uses WordPress’s full-site editing capabilities, allowing you to manage your entire website from a single interface. This means consistent design across your site, from headers to footers and everything in between.
- Safety net features: With undo/redo functionality and autosave, Kubio provides peace of mind as you experiment with different designs. Made a mistake? Just undo it or revert to a previous version.
How to create specific types of WordPress hover effects with Kubio
Now that we’ve covered why Kubio is such a great tool for creating hover effects, let’s dive into the fun part – actually making them!
1. Zoom effects
Zoom effects are super versatile. These interactive features make elements on your page, like images or boxes, appear larger when someone hovers their cursor over them.
They’re perfect for showcasing products, making portfolio items pop, or drawing attention to your latest blog posts. For example, when a visitor scrolls through your online store, zoom effects allow them to get a closer look at your products without clicking away from the page.
How to add zoom effects with Kubio
1. Add an Image block to your page where you want the zoom effect to appear. You can do this by dragging the Image block from the Kubio sidebar into your desired location on the page.
2. Once the Image block is in place, select it and navigate to the Advanced tab in the block settings.
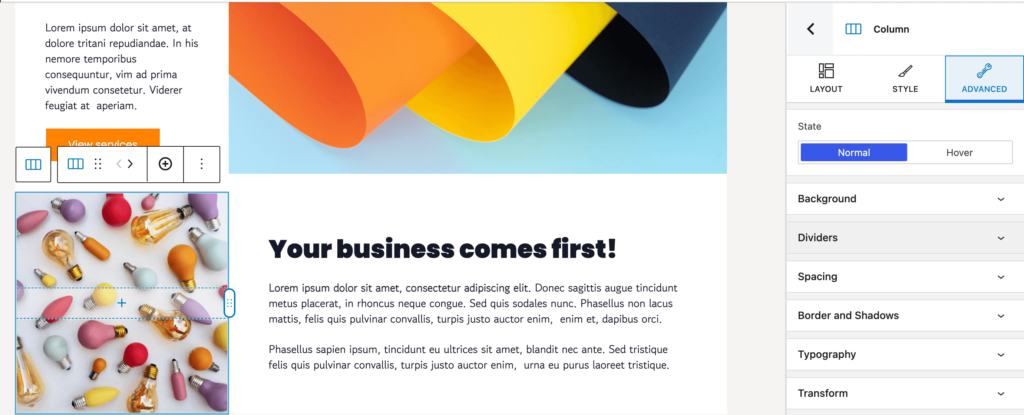
3. In the Advanced tab, set the state to Hover. Next, expand the Transform section to access the zoom settings.
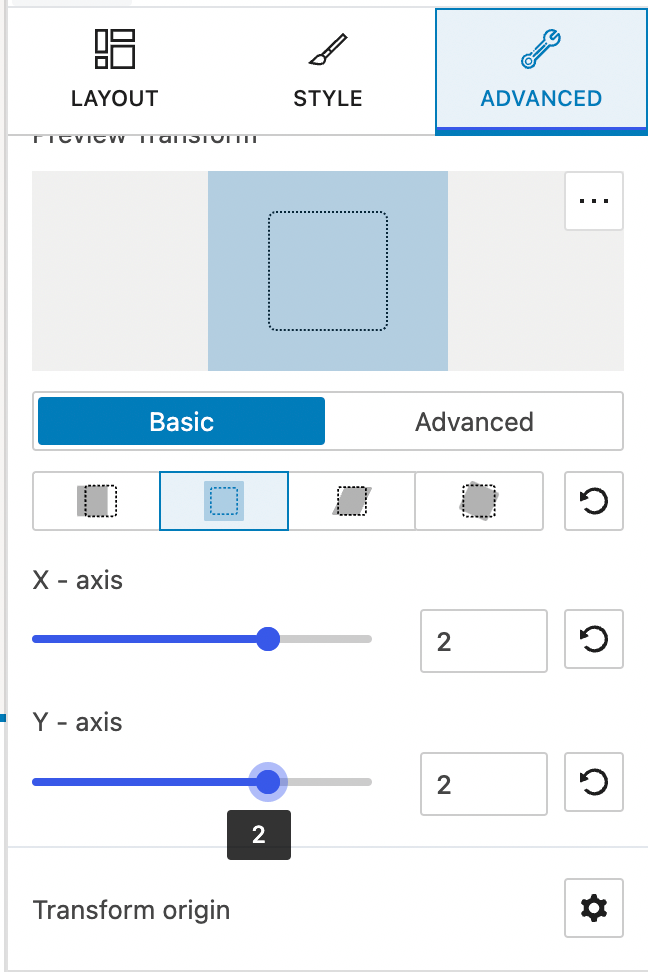
4. Customize the zoom hover effect by choosing how large you want the image to appear. For example, setting the X-axis and Y-axis to 2 makes the image appear like this:

2. Flip effects
Flip effects are a fun way to engage users by allowing a card or element to “flip” over to reveal content on the opposite side when someone hovers their cursor over it. You can use them for all sorts of things:
- Showing off your team members (front: photo, back: bio).
- Displaying product details (front: image, back: specs).
- Sharing customer testimonials (front: quote, back: full review).
How to add flip effects with Kubio
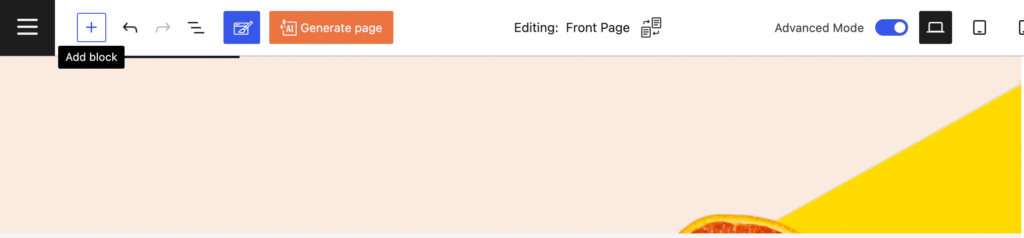
1. In the Kubio editor, click on the + icon to add a new block.
2. Search for the Flip Box block in the block inserter.
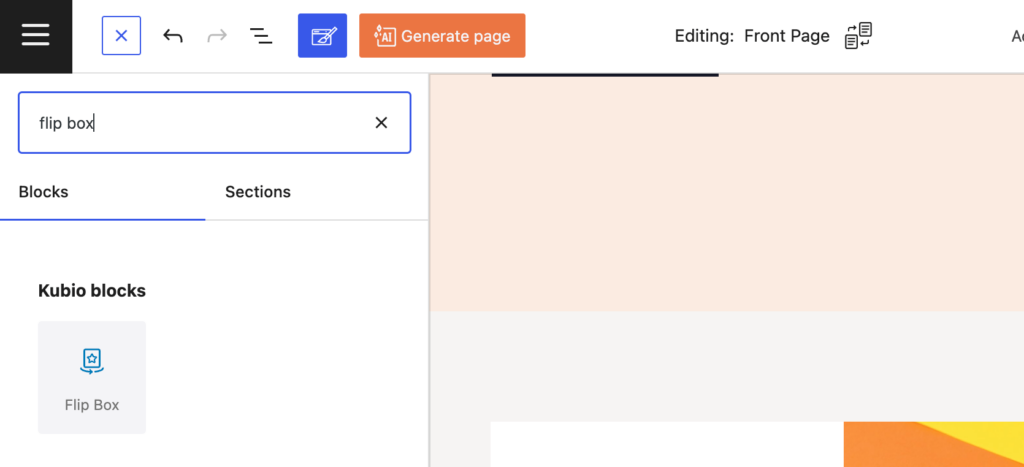
3. Drag and drop the Flip Box onto your page and place it where you want the effect to appear.
4. Click on the Flip Box block to open the editing panel. Here, you can add content to the front and back sides of the flip box. You can also customize how the flip box behaves on hover, like changing background colors or adding animations.
3. Color transitions
Color transition hover effects are a great way to draw attention to important sections on your website.
For example, you could have a call-to-action button that changes color when someone hovers over it. Or, you could use color transitions to highlight the current page in your navigation menu, helping users understand where they are on your site. The possibilities are endless!
How to add color transitions with Kubio
1. Drag and drop the block you want to customize onto your page. Once the block is in place, click on it to open its settings.
2. In the block settings, select the Advanced tab. Here, you’ll find a setting called State. Change this to Hover.
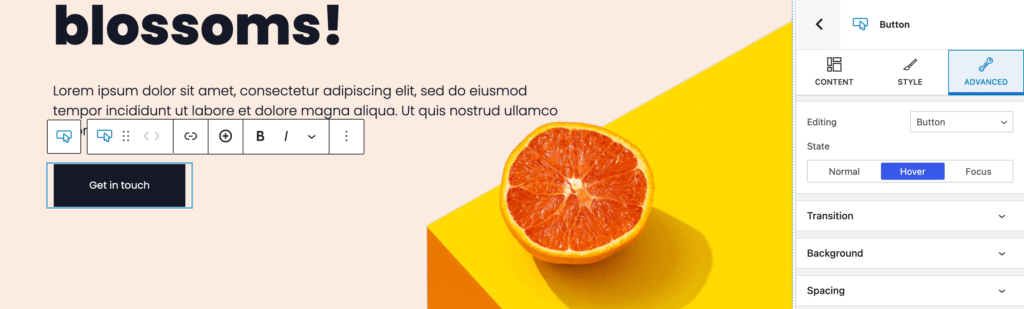
3. Select Transition to adjust the fade into color duration. Play around with different values until you find the perfect speed for your transition.
4. Select the Background setting and choose the color you want the block to transition to when hovered over.
Craft your own style: Custom WordPress hover effects with code and CSS
While plugins like Kubio offer great pre-built hover effects, sometimes you might want to create something totally your own. That’s where CSS comes in.
Custom hover effects give you complete control over the look and feel of your site. You can create animations, transitions, and interactions that help your website stand out. Plus, you can ensure that every element on your site, from buttons to images to entire sections, has a consistent and cohesive appearance.
Don’t worry, though – if coding isn’t your thing, Kubio’s intuitive interface makes it easy to customize hover effects without diving deep into code. But if it is, let’s explore some CSS techniques for creating custom hover effects:
Basic CSS for hover effects
Say you want to change the background color of a button when someone hovers over it. Here’s how you’d do it in CSS:
button:hover {
  background-color: #007bff;
  color: #fff;
}
This code uses the :hover pseudo-class to target the button when a user hovers over it, changing its background to blue and text to white.
Advanced CSS techniques
As you get more comfortable, CSS offers a toolbox of advanced techniques for creating custom hover effects:
Transitions
CSS transitions let you create smooth changes in an element’s style over a specified duration. This technique is perfect for making hover effects feel more polished and responsive. Here’s how to change a button’s background color when a user hovers over it:
button {
  background-color: #fff;
  color: #007bff;
  transition: background-color 0.3s ease, color 0.3s ease;
}

button:hover {
  background-color: #007bff;
  color: #fff;
}
In this example, the transition property specifies that both the background color and text color will change over 0.3 seconds using an ease timing function.
Animations and keyframes
For even more complex hover effects, you can use CSS animations and keyframes. Keyframes allow you to define specific styles at various points in an animation sequence, giving you precise control over how an element behaves.
Here’s an example of a bouncing effect on hover:
@keyframes bounce {
  0%, 20%, 50%, 80%, 100% { transform: translateY(0); }
  40% { transform: translateY(-20px); }
  60% { transform: translateY(-10px); }
}

.element:hover {
  animation: bounce 0.5s;
}
Pseudo-classes
CSS pseudo-classes are special selectors that apply styles based on an element’s state. We’ve already seen :hover in action, but there are others like :before and :after that can add content or decorative elements. For instance:
button::before {
  content: "\f00c"; /* Font Awesome checkmark icon */
  font-family: "Font Awesome 5 Free";
  font-weight: 900;
  margin-right: 5px;
}
In this example, the :before pseudo-class adds a checkmark icon before the button’s text.
You can also combine multiple pseudo-classes to create more advanced effects. For example, you can use :hover with :before or :after to create hover effects that involve additional content:
button:hover::before {
content: "\f00c";
transform: translateX(-5px);
}
In this case, when the button is hovered over, the icon will appear before the text on the button.
Performance considerations for hover effects
As you can tell, hover effects enhance user interaction on your website. However, if used excessively, they can negatively impact site speed and overall performance.
Let’s explore how to strike a balance between aesthetics and functionality for a smooth user experience.
File size
Larger images and complex animations can slow down page loading times, which can frustrate users and lead to higher bounce rates. To optimize performance, focus on reducing file sizes.
This can be achieved by compressing images and minifying your CSS and JavaScript code. Tools like TinyPNG or ImageOptim can help you compress images without losing quality.
Complexity of animations
Complex animations can make your visitors’ devices work extra hard, which could cause older phones or computers to lag. Stick to simpler animations to keep things running smoothly.
?Pro-tip: CSS animations are generally more efficient than JavaScript animations, so opt for CSS whenever possible.
Optimization techniques
To optimize your hover effects, minimize the use of external libraries and use browser caching. Kubio can help manage and optimize hover effects efficiently, ensuring they enhance your site without slowing it down.
For measuring and optimizing performance, consider using tools like Google PageSpeed Insights and GTmetrix. These tools provide valuable insights into your site’s speed and offer suggestions for improvement.
Number of hover effects used
You know how too many cooks can spoil the broth? The same goes for hover effects. Too many can make your website feel cluttered and confuse your visitors. Use them sparingly and with purpose. Here’s where hover effects work best:
- Call-to-action buttons.
- Navigation menus.
- Important images.
Compatibility with touch devices
Keep in mind that hover effects don’t work on touch devices like smartphones and tablets. But there are ways around this. You can use:
- Click events.
- Long-press actions.
- Visual cues like color changes or animations.
The key is to make sure your site works well no matter what device someone uses. That’s where responsive design comes in handy. You can use media queries to adjust your hover effects for touch devices, ensuring everyone has a great experience on your site.
Browser support and fallbacks
Different browsers sometimes handle hover effects differently, so be sure to test your hover effects in multiple browsers.
If you find that some browsers don’t support your hover effects, don’t panic. You can create fallback solutions, like simpler animations or alternative visual cues. This way, all your visitors get a great experience, no matter what browser they’re using.
3 tips to ensure mobile friendliness and responsiveness
Most of us browse on our phones these days, so make sure your hover effects work on all devices. Here are three tips to help you achieve that:
1. Keep hover effects simple and intuitive
For mobile hover effects, simpler is better. Think subtle color changes or zooms – effects that are easy to grasp on smaller screens. For example, a button that changes color when tapped gives users clear, instant feedback.
?Pro-tip: Keep your animations short and sweet. About 200-300 milliseconds is ideal. This way, users don’t have to wait around for the effect to finish before they can do what they want. And remember, consistency is your friend. If your “Read More” buttons all behave the same way, users will quickly learn what to expect.
2. Test across devices and screen sizes
Your site might look amazing on your laptop, but how does it hold up on a smartphone or tablet? It’s worth checking. Luckily, there are some great tools to help you out. Google Chrome’s Developer Tools let you preview your site on different devices right in your browser. BrowserStack and Responsinator are also excellent for thorough testing.
Don’t forget about different screen sizes, too. Use media queries and flexible layouts to make sure your hover effects look good no matter how big (or small) the screen is.
3. Provide alternative interactions
Here’s the thing about touchscreens – you can’t hover on them! So, have a plan B for your hover effects.
Any crucial information or features shouldn’t only be accessible through hovering. For example, if hovering over an image shows a description, make sure there’s also a way to tap the image to see that same information. For buttons and links, aim for a minimum size of 44 pixels in both width and height. This makes them easy to tap.
Lastly, people browse the web in all sorts of ways, so it’s important to prioritize accessibility. This means providing text alternatives for images or making sure your site works well with screen readers.
Elevate your WordPress site with Kubio’s hover effects
Throughout this article, we’ve explored how hover effects can transform your WordPress site from static to stunning. These interactive touches, when used thoughtfully, keep visitors engaged and coming back for more.
Kubio makes creating these eye-catching effects simple. Its user-friendly interface allows for extensive customization without any coding expertise, putting professional-grade design at your fingertips.
Ready to take your WordPress site to the next level? Explore Kubio today and start creating a website that delivers an exceptional user experience!