
Did you ever look for the delivery and return policy of the online store you bought your latest smartphone?
Where did you find it?
In the footer, of course.
When a designer is thinking of the navigation of a site, he puts the most important pages in the menu. He needs to prioritize them in order not to over-clutter the menu. If stuff gets left out, he can place it in the footer.
In short, the website footer is the last section you notice on a website. The minimum stuff that you can place inside a footer refers to:
- The logo,
- A copyright notice,
- Links to the privacy policy and terms and conditions,
- Contact information
- Social media icons.
But, take a look at this footer, from ClickUp, a cool task management software:
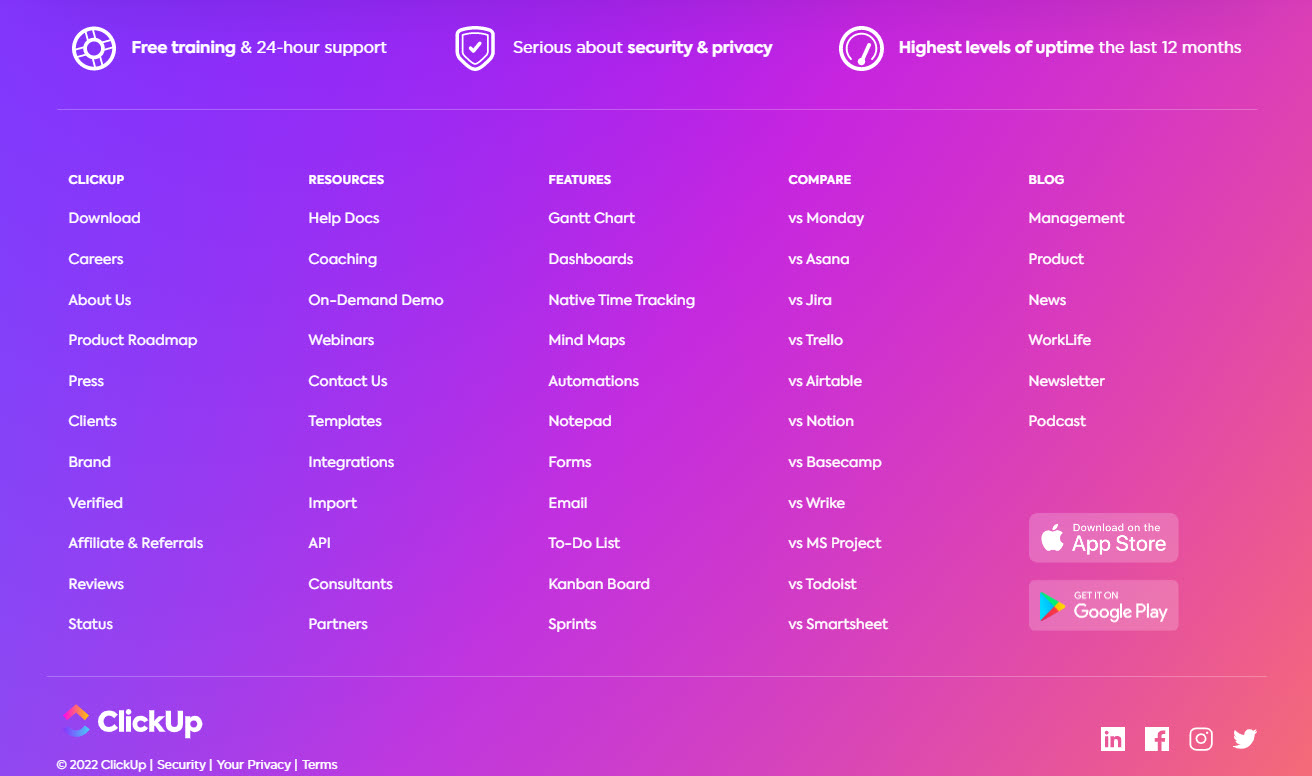
The footer also includes:
- 3 valuable product features,
- Links to their apps on Google Play and App Store,
- Links to career pages, press, reviews, product roadmap,
- Links to important resources for the ClickUp users,
- Links to feature pages,
- Links to product comparison pages,
- Links to their blog categories.
The bigger a website gets, the bigger the footer can get. Footers have an important role to play in website navigability.
And then, there’s this website footer for the Pearl Jam band:

Short and sweet. You can also use the footer to get sign ups and newsletter subscribers like the folks at Pearl Jam do. And there’s also a search bar inserted.
Now, let’s get down to business, shall we?
Let’s find out how you can create your own footer using Kubio WordPress page builder.
The page editing panel in Kubio
When you are inside of a web page in Kubio, click on the settings icon in the upper right. It will open up a page editing panel. This panel allows you to visualize your page sections easily.
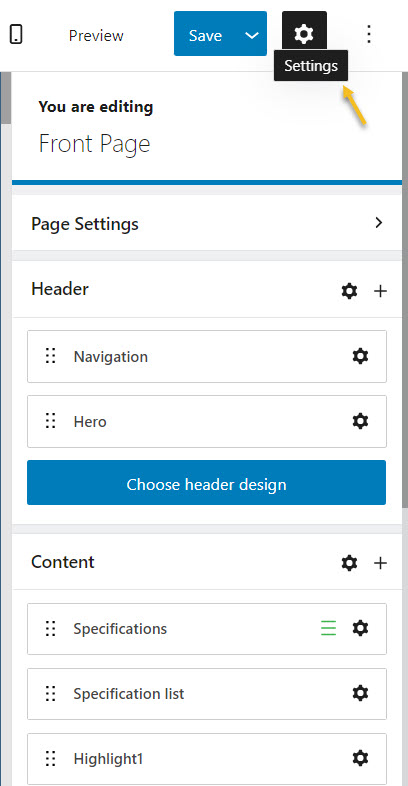
Now, head over to the “Settings” icon next to “Footer”. If you are using a PRO Kubio plan you will be asked whether you want to make changes to this page’s footer or to all the pages that use this footer. This means that with Kubio PRO you can create separate footers for separate pages.
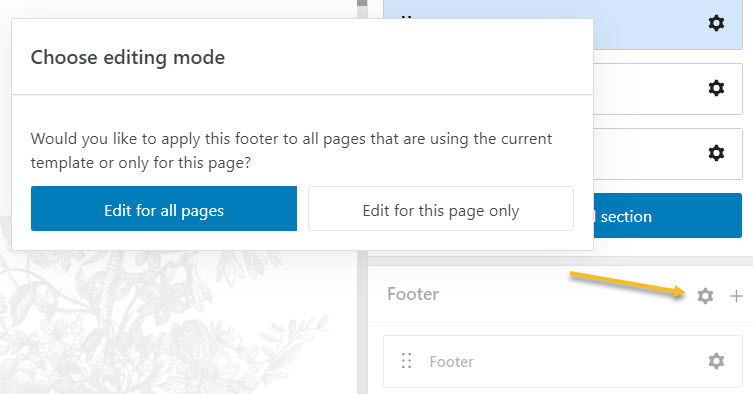
I’m going to go with the first option.
Now, you will see a block editing panel showing up to the right hand side. Let’s go inside.
Footer block editing in Kubio
The block editing panel has three main layers: Layout, Style, and Advanced. Notice that there’s “Footer” written inside the panel? No matter the block you want to edit, its name will always show up in the panel. This way you can figure out whether you made the block selection properly. The block editing will always have three layers, and the vast majority of styling options under “Advanced” are common among blocks. And this is good news.
Now, here’s more information on what blocks are and how to work with them in Kubio.
But, for now, let’s go inside the block editing panel.
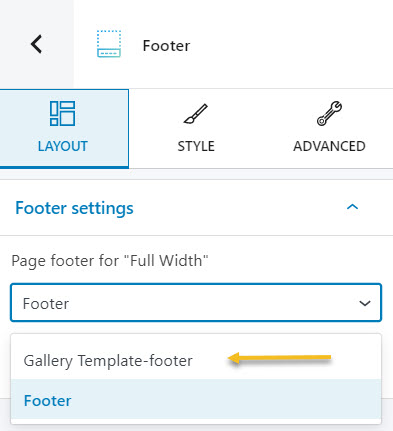
The “Layout” level
Here you can assign a different footer to the current page.
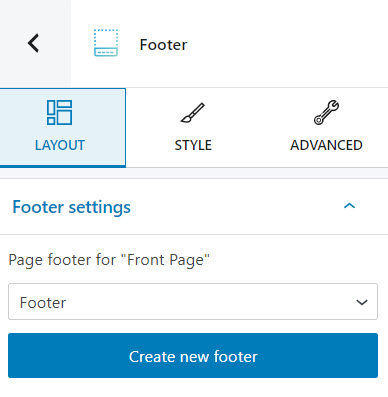
If the theme or template site you’re using has several footers included, or you have created your own using Kubio PRO, you can use the option here to assign a footer to the page. We’ll talk a bit later about creating footers with Kubio.
The “Style” level
Inside Style you can make footer background changes, as in color changes and background type changes. These options are present across most Kubio blocks. So once you do this for a block, it will get piece of cake for the second block.
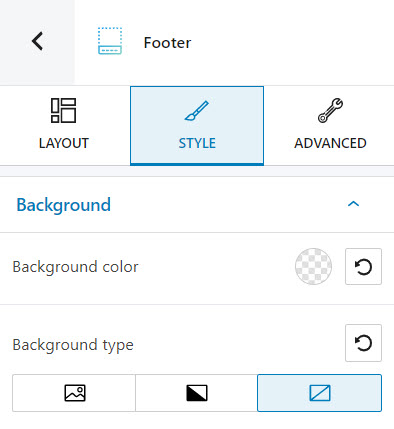
How to make background color changes for blocks in Kubio
Start by clicking on the colored circle. A panel will open up that allows you to pick a color from the current color scheme or gradient from a color, pick a color from a slider, or just type in a desired color code in the “HEX” field. You can also switch to the RGB color mode if it suits you better from the dropdown arrow.
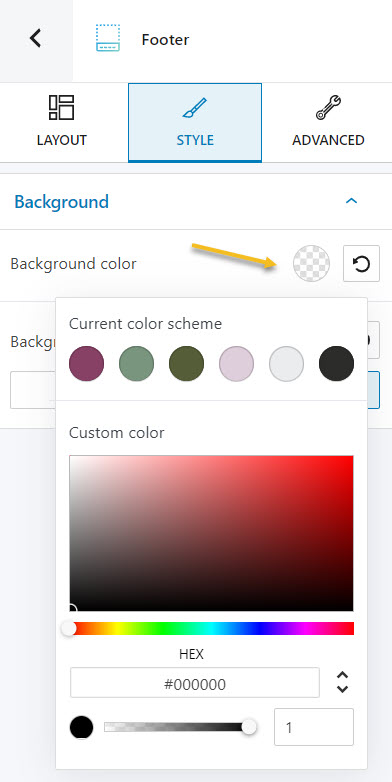
You can also adjust the opacity of your color. The slider offers you values from 0 to 1, 1, meaning there’s no transparency. You can always reset the color to transparent when you select the reset button.
How to change the background type of blocks in Kubio
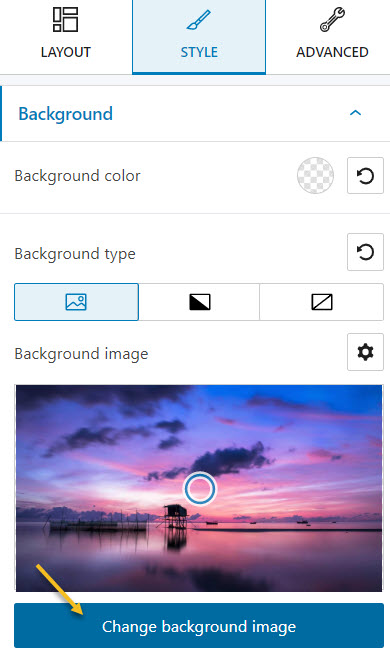
If you don’t want a solid background for your block, you could switch to a background image or a gradient.
After selecting the image background type, you will see a default image showing up. You can easily change it after clicking on the “Change background image” button. You can upload your desired image or pick one from the Media Library.
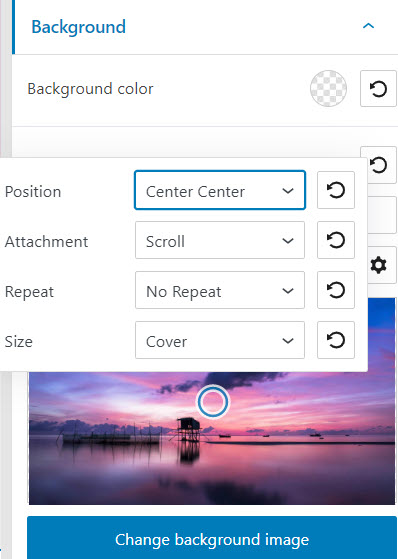
If you click on the settings icon next to “Background image”, you will see some options that will allow you to position the background image.
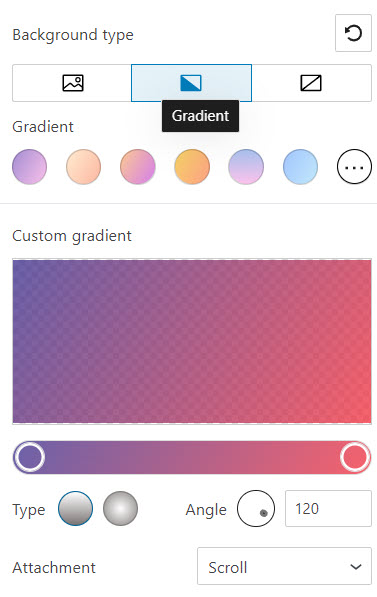
If you prefer a gradient as a background, select the gradient icon. You will have 5 free gradients available, and more than 100 in the PRO plans.
There are two types of gradients that you can use: linear or radial. You can adjust your gradient by using the slider (for both the linear and radial gradients) or the angle (in the case of linear gradients).
When you click on the slider, you will be able to add more color points to the gradient. Just choose its color and set up its opacity.
The “Advanced” level
Here you can customize the footer both in the normal and hover states.
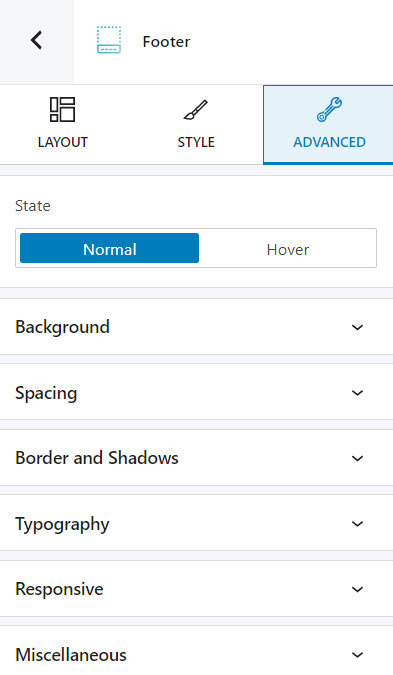
Here you can:
- Make background changes. You’ll recognize the settings at the “Style” level\
- Adjust the footer spacing, meaning that you can make margin and padding adjustments.
- Customize the border and shadow of the footer. There are several border types that you can choose from. You can assign a certain thickness in pixels to your border. You can read more about this topic, here.
- Customize typography. At this level you can make changes to text, heading, link, and hover link color. You can read more about this topic, here.
- Decide whether the block will show or not on desktop, tablet or mobile.
- Set up the z-index of your block (vertically order the elements that overlap), set up if the element overflows or not (displaying the content of the block flowing out of its container into the surrounding area), add HTML anchors and CSS classes. All these can be done inside “Miscellaneous”.
Now, what you should know is that there are some priorities to be respected when it comes to styling. Let’s say you set up a certain background color for the footer. But the content inside the footer has 3 differently colored columns, with some content inside. Now, when you go and set up a background color for the footer, it will not apply. Why so? Because the most granular background setting will overwrite it. This means that the columns’ background color will have priority over the footer background color. This is a topic related to nested elements, parent-child relationships and inherited styles. We talked about this in a previous article.
Adding and customizing blocks and sections to the footer
Now, let’s say you want to add more elements to the footer. Kubio lets you add predefined content sections to it.
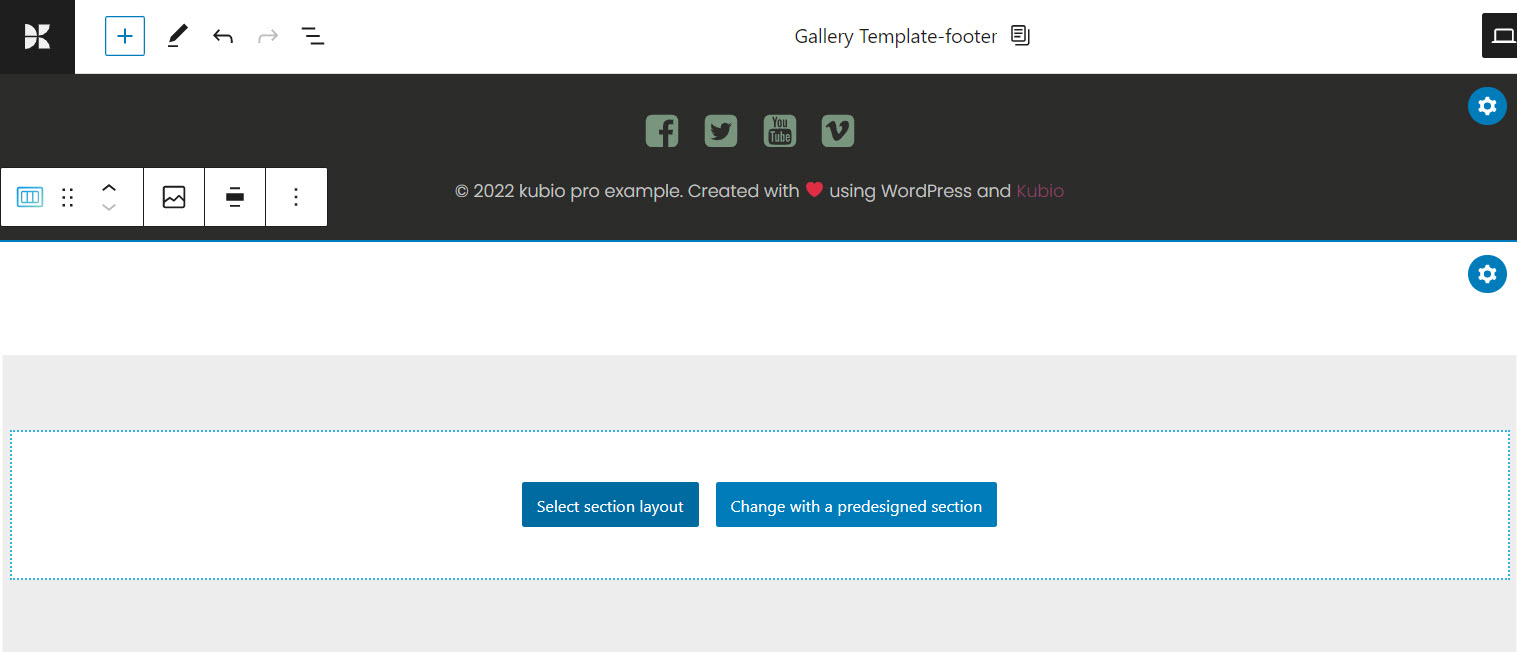
Let’s go back to the page settings. Let’s click on the “+” sign next to Footer.
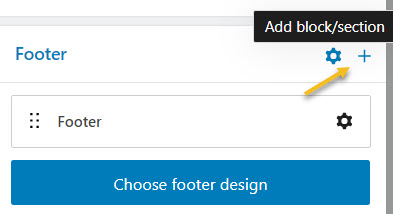
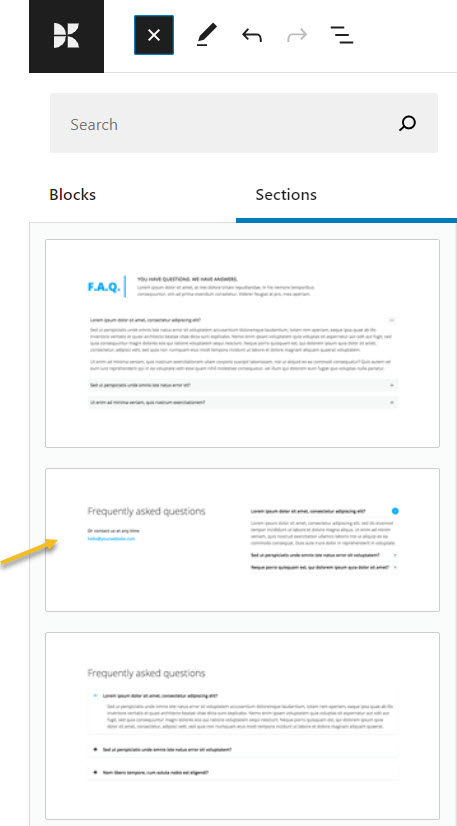
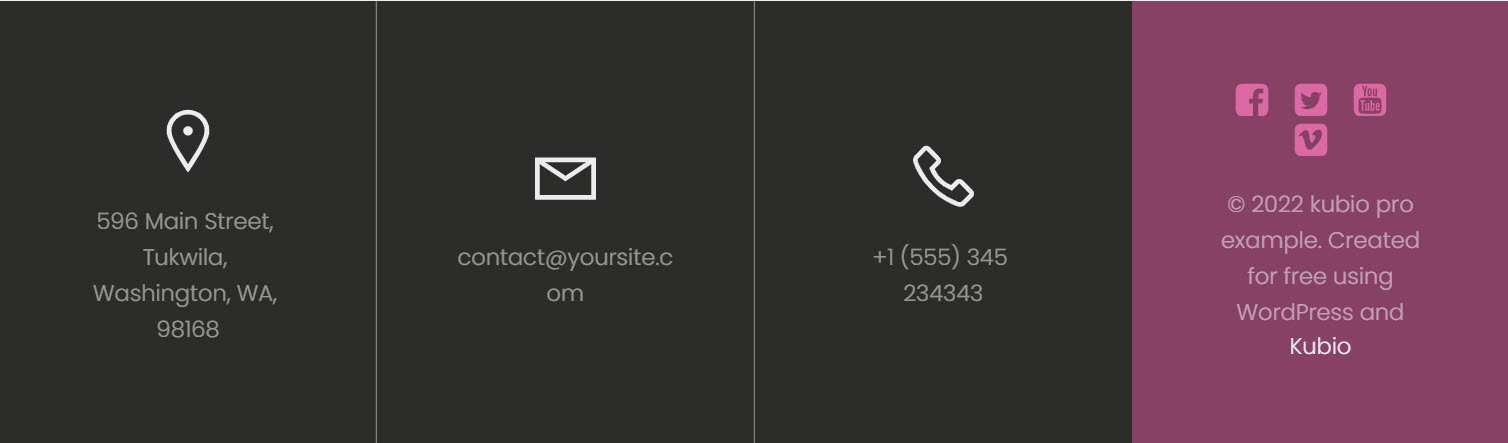
This will open up a block inserter on the left hand side. It contains a list of predefined sections grouped by topic: clients, testimonials, contact, as well as a blank section.

Let’s choose an FAQ section.
The section will adapt to the color scheme of the current template.
This is why it looks like this:
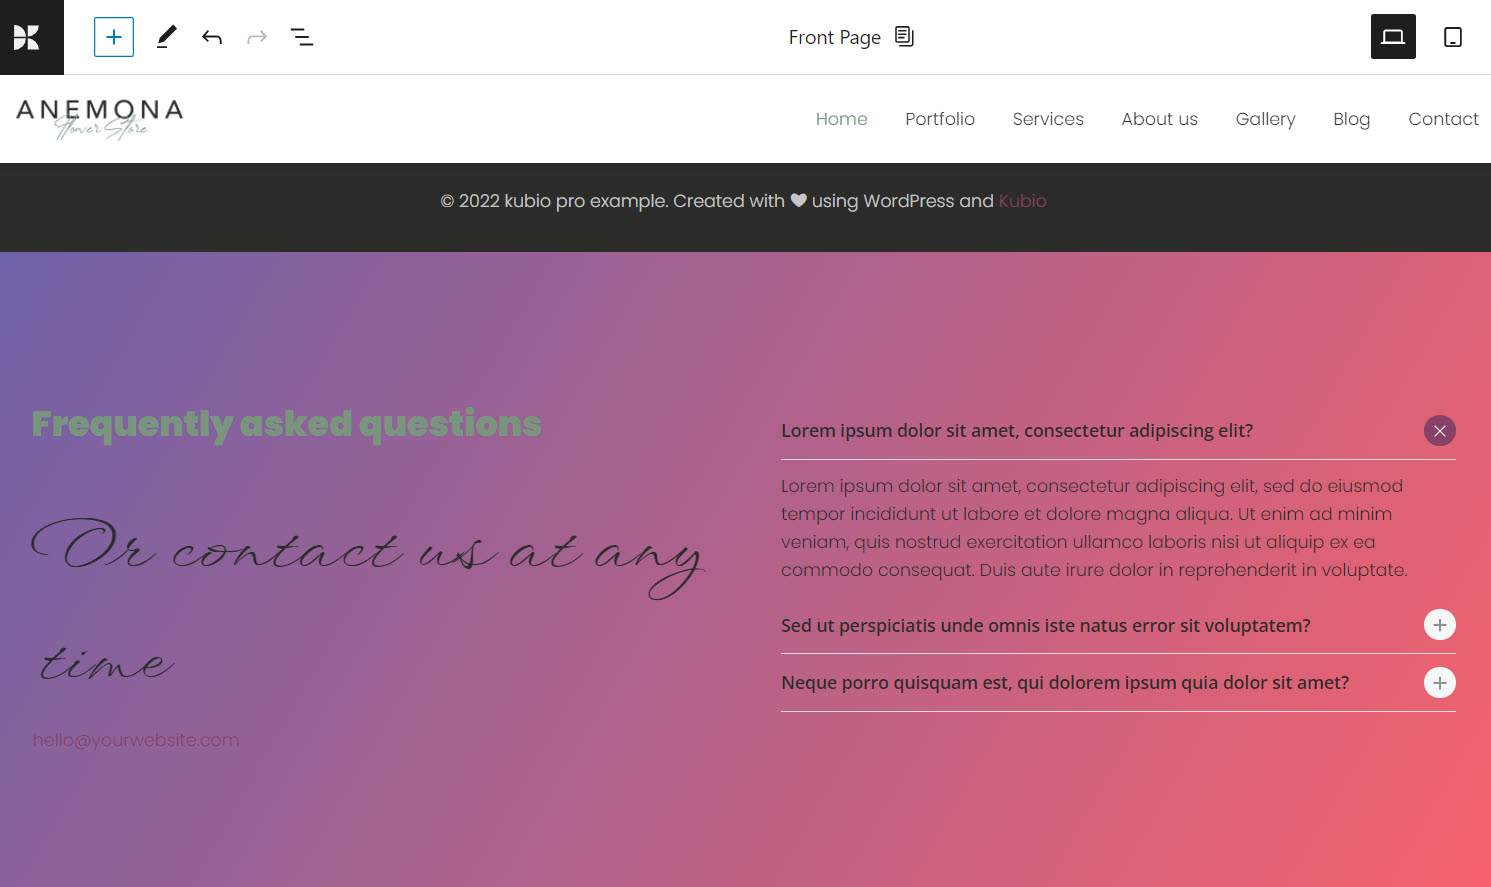
In the next chapter we’re going to customize the blocks inside this section.
But how do we add new blocks here?
Hover over the elements inside the section to uncover “+” signs, as shown below.
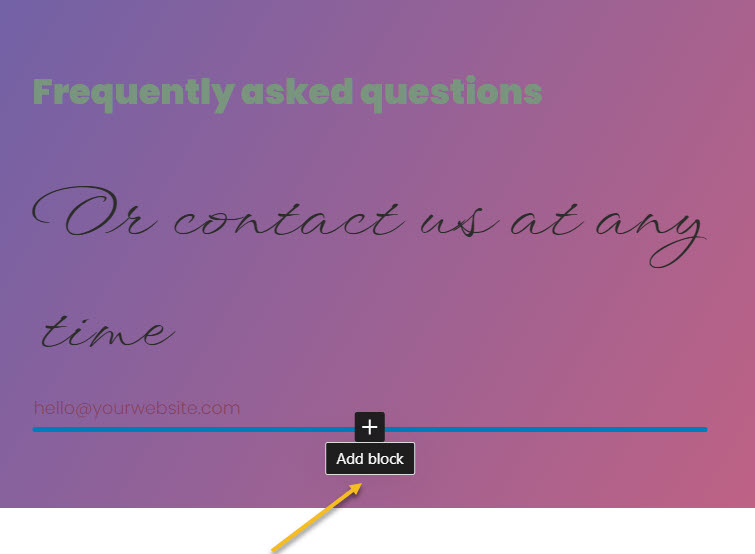
When you click on the “+” sign you will open up a block inserter with several blocks. You can type in the name of a block. Let’s type “Search”, because I want to add a search bar.
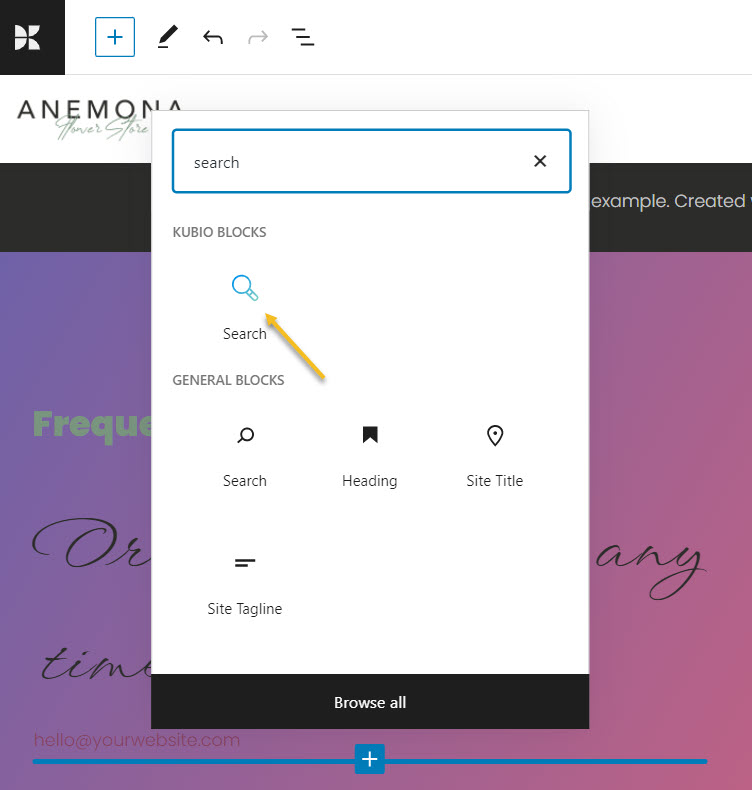
Now, the black icons are the default WordPress blocks, while the ones with a blue-green tint are the Kubio blocks.
Let’s see what we’ve got so far:
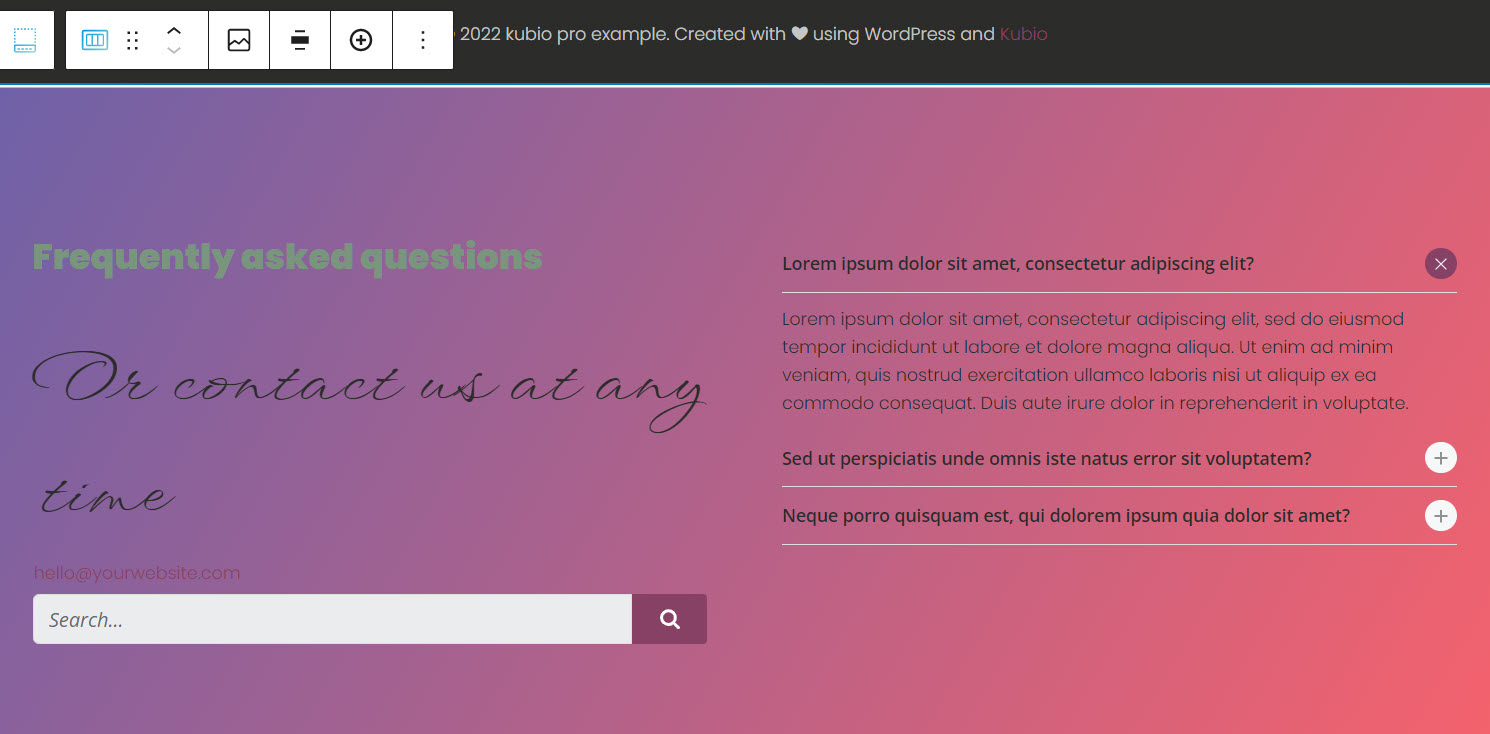
Notice that there’s a toolbar on top of the section?
Such toolbars will show up on top of blocks as well. Depending on the block the options in the toolbar will vary. But, there are some common options as well, such as:
- Positioning. When you select the 6 dots, you will have the option to drag and drop the block where you want. When you select the up and down arrows, you will move the block up and down.
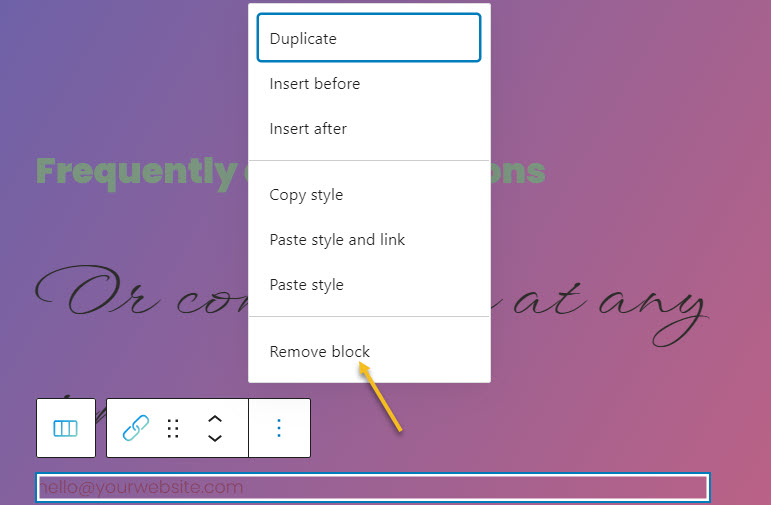
- Options. Inside options, there are several actions that you can take:
- Duplicate. This allows you to clone your current block. After this duplication, you can style both blocks independently.
- Insert before. This allows you to insert a new block before the current one.
- Insert after. This allows you to insert a new block after the current one.
- Copy style (PRO only) – use this option when you want to copy the style from a block to another. This will copy text color, background color, font size, font family, borders and their styling, to another block. This option is used together with the paste style. You can copy and paste styles across the same type of block, from paragraphs to sliders. Now, you should know that in the case of advanced blocks, they have multiple blocks inside (buttons, images, text, etc), the styling won’t be copied for the elements on the inside as well.
- Paste style and link (PRO only) – after copying the style from another block, use this option to paste the style. When the styles are linked it means that any style change happening on a block, it will be reflected on the other one as well.
- Paste style (PRO only) – after copying the style from another block, use this option to paste the style. This option won’t link the styles of the blocks, meaning that a styling change done to a block, won’t affect the other.
- Remove block. This is how you delete the block you’re currently on.
Let’s remove the text below the main FAQ heading, and the email address.
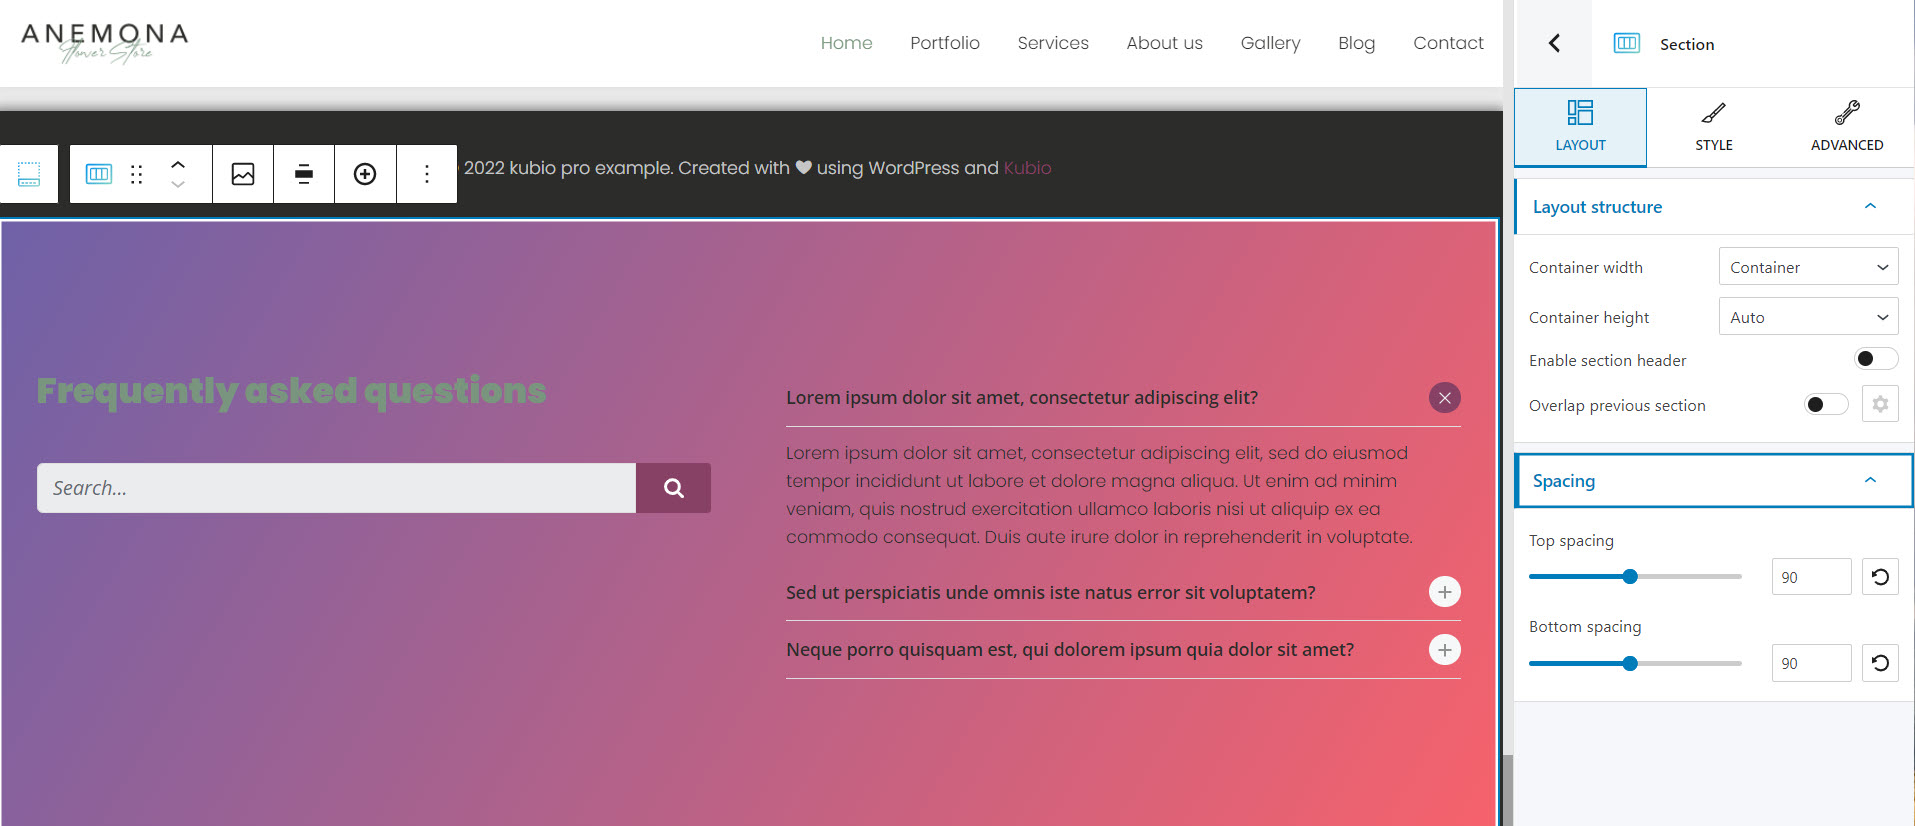
Now, when you select the FAQ section, you’ll recognize the block editing panel on the right with its three levels.
If we head over to Layout we can make the top and bottom spacing smaller than the default. Let’s go with 50px, instead of 90px.
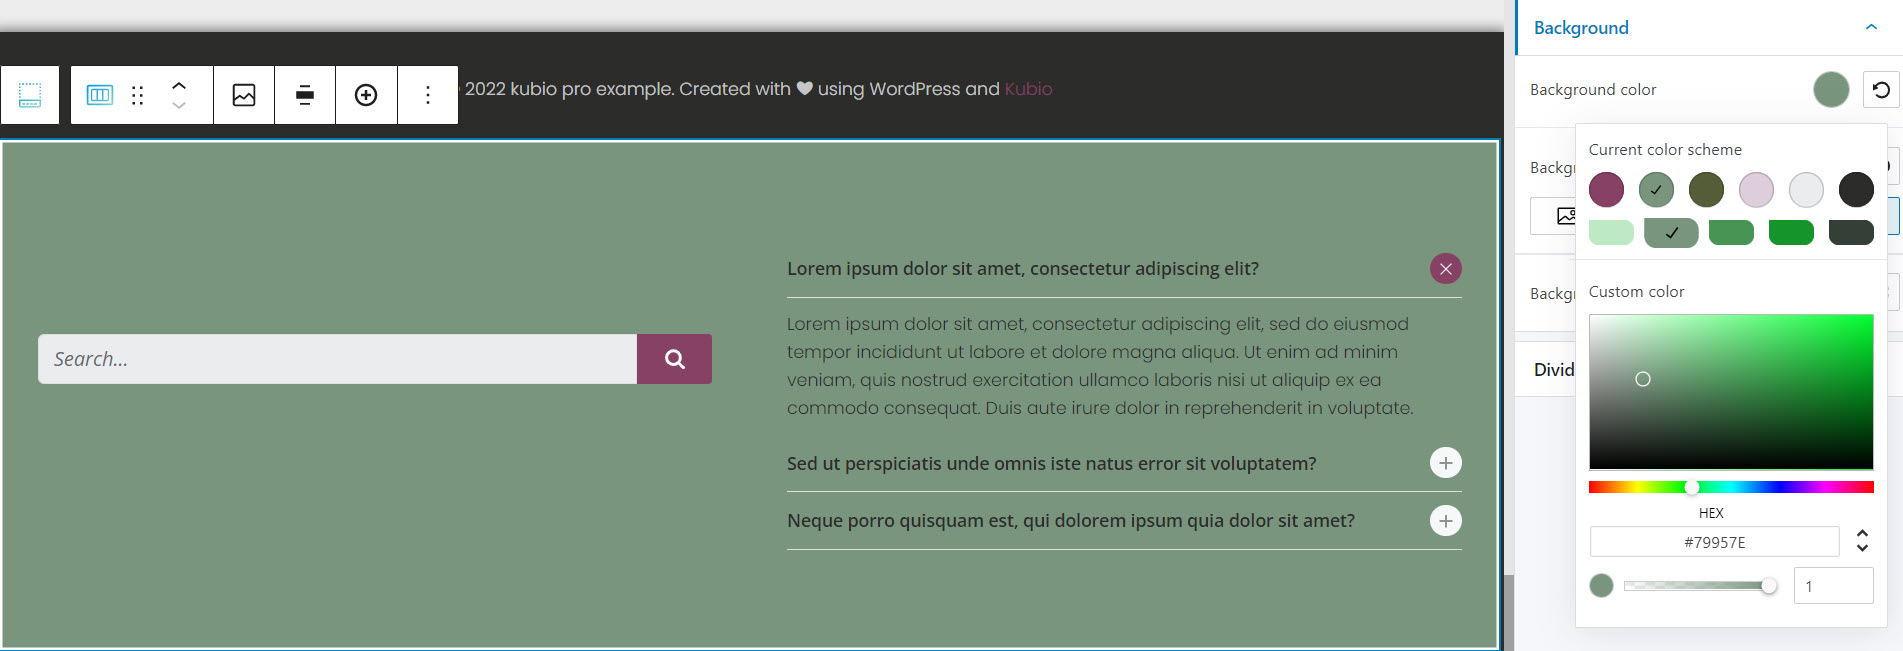
Now, remember where we can change the background color?
We can change it inside “Style” or “Advanced – Background”. Let’s choose a nuance from the current color scheme.
That’s more like it!
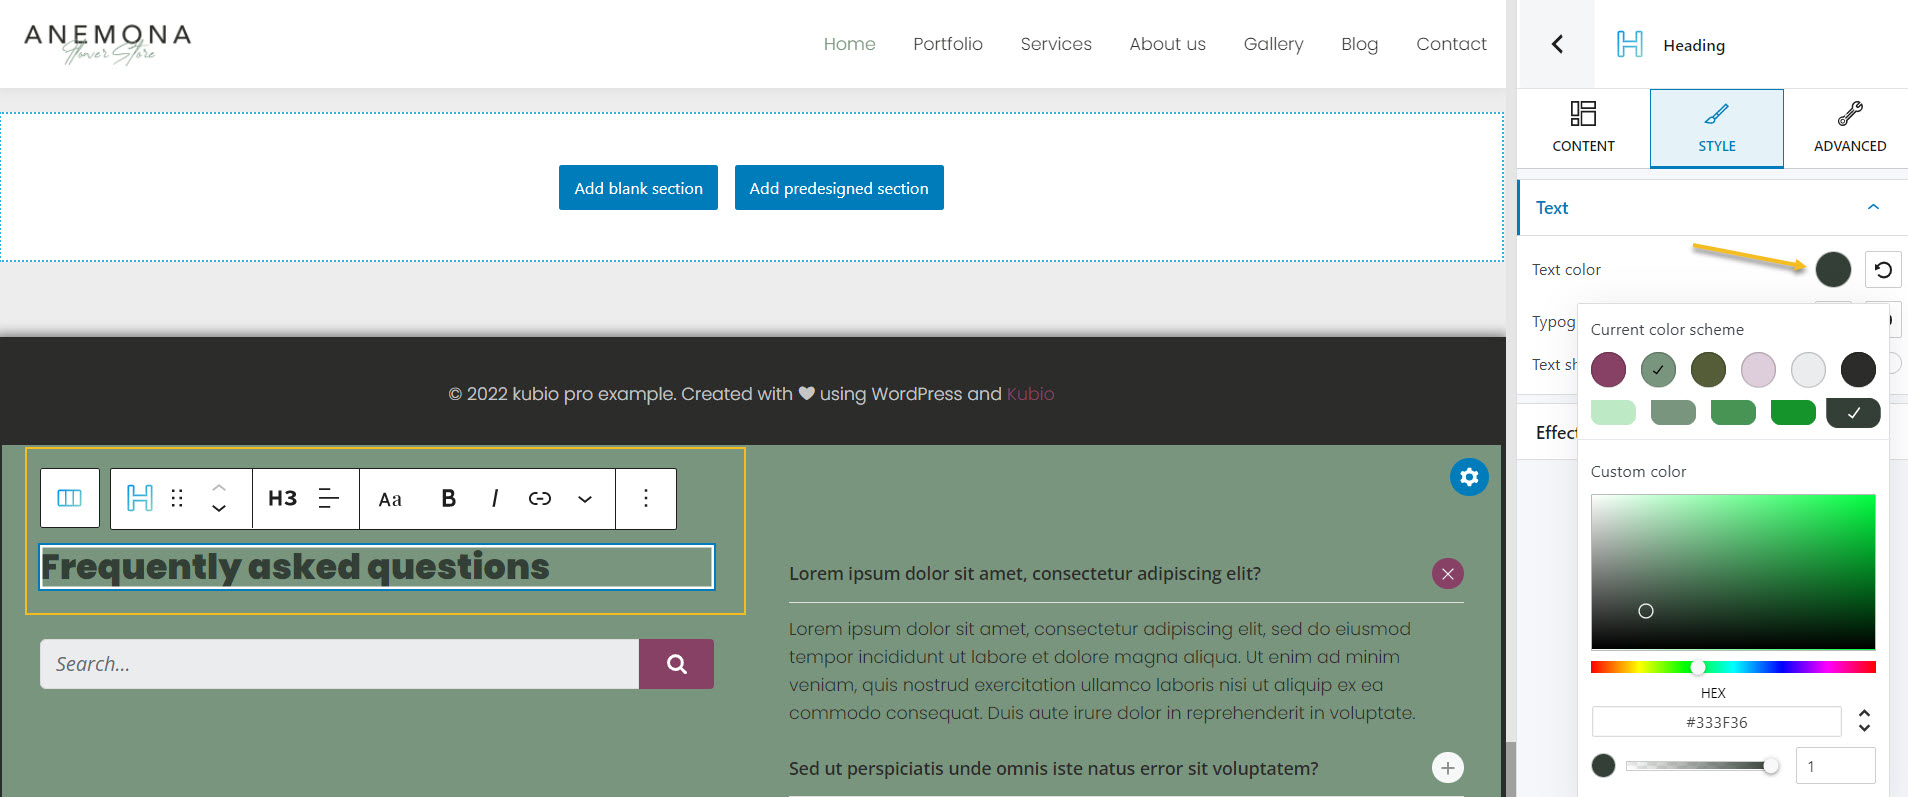
But where did the heading go?
It’s still there, but it has the same color as the background. Let’s hover until we find it, and make it dark gray.
Always be careful when changing colors. It might happen that you have some white text inside a section, and you switch the background to white. It would be advisable to first change the color of the white text.
So, don’t do it as I just did :).
Did you notice that in the case of blocks the customization also happens inside the editing panel on the right? This time, the levels inside are named: Content, Style, and Advanced.
At the “Advanced” level you can recognize most of the options described for the footer block.
The options inside “Content” and “Style” vary a lot from block to block.
Let’s go back to our heading. Here’s what you can edit in the block editing panel:
- At the “Content” level you can change the heading type, align it, or assign a URL to it.
- Inside “Style” you can customize: heading text color, typography, and shadow, and heading effects..
Footer predefined sections in Kubio
Now, if you do not want to customize your footer as much as I showed you above, you can take the shortcut.
Let’s go back to the page editing panel.Go to Footer and select “Choose footer design”.
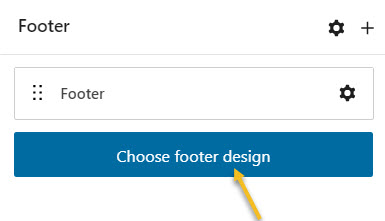
It will open up a list of pre-designed footers on the left-hand side.
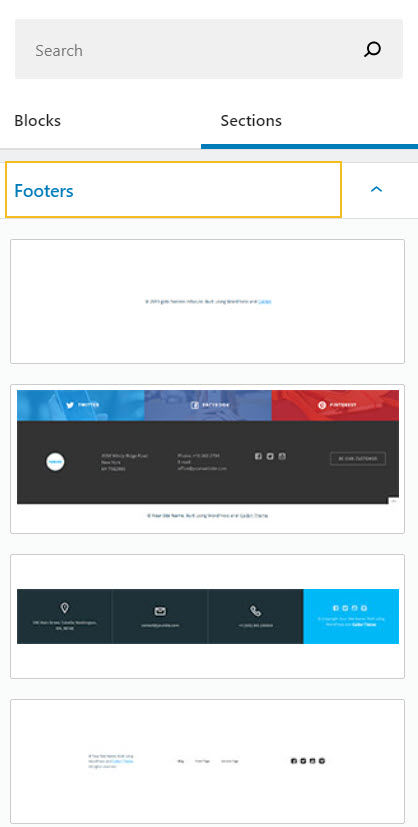
Click on the footer you like.
Here’s mine.
The section has adapted to the color scheme of the current template.
You can now go ahead and add new blocks, remove the ones that you don’t need, and then customize everything the way you like using the block editing panel on the right.
Creating headers using Kubio PRO
Now, remember when I showed you this?
When you want to create a separate footer for a page (only in Kubio PRO) you will need to go for the “Edit for this page only” option.
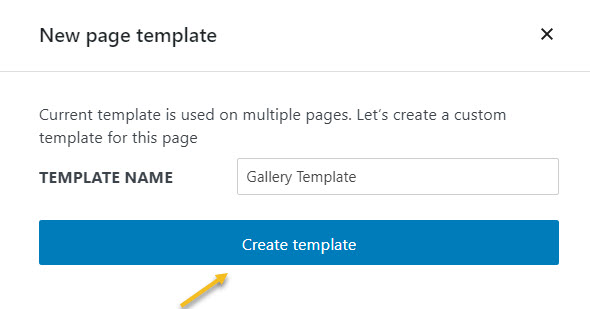
You will now create a new footer template. You can save it with the suggested name, or name it yourself. Then hit “Create template”.
This will open up the block inserter to the left hand side with some predefined headers.
All the changes you will now make to the footer will be saved in a template that you can reuse later on.
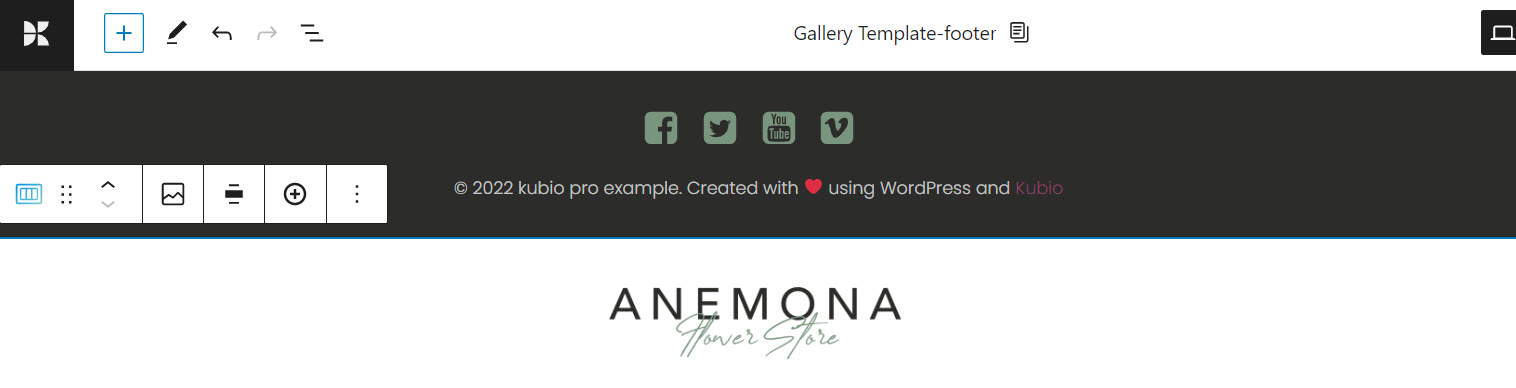
Let’s just add some social media icons, then use the block editing panel on the right to make the icons flat green.
Let’s save the design using the “Save” button in the upper-right corner.
But where can you find all the footers you create?
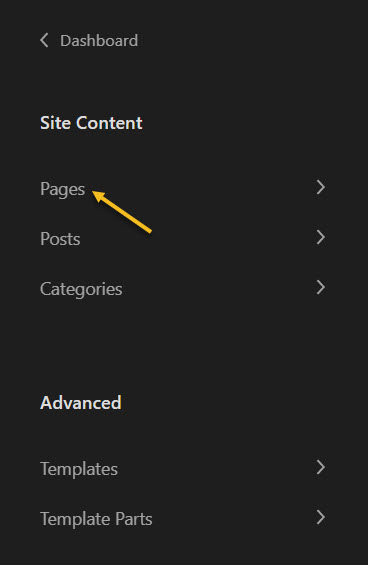
Well, start by clicking on the Kubio logo in the upper left corner. It will open a panel. Locate the template parts.
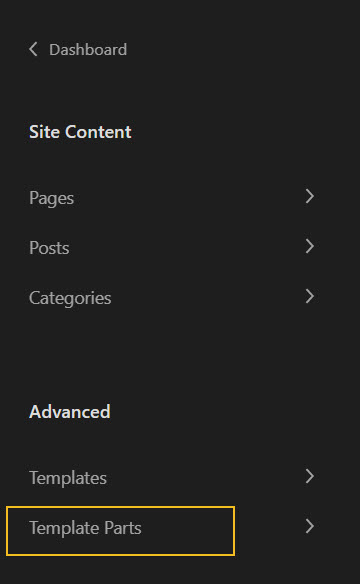
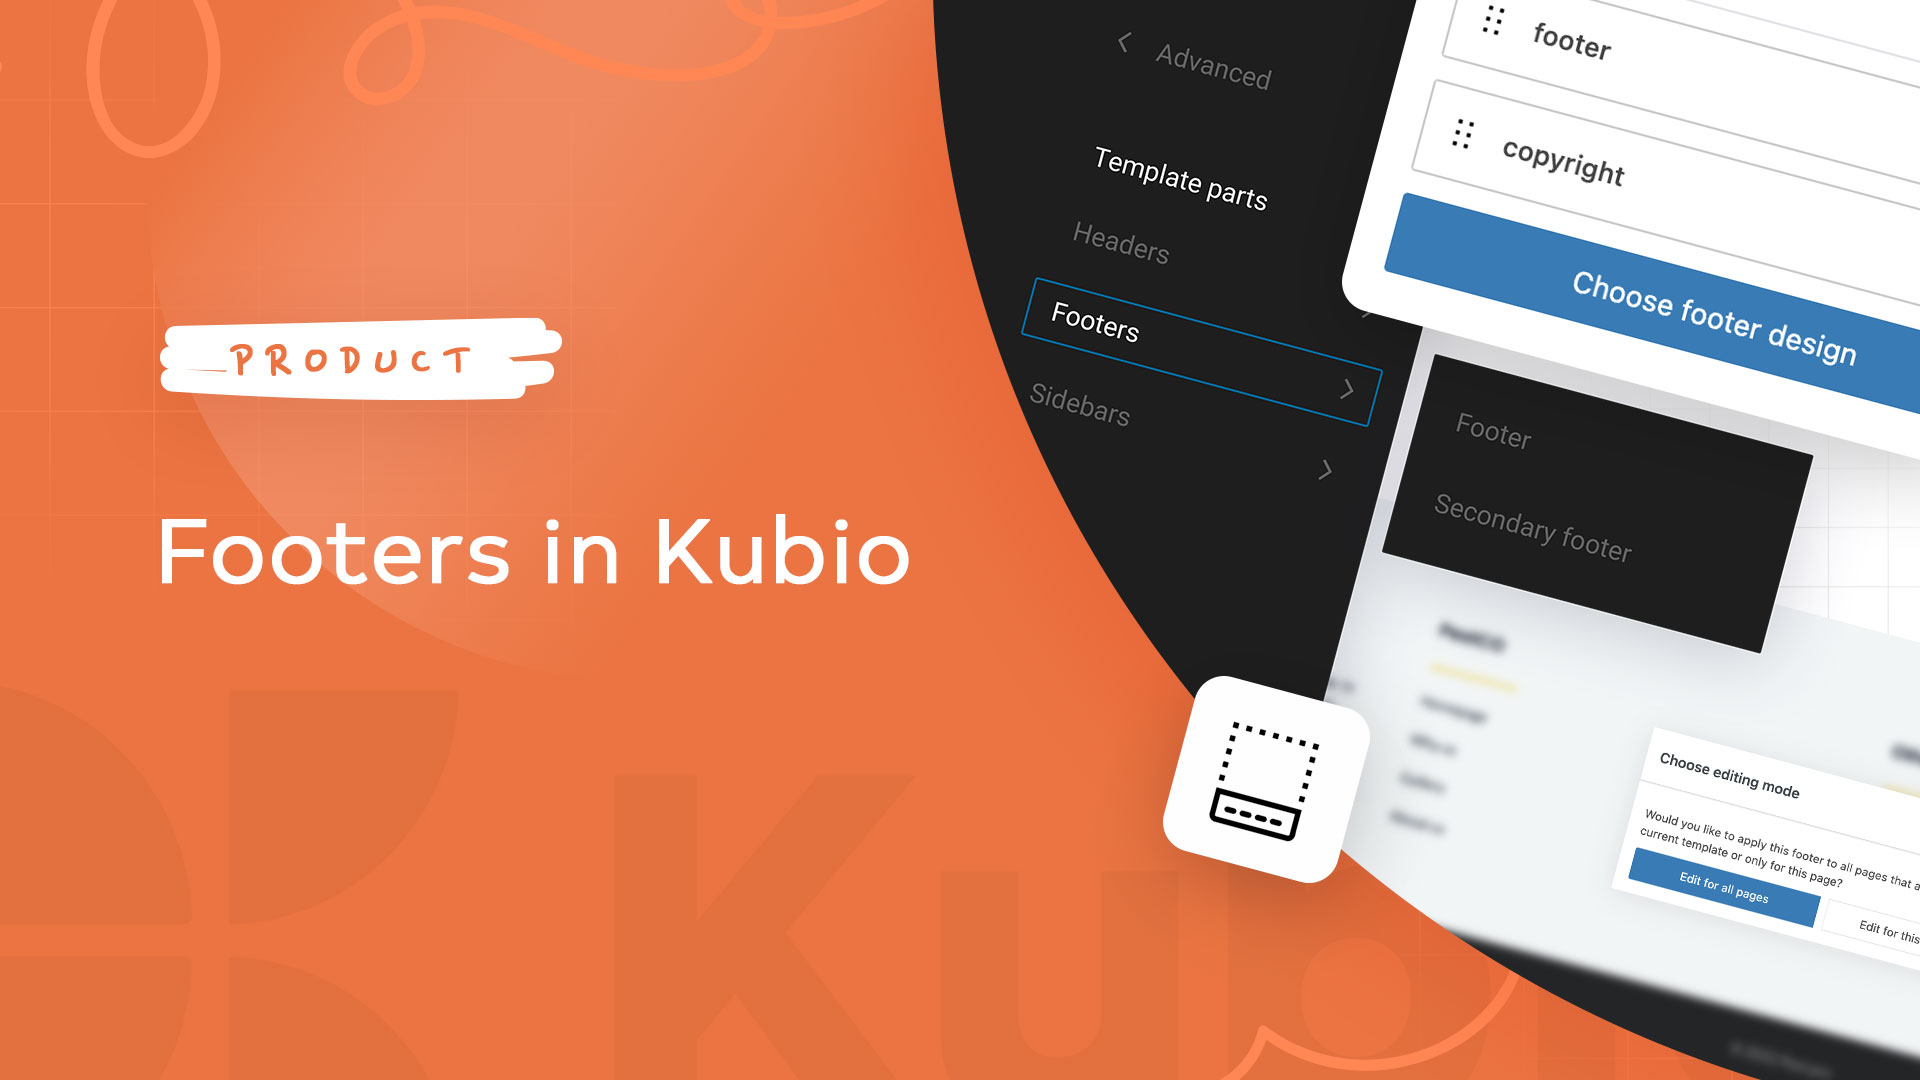
When you click on “Template parts” you’ll notice headers, footers, and sidebars. Each of them will contain the default template parts, as well as the ones you built. Let’s head over to footers. Notice the footer I have just created?

Let’s click on it. Now, we can make further edits to this footer. If the footer is being used across multiple pages, the changes we make here will be reflected in all those pages as well. This way Kubio makes design scalable.
Let’s add a new section to this footer. We could use the toolbar on top of it, or just go to the settings icon in the upper-right corner of the footer.

Let’s select “Add section after”. Next, let’s pick a single-column design.
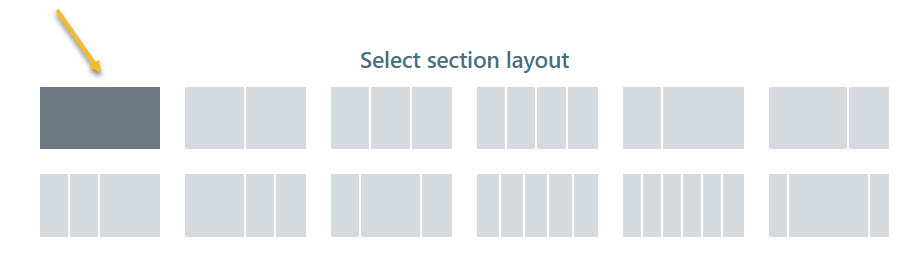
Let’s use the “+” sign to open up the block inserter. Let’s insert the logo block.
Now, this section is way too tall.
Let’s go to the block editing panel on the right and change the top and bottom spacing from 90 pixels to…0!
Way better:
Now, let’s hit “Save” and let’s go to another page to assign this newly designed footer. Let’s click on the Kubio logo. It will open up the navigational panel. Let’s go to pages and choose a page.
Use the settings icon at the page editing panel level to enter the footer, as shown in the beginning of this article.
Next, head over to the block editing panel on the right. At the “Layout” level you can assign the newly designed footer to the current page.
And, you’re done!
Wrap up
In this tutorial we talked about:
- How to style the footer section inside the block editing panel,
- How to customize the blocks inside the footer,
- How to use footer predesigned sections,
- How to create new footers as template parts inside Kubio PRO.
Now, we’ve also prepared a video tutorial on the topic for you. Check it out:
If you liked this article, and want to have access to similar content, make sure to subscribe to our YouTube Channel. You can also follow us on Facebook.