
Let’s say you are not the type that likes to build a website from scratch but you prefer building it on top of a starter site.
Now, let’s say you want to customize your navigation. How can you proceed with this using Kubio?
Well, this article will shine a light on the topic.
But if you are the type that do wants to start from scratch, just jump to this section and find out how you can add the navigation block. In both cases further editing will happen inside the block editing panel.
For the purpose of this exercise I’m using the Gadget free Kubio starter site.
Meet the Kubio Page Editing Panel
When you are inside of a web page in Kubio, click on the settings icon in the upper right. It will open up a page editing panel. This panel allows you to visualize your page sections easily.
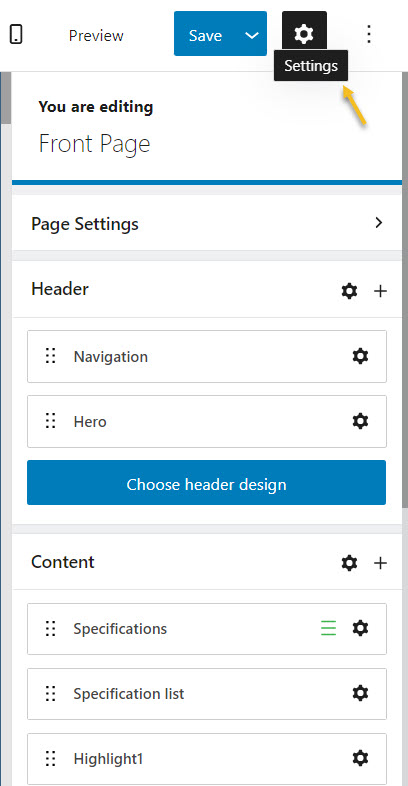
The structure of a page is made of header, content, and footer.
The header is made of two blocks: hero and navigation.
These blocks aren’t found among the blocks listed inside the block inserter, unless…they get deleted one way or another.
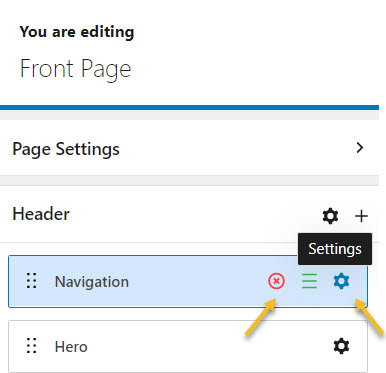
Now, right next to Navigation you can notice 3 icons. They allows you to:
- Remove the navigation block,
- Add the section to the menu. This option is not needed here, but this is a great shortcut when you want to add certain page sections to the menu.
- Access the block editing panel via the “Settings” icon.
The moment you select the “Settings” icon you’ll notice this panel on the right instead of the page editing panel.
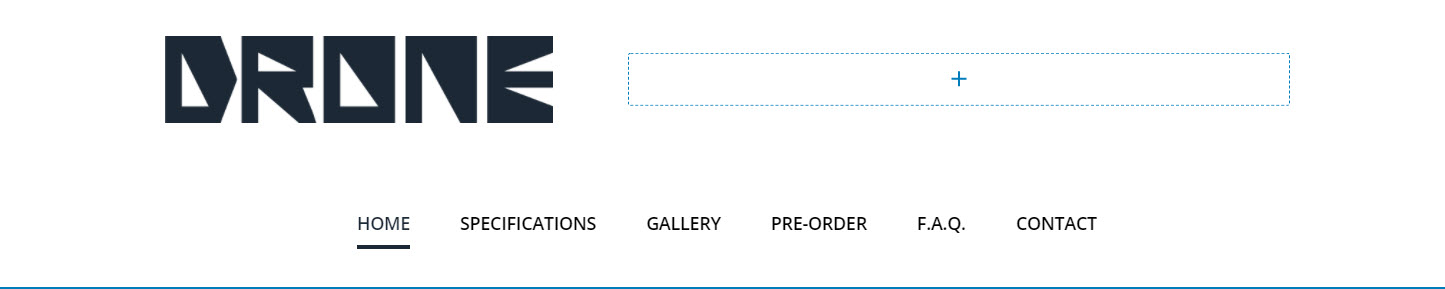
Our current navigation contains a logo and a menu, as shown below.
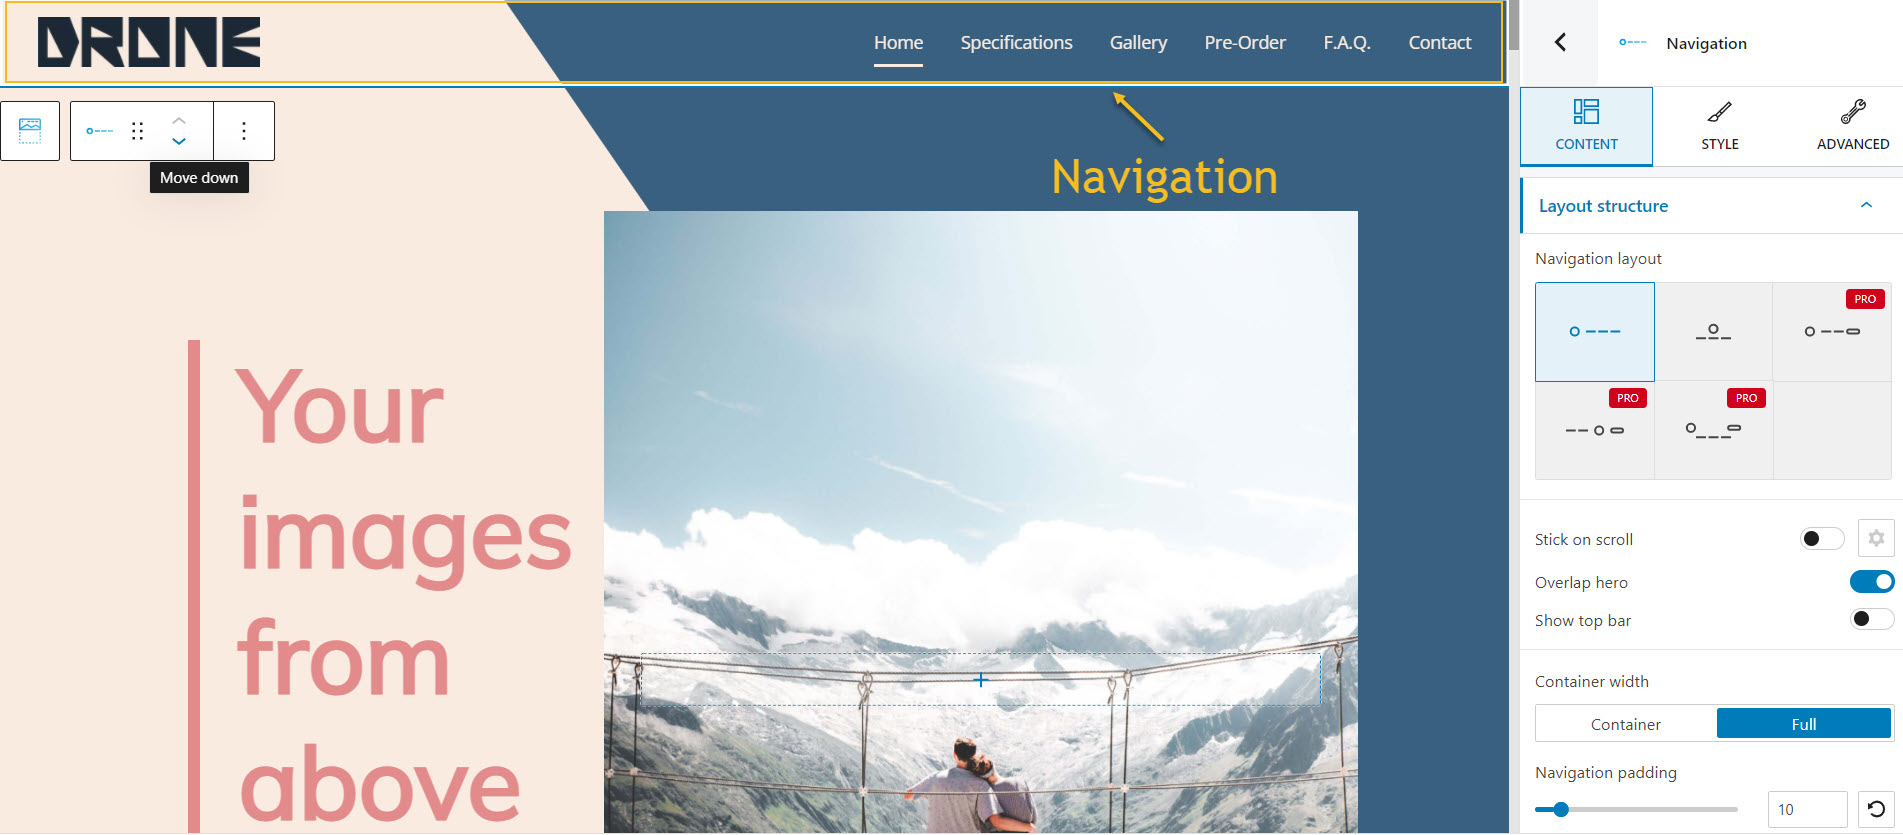
You can select the navigation via two ways:
- From the page settings panel, after clicking the “Settings” icon. It will automatically select the navigation but also open the block editing panel on the right. This is where all the Kubio magic will happen. We’ll talk about this a bit later.
- From the breadcrumb view at the bottom of the canvas. In order to do this you can click on any element inside the navigation (a logo, a menu item, etc.). Next, head over to the breadcrumb view. I’m clicking on the logo, for the purpose of this exercise.
Now, look at the bottom of the canvas. Notice a breadcrumb view containing the logo to the right hand side? Now, move to the left until you notice “Navigation” and click on it. You have just selected the navigation.
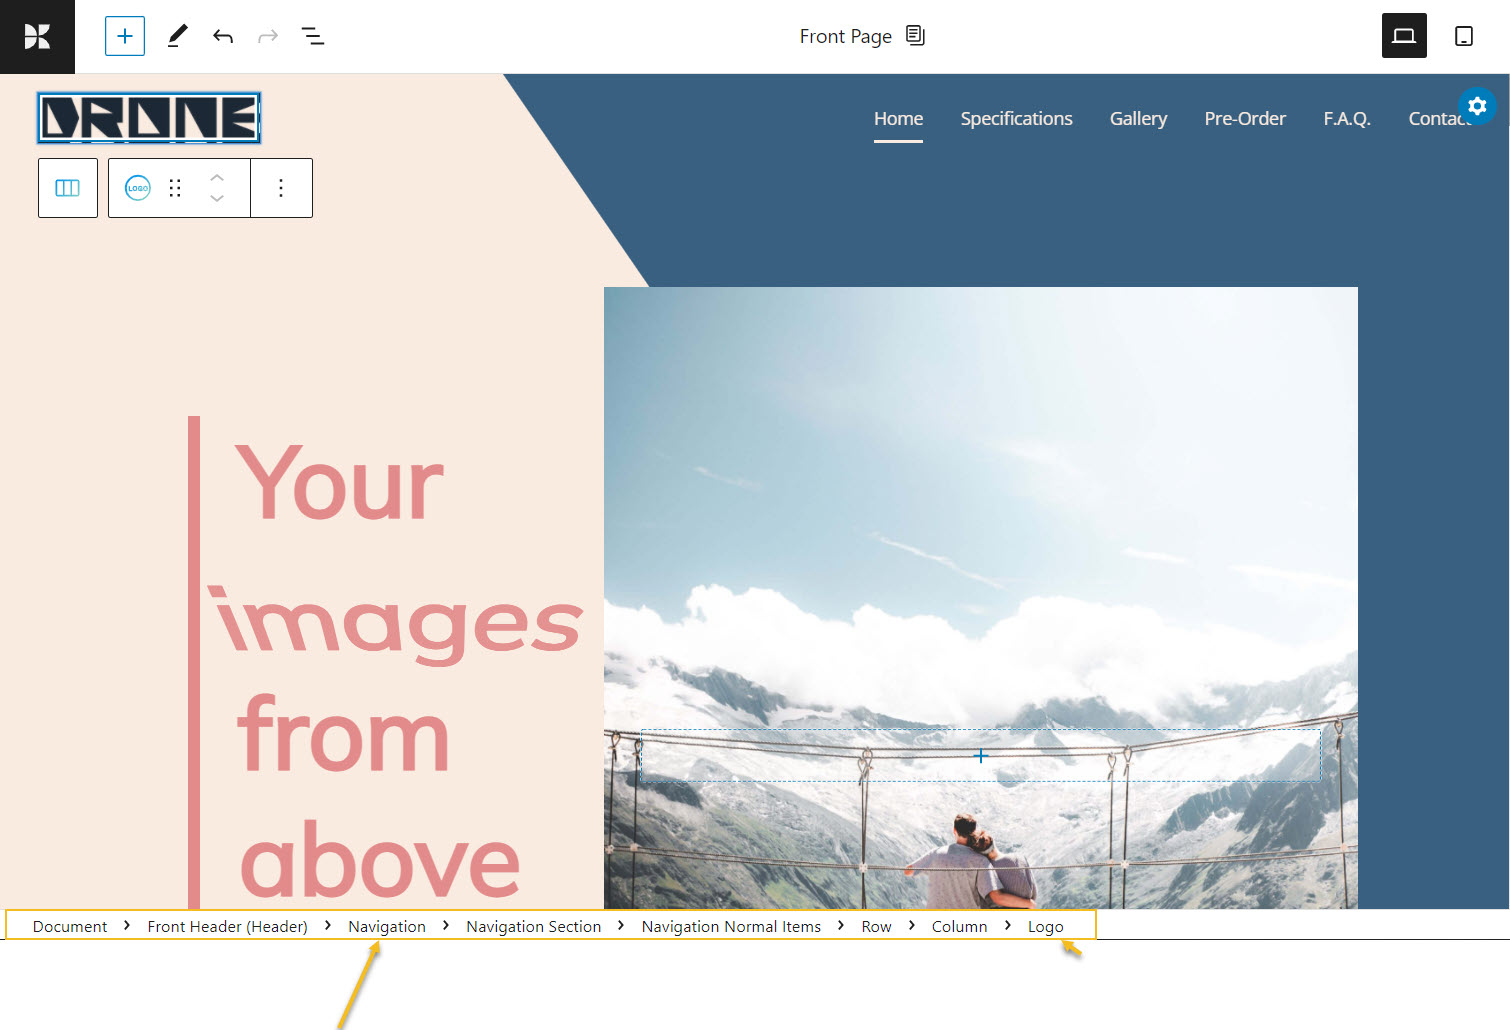
Now, the breadcrumb view allows you to understand how certain elements on the page are placed one inside the other. This is called “nesting”. You can notice that the logo lies inside a column, the column lies inside a row, the navigation lies inside the header, and so on. The most granular item is the furthest to the right, while the least granular items are placed further to the left. Understanding how elements get nested inside each other will help you better design your site.
For example, if you have a row with 3 columns and you want all the columns to have the same background color, you won’t need to change every column’s background color individually. You’ll just change the background color of the row, the row being the “parent” of those 3 columns, also called “children”. The same goes with typography. More info on the topics of “nesting” and “child-parent” relationships can be found here.
Going back to the nav selection, you can notice several icons showing up. Let’s talk about them.
Nav settings and the nav toolbar
Now, you can notice a toolbar on top of the nav selection. You can use the 6 dots to drag and drop the navigation wherever you want on the page. Or you could use the up and down arrows to move it.
Next, the toolbar also has some other options if you click on the 3 vertical dots. You can remove the block, or copy and paste the style of the block, to another one. This is a PRO feature.

Let’s now take a look at the “Settings” icon to the right hand side of the canvas.
When clicked, it will open up a window with three options.
- Change background – this will open up the block editing panel on the right, at the “Style” level. It’s here where you can change the background color.
- Change nav layout – this will open up the block editing panel on the right at the “Content” level where you can choose a different layout for the navigation. This means you can have different positions for the logo and menu.
- Nav settings – this will just prompt you to the block editing panel.
So, I think it’s time we enter this block editing panel, because it seems that all roads lead here, right?
Customizing the navigation using the block editing panel
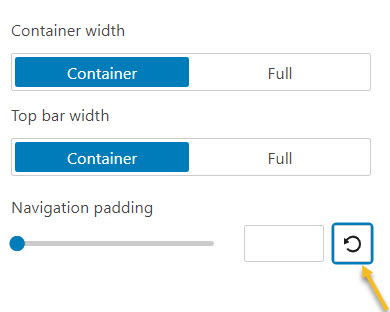
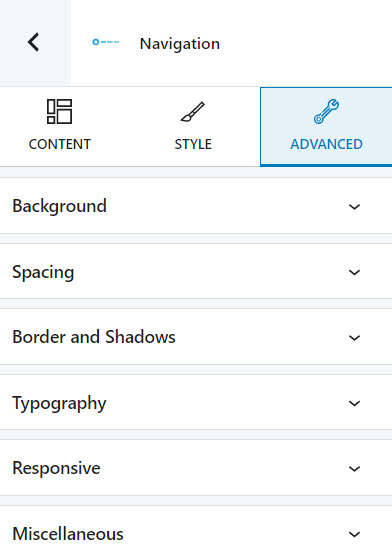
The block editing panel has 3 main layers: Content, Style, and Advanced. There are many options inside all of them. If you wanna go back to the default, you can always hit the “reset” button as shown below:
Let’s approach them one by one.
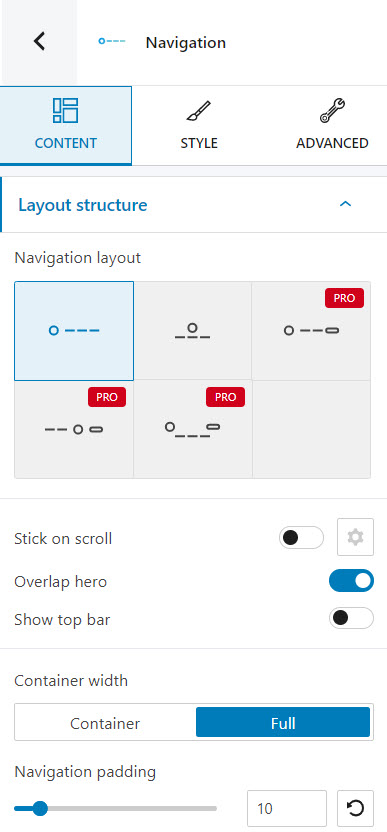
Nav content edits
At this level you can:
- Choose a layout for the navigation. There are 5 types of layouts available, out of which 2 are included in the Kubio free plan. These layouts rearrange the logo and the menu.
- Enable the stick on scroll option (only for PRO plans).
- Enable the overlap hero option,
- Switch from container width to full width and vice versa.
- Customize the navigation padding. This refers to top and bottom padding, meaning the distance between the items inside the navigation and the block’s top and bottom edges.
For example, here’s how a padding of 50 looks like.

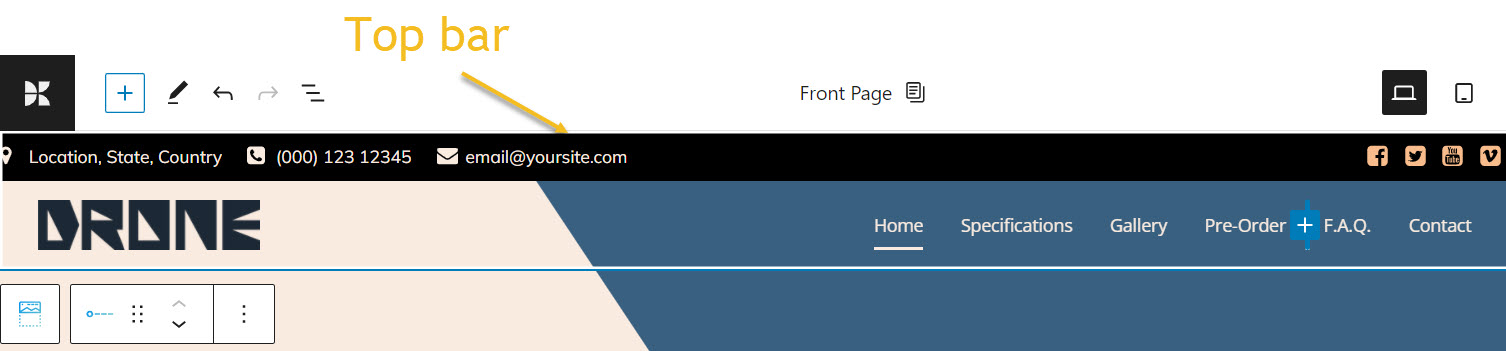
- Display a top bar with several items inside. In this case the top bar shows the business location, business phone number and email address as well as the social media profiles. But you can remove blocks or add new ones, if you like.
Nav style edits
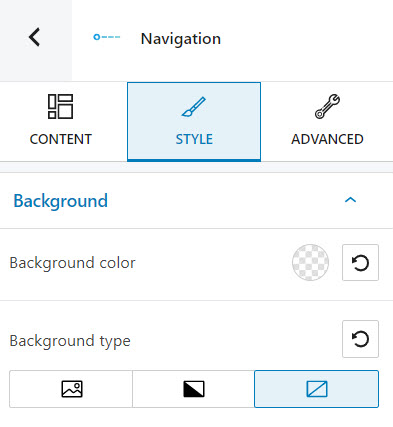
At this level you can:
- Select the background type. You can go with an image or a gradient.
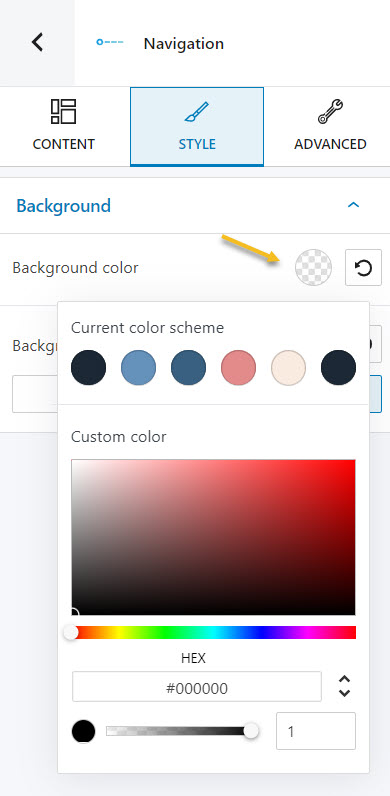
- Set up the background color. The moment you click on the circle, you will see the current color scheme, but also a slider that you can use to pick the color you like. Ideally, you should define your own color scheme using the General Settings in Kubio. More info on this topic, here.
Here you can find out more information about how to work with backgrounds.
Now, the current navigation overlaps the hero. Let’s switch both that and the top bar off, from the “Content” level.
Notice that the menu items are no longer visible? This is because the menu items are white on a white background. Let’s change the background color to dark pink.
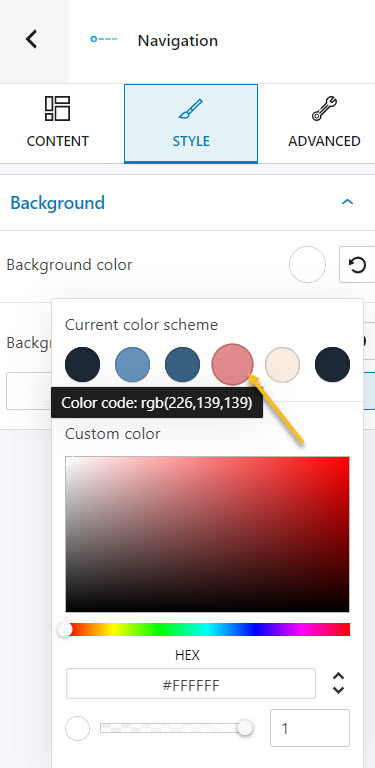
Here’s the result:

Nav advanced edits
At this level, you can make edits for the normal and hover states of the navigation block. Here are the available customizations:
- Background. Here you can make adjustments to background color and type, just like at the “Style” level.
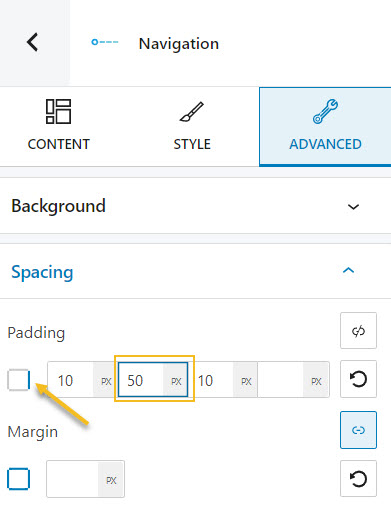
- Spacing. Here you can set up values for margins and paddings. Paddings control the space inside an element, while the margins control the area outside a component.
Now, pay attention to the rectangle on the left. The moment you select a space to assign a value, the rectangle will get a blue-colored margin. This is how you know which margin you are making changes to. The default margin order is top, right, bottom, left. So, in the example below, I am assigning 50 pixels for the padding on the right.
- Border and shadows. Here you can add borders with a different color, radius and thickness to your block. Also, you can add box shadows. You have full control over the position, blur, spread, and color of the box shadow.
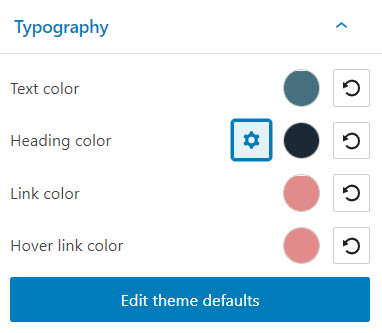
- Typography. You can set up a different font family, font size, and weight for the text. You can add decorations to text, set up capitalization, and adjust line height and letter spacing. When you select the “default” option you’ll be taken to the General Settings, where you can change defaults (color scheme, typography, etc.). More info on how to make typography adjustments, you can find out from this resource.
- Responsive. Here you can decide whether the block will show or not on desktop, tablet, or mobile.
- Miscellaneous. At this level, you can set up the z-index of your block (vertically order the elements that overlap), set up if the element overflows or not (displaying the content of the block flowing out of its container into the surrounding area), add HTML anchors and CSS classes.
The moment you’re done with the navigation, you can go on with editing the elements inside.
Adding the navigation block
Let’s say you are starting a web page from scratch (a blank canvas) or somehow you deleted by mistake the navigation.
How do you add navigation to the page?
Start by going to the page editing panel on the right. Notice the page has no content?
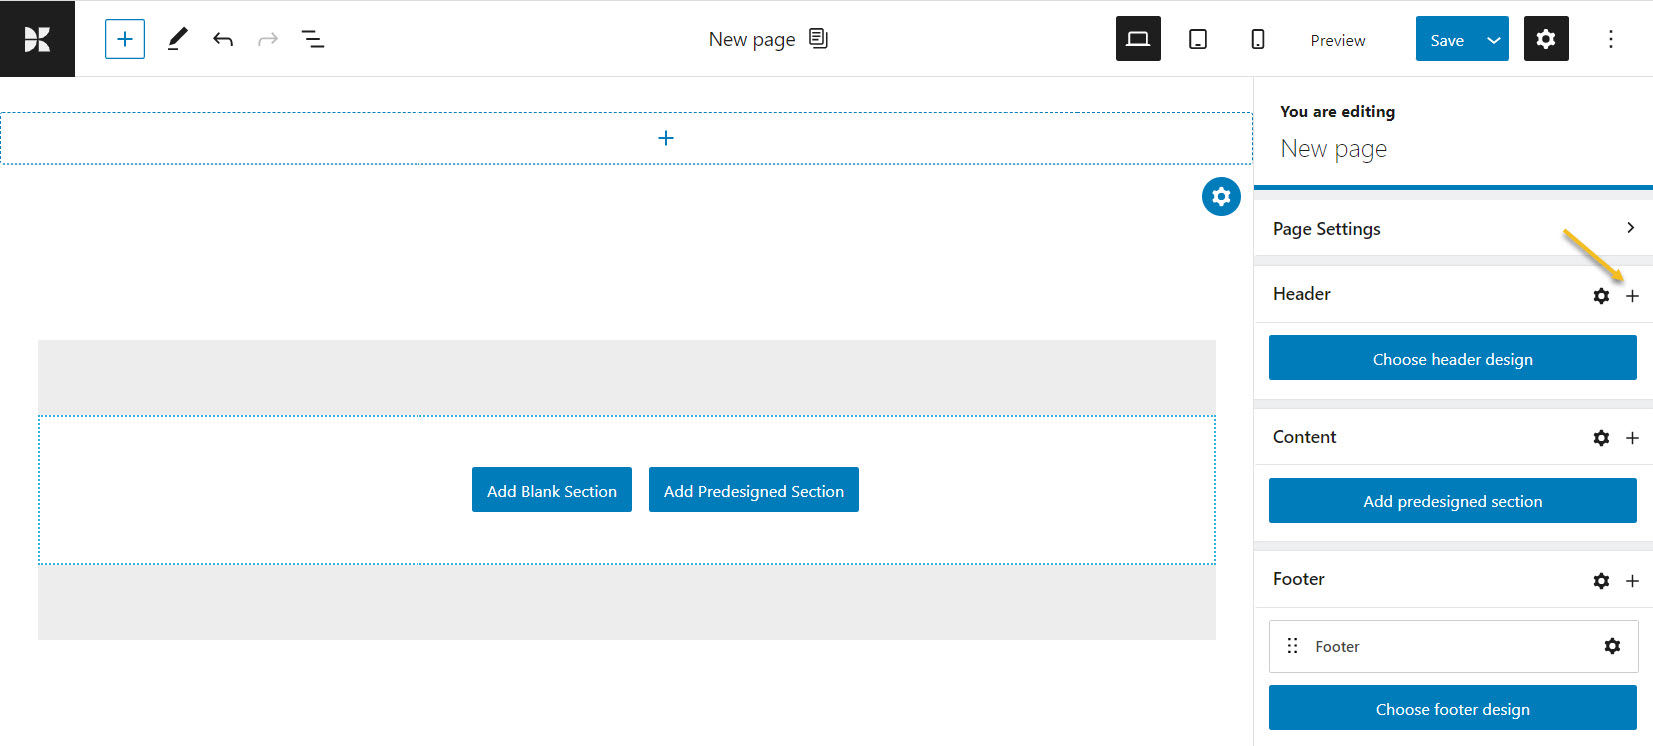
Now, you need to start adding sections inside the header and the content. The navigation will go inside the header. Let’s click on the “+” sign next to Header.
It will open up a block inserter to the left. Select the navigation block from it.
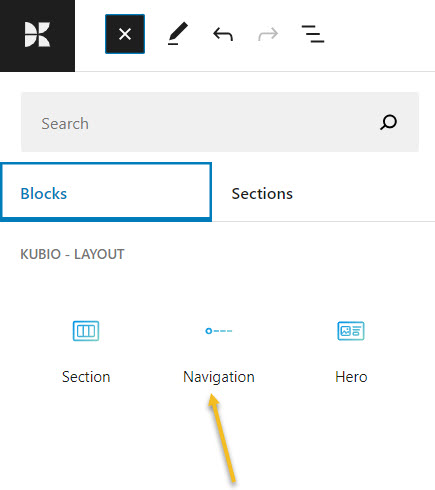
You’ll notice the default theme/template navigation showing up.
From now on all you have to do is use the block editing panel on the right for further customizations. And that is all!
Wrap up
As mentioned before, the navigation contains the logo and a menu. Each element in Kubio is in fact a block, from paragraphs and headings to logos and menus.
So, the moment you select the logo, you will notice the same block editing panel on the right, with its three layers: Content, Style, and Advanced.
Now, each block has some particular editing options inside this panel.
Here’s how you can customize the logo block.
Here’s how you can customize the menu block.
If you want to find out how you can create menus using Kubio, here’s a resource that will shine a light on the topic.
Now, we even have a tutorial on how to manage navigation in Kubio. You can watch it below:
If you liked this article, and want to have access to similar content, make sure to subscribe to our YouTube Channel. You can also follow us on Facebook.