It’s finally time to get inside WordPress!
Let’s start with presenting you the WordPress interface, or the Dashboard.
Let’s roll!
After logging in to WordPress from a link similar to this one: https://mywebsite.com/wp-admin, you’ll be seeing this dashboard:
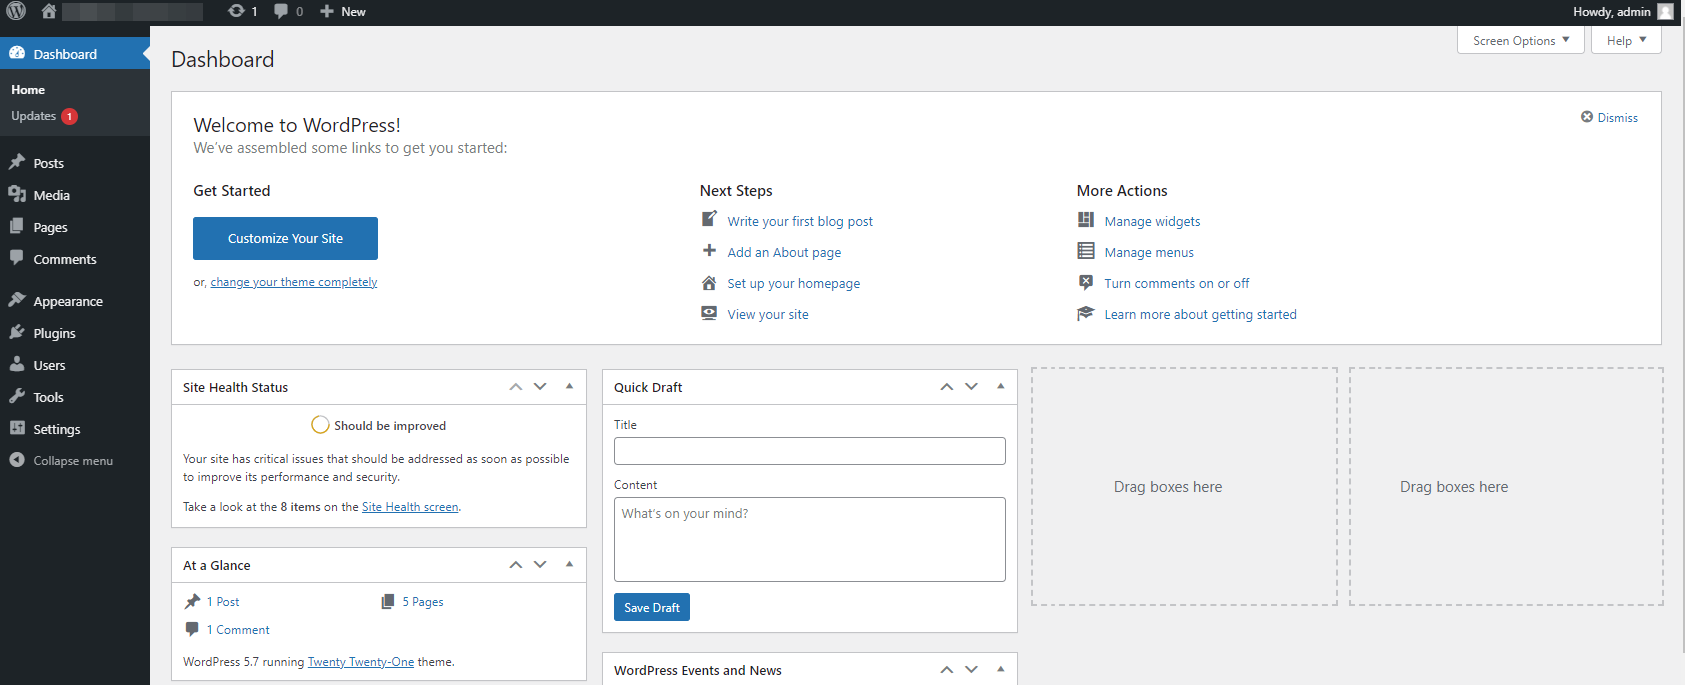
Let’s take a look at the menu items on the left. I will not approach them in the same order as in the menu, but don’t worry, I’ve got everything covered.
- WordPress settings
Inside the WordPress settings menu there are 7 more menu items. I’ll describe them briefly.
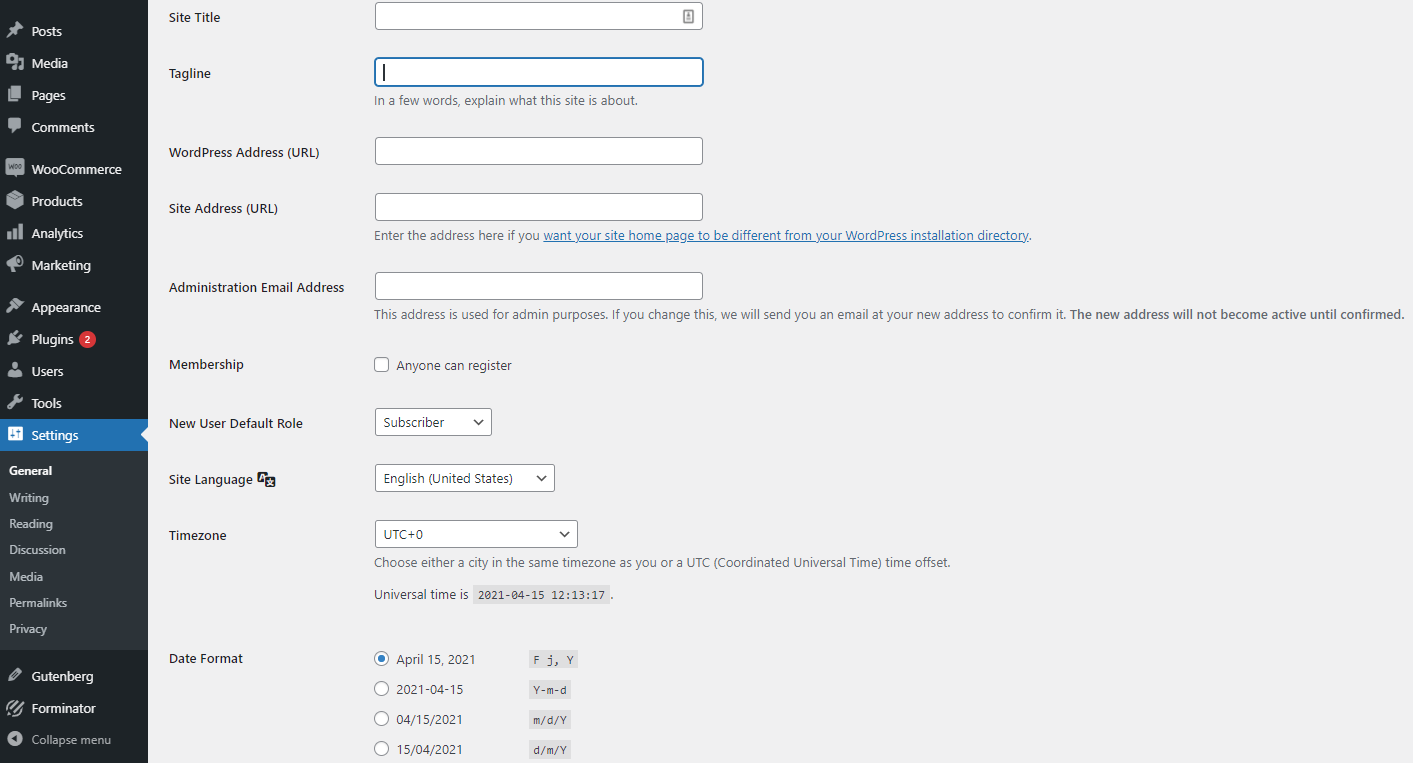
- General. Here you can set up the site title, tagline, website URL. Next, you can define the time zone, time & date format, and language of your website.
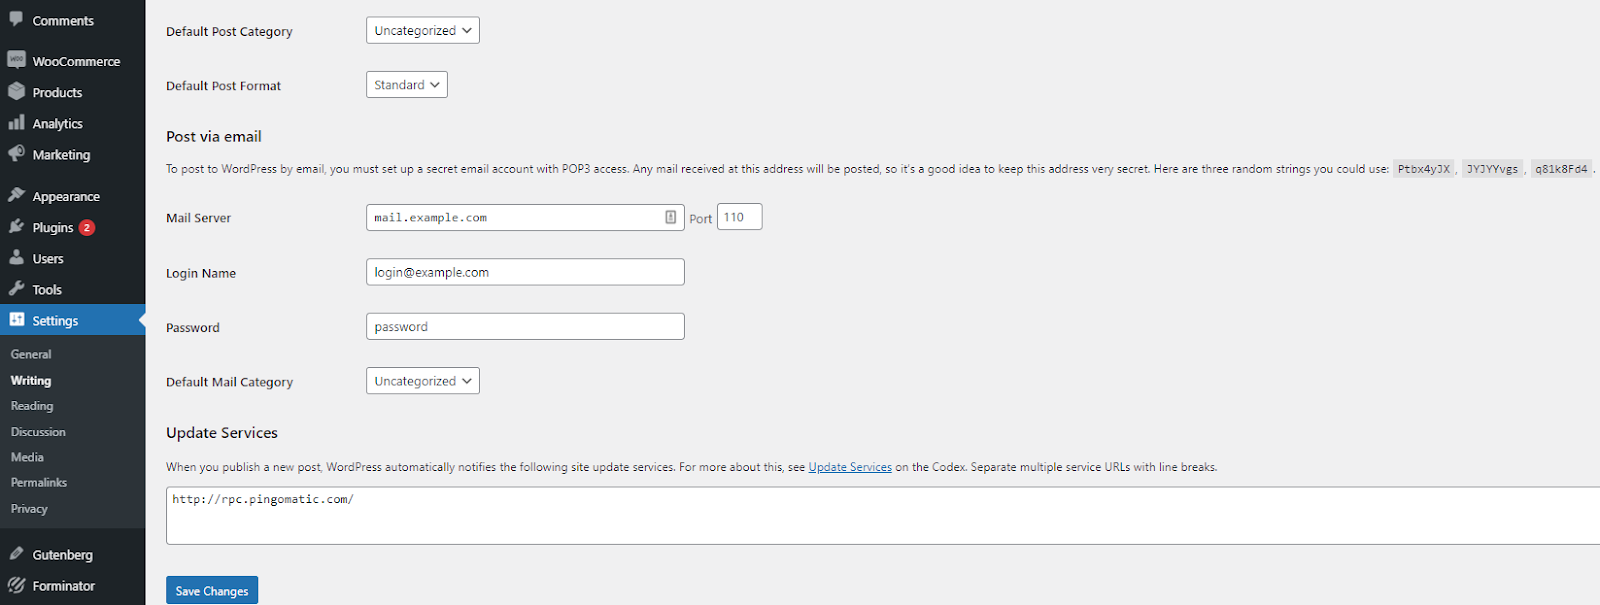
- Writing. Here you can set your default posts category. If you know that most of your blog posts will belong to a certain category, you can assign it instead of “Uncategorized”. But first, you will need to define your categories, inside Posts -> Categories. We’ll talk about this later.
Here you can also set up how to publish posts via mail, but this is not a common practice when publishing posts. This feature is mostly used to publish content when someone can’t access his website. Journalists and activists working in troubled areas with little internet connectivity can also rely on this feature.
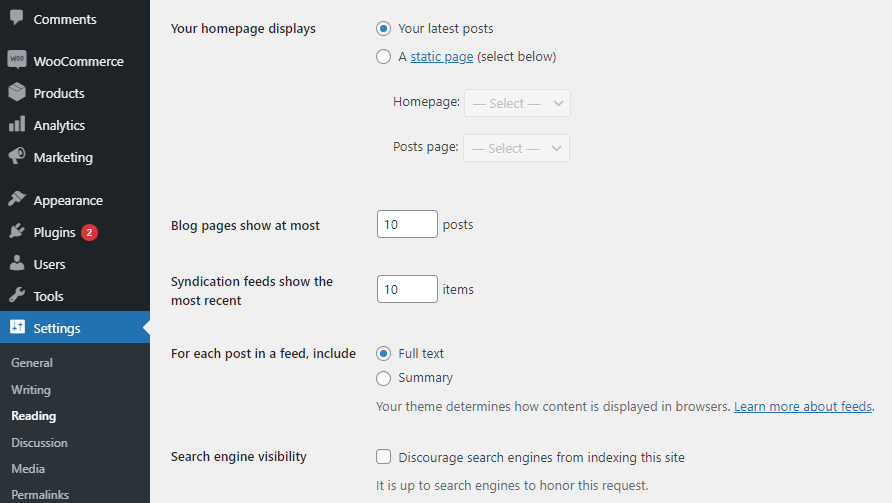
- Reading. Here you can “tell” WordPress which page serves as the homepage, and which one is your “blog”. This is an important step. The default is usually the blog. Here you can also choose how many blog posts can show up on a page or if you want your website indexed by Google.
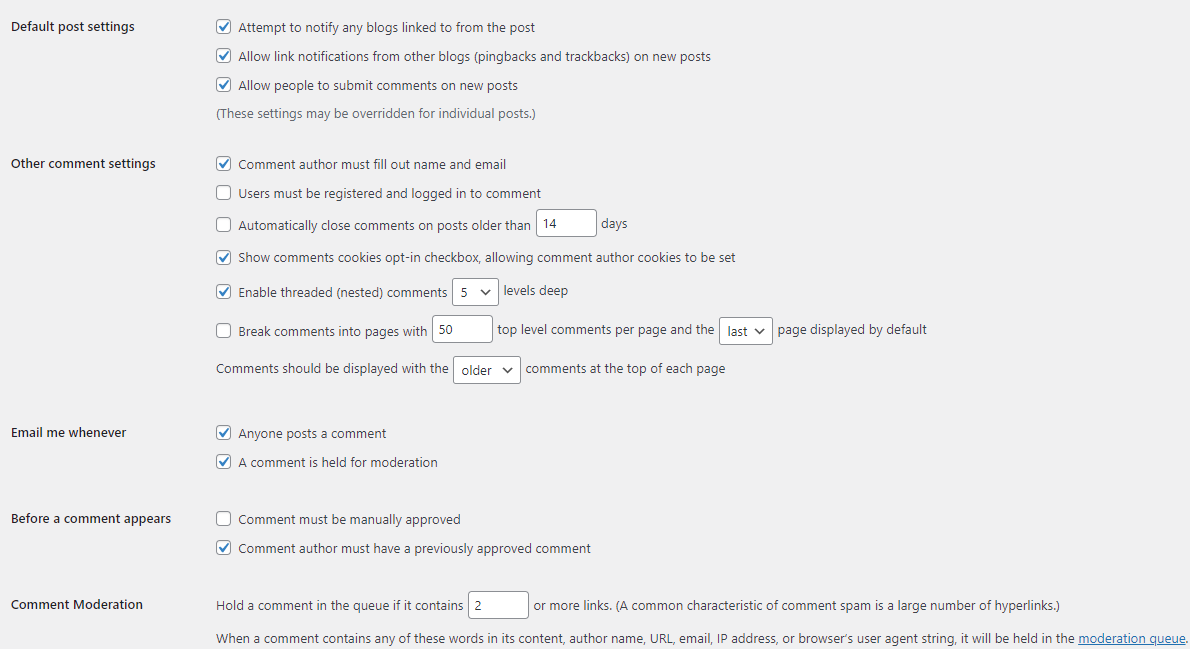
- Discussion. Here you can set up your blog comments: who gets accepted to comment, how comments are being moderated, and more.
- Media. Here you can establish the maximum dimensions in pixels to use when adding an image to the Media Library.
- Permalinks. The permalink is the full URL you see for a web page. “Perma” comes from permanent, meaning that’s the permanent link. It includes your domain name (www.mywebsite.com) plus the slug, meaning that piece of the URL that comes after the domain name, which helps identify unique pages on your site. The main domain was set inside the General Settings. Here you can structure your permalinks and tags to them. For example, you can decide the format for your blog posts to include the date of the post and the post name.

If your site is an online store, and you’re using WooCommerce, here you can customize the structure of your permalinks for product pages, product category pages, etc.

- Privacy. Here you have some guidelines on privacy issues, and you can also tell WordPress which page is your privacy page. All pages (including the Privacy page) can be created inside “Pages”. We’ll talk about this a bit later.
The best way to approach the “Settings” panel is to enter all these items and fill in the missing info, just to make sure you don’t skip anything important. Things are pretty straightforward, so don’t get cold feet. All the setup can be done in less than 30 minutes.
- WordPress pages and posts
What you need to know is that your content will go inside “Pages” or “Posts”. Here you’ll spend 95% of your time.
The “pages” are static. You can have a “homepage”, “services” page, “contact us” page, you get the point. Under posts you can have your latest blog articles, maybe your portfolio. These are dynamic pages because they automatically place your newest content at the top.
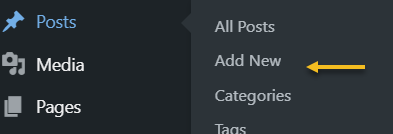
When you select “Posts” from the dashboard, you will be able to create a post, visualize all posts, and manage tags and categories. We’ll get into the details a bit later.
When you select “Pages”, you’ll be able to create a new page, edit or delete older ones.
- WordPress Appearance
This menu item is very important. At this level you can:
- Search for, install, and activate a theme.
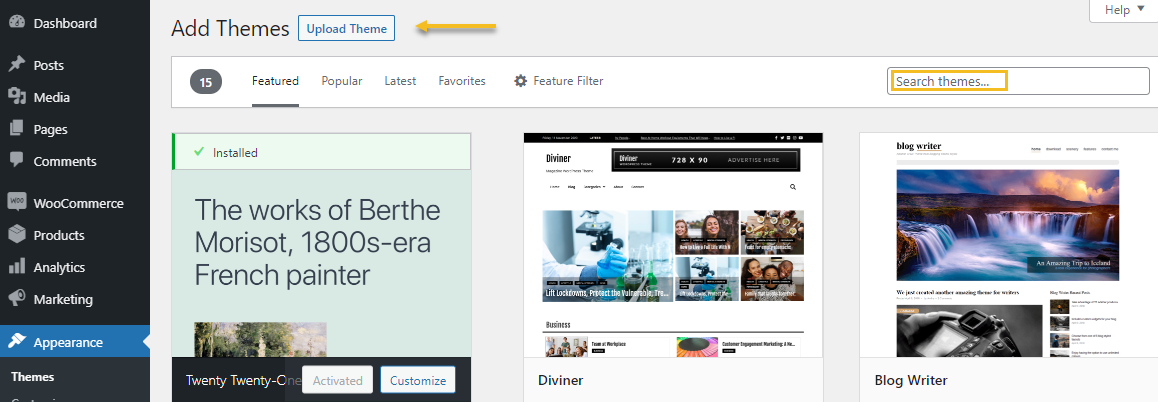
This is done similar to the plugin installation. Just head over to Appearance -> Themes -> Add New. you can upload a zipped theme, select a theme from the themes shown in the panel, or look for a particular theme.
The moment you decide for a theme, let’s say “Teluro”, just hit “Install”, then “Activate”, just like for plugins.
You can also preview the theme.
I usually do my research before choosing a theme. I care about the reviews, if it’s been updated lately, I analyze the features and the pricing. I usually do this by heading to https://wordpress.org/themes/.
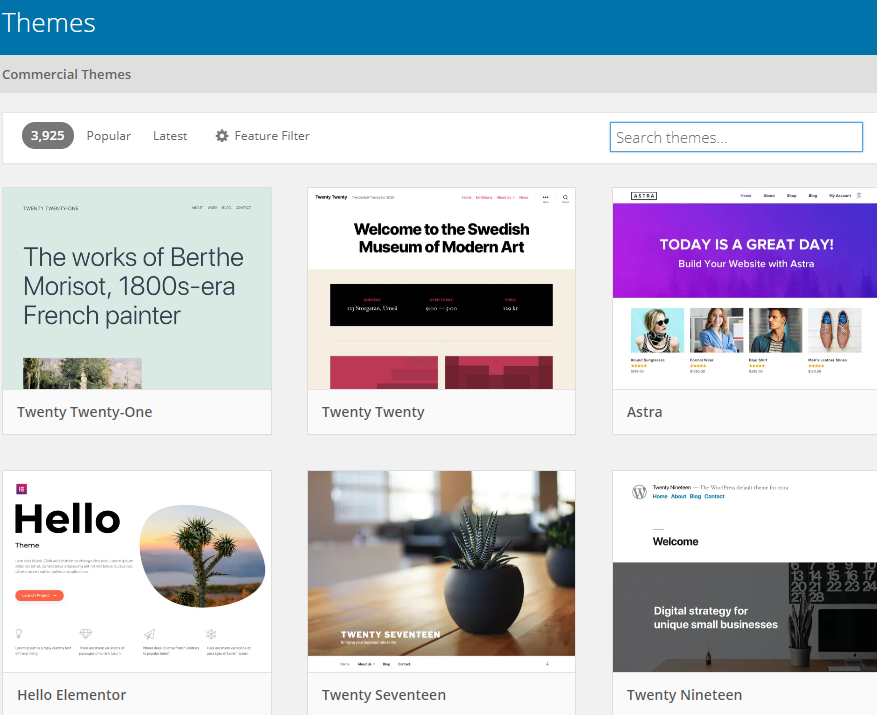
Here I can see the reviews, and I can also head over to the website and get into the details of the themes’ features. Then I come back and install my desired theme.
- Customize widgets to add blocks of content to your site’s sidebars, footers, and other areas. I’ll talk more about this in the blogging section.
- Define your WordPress website’s menus. I’ll be covering this in chapter 5, so stay close.
- Add a background image to your site.
- Edit the code of your theme inside “Theme Editor” (recommended only if you are a developer).
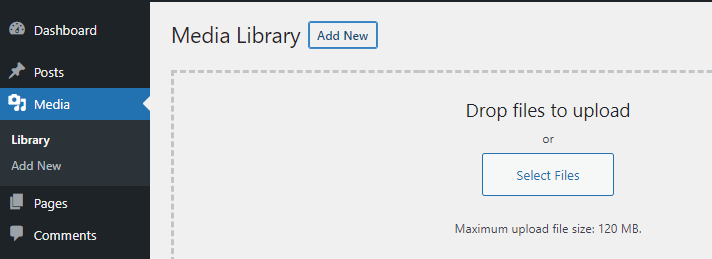
- WordPress media
All your media goes to WordPress Dashboard -> Media library, from images and video to audio and documents. You can drag and drop them or upload them.
You can also add media from your post/page level.
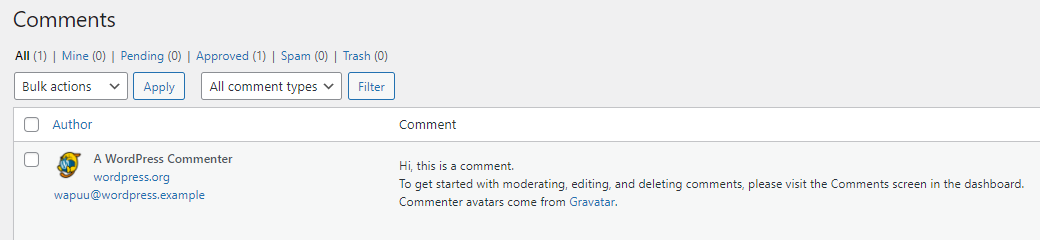
- WordPress comments
Now, I told you that in the Settings menu you can set up how to deal with comments, how they get approved, how moderation happens. Here, you can see and manage all your comments. You’ll probably even receive tons of spam comments, that we suggest you monitor and move to spam or trash.
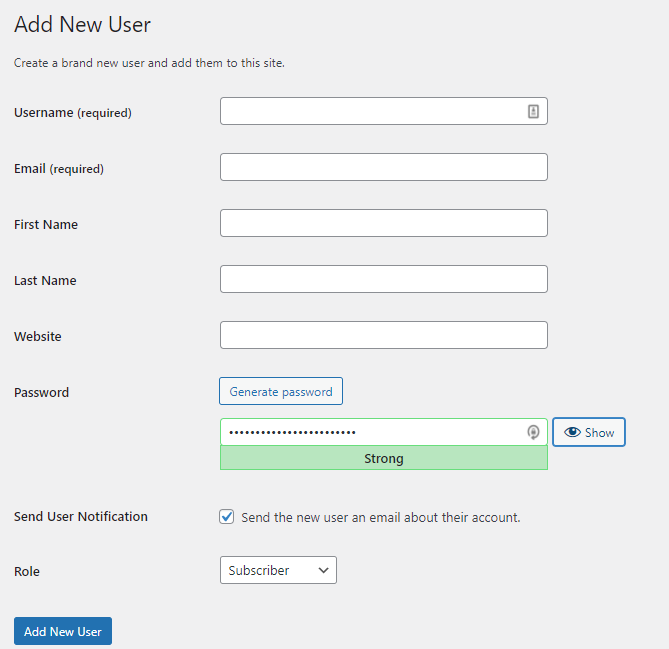
- WordPress users
At this level, you will decide who has access to your website. You can give access to contributors, guest authors, editors and more, depending on your needs. More info on the types of users, here.
- WordPress tools
Under “Tools” you’ll have the option to import and export tools data to and from other content management systems (eg. Blogger).
There’s also a “Site health” section, which shows you critical information about your WordPress configuration and items that require your attention, with some advice.
Because we need to respect privacy policies, here you can export or erase personal data for your users.
- WordPress plugins
I’ve mentioned them when talking about the WordPress ecosystem. There are lots of features that can’t be managed by your theme only, such as SEO optimization, website security and back-up, tables, forms, e-commerce features, and more. Plugins are here to compensate for the lack of such options.
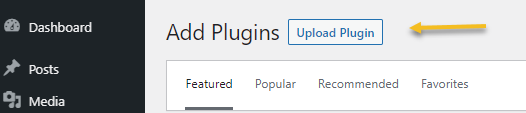
Plugins can be installed from Plugins -> Add New.
Here you have an option to upload your zipped plugin, if you have downloaded from the plugin’s website.
You can also look for your desired plugin directly in your Dashboard.
You can also get inspired by going to the “Recommended” plugins section, from the menu below “Add Plugins”.
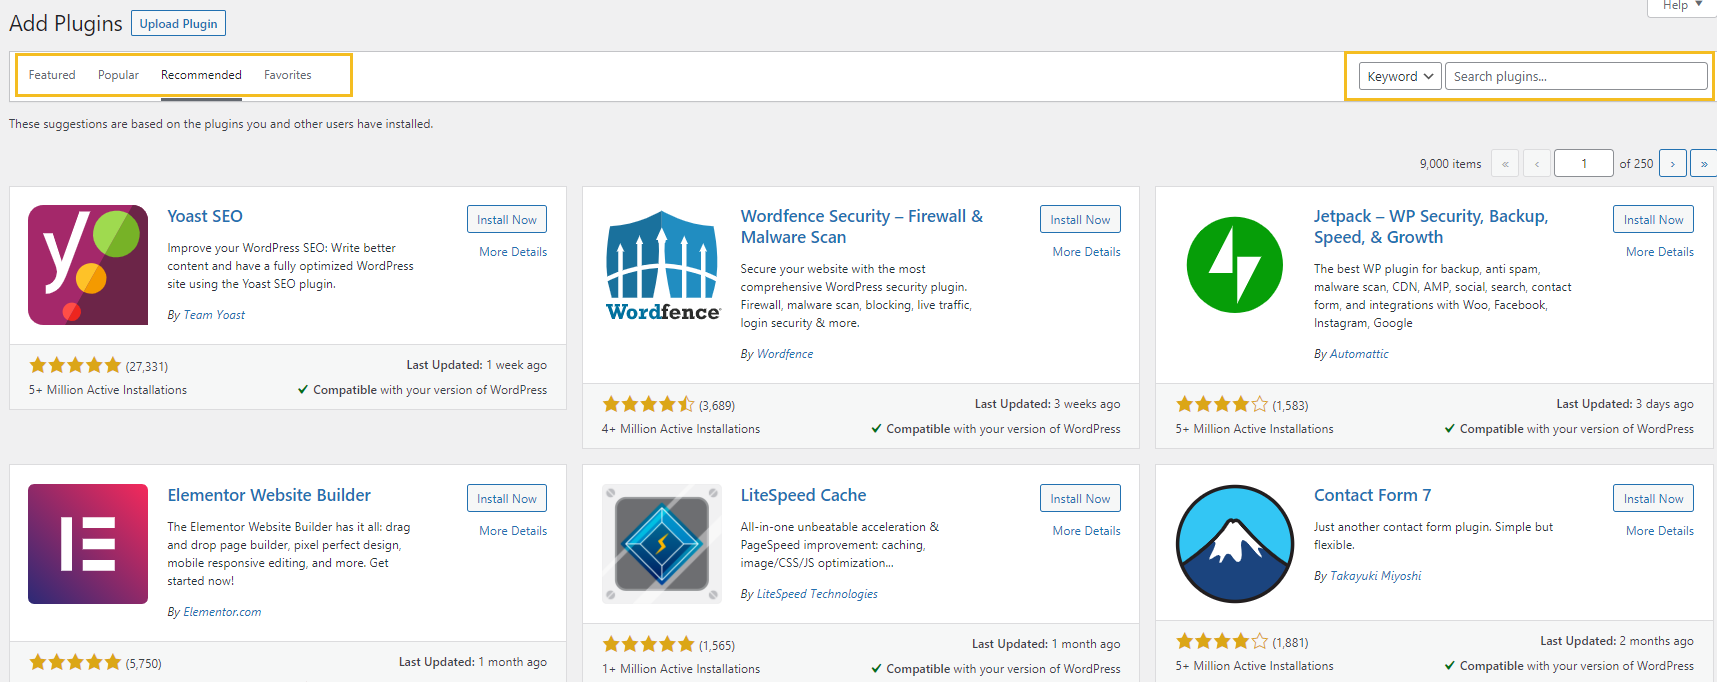
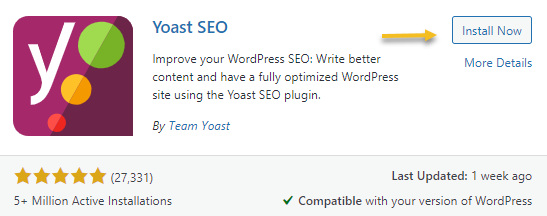
Let’s say you want to install Yoast SEO, look for it in the search bar in the upper-right corner, then, select “Install now”
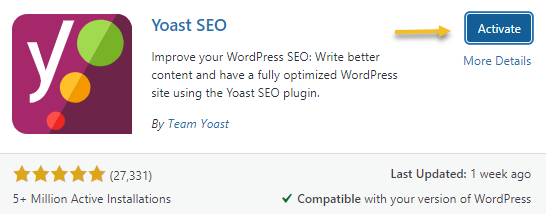
Then hit “Activate”.
Now, if you head over to Plugins -> Installed Plugins, you can see all the plugins you’re using. You can deactivate and/or delete the ones you no longer need. I do encourage you to do this, because too many plugins can affect page speed.
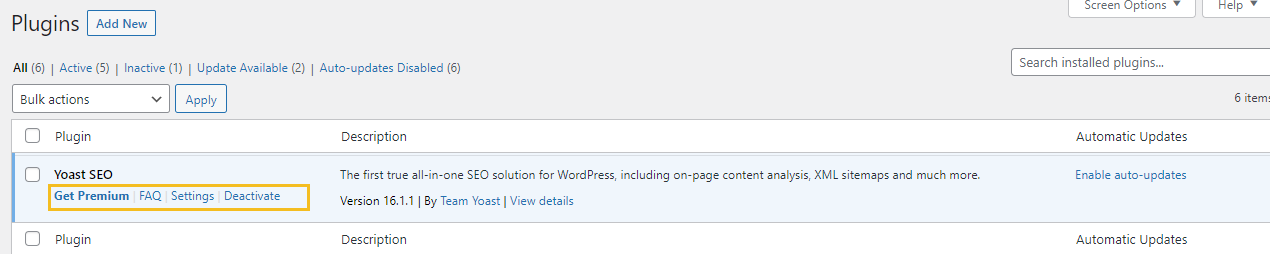
Now, most of the plugins have a “Settings” option. Make sure to check it and finish the plugin setup. Most of the plugins have a free version and a paid one. Depending on the features you need, you might want to upgrade.
The moment you activate a plugin, most of the time it will add some new menu items on the left-hand side. In the case of Yoast SEO, this is how the menu looks like:
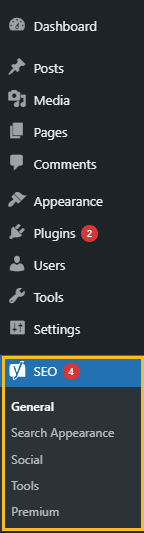
This is why, whenever you install a plugin, make sure to check your menu on the left for new options related to the plugin.