
What can you include in WordPress menus?
- Pages – you can add here any page you want from your WordPress website.
- Posts – you can add blog articles here.
- Custom links – you can link to external pages, to your Youtube channel or other social media profiles, etc. If you have a one page WordPress website, and want to reduce user scroll, you can also create an anchor-based menu. This means that the moment you select a menu item, you’d be directed to that specific page section.
- Blog categories – you can organize your blog posts around various topics called categories. These categories can be added to your menu.
- Product categories – if you run an online store, it’s advisable to add them to your menu as well.
WordPress allows you to create horizontal menus, vertical menus, sticky and hamburger menus, but not all of them are native to WordPress. Some of these options vary depending on the theme and plugins that you’re using.
Now, let’s create a menu.
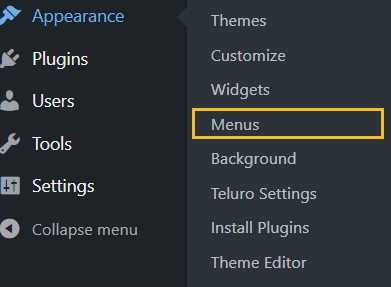
Step 1: Go to the WordPress Dashboard -> Appearance, then select “Menus”.
Step 2: Go to “Menu structure” and name your menu. Then establish what kind of menu you want to create: is it a primary menu, a secondary one? The options available depend on the chosen theme.
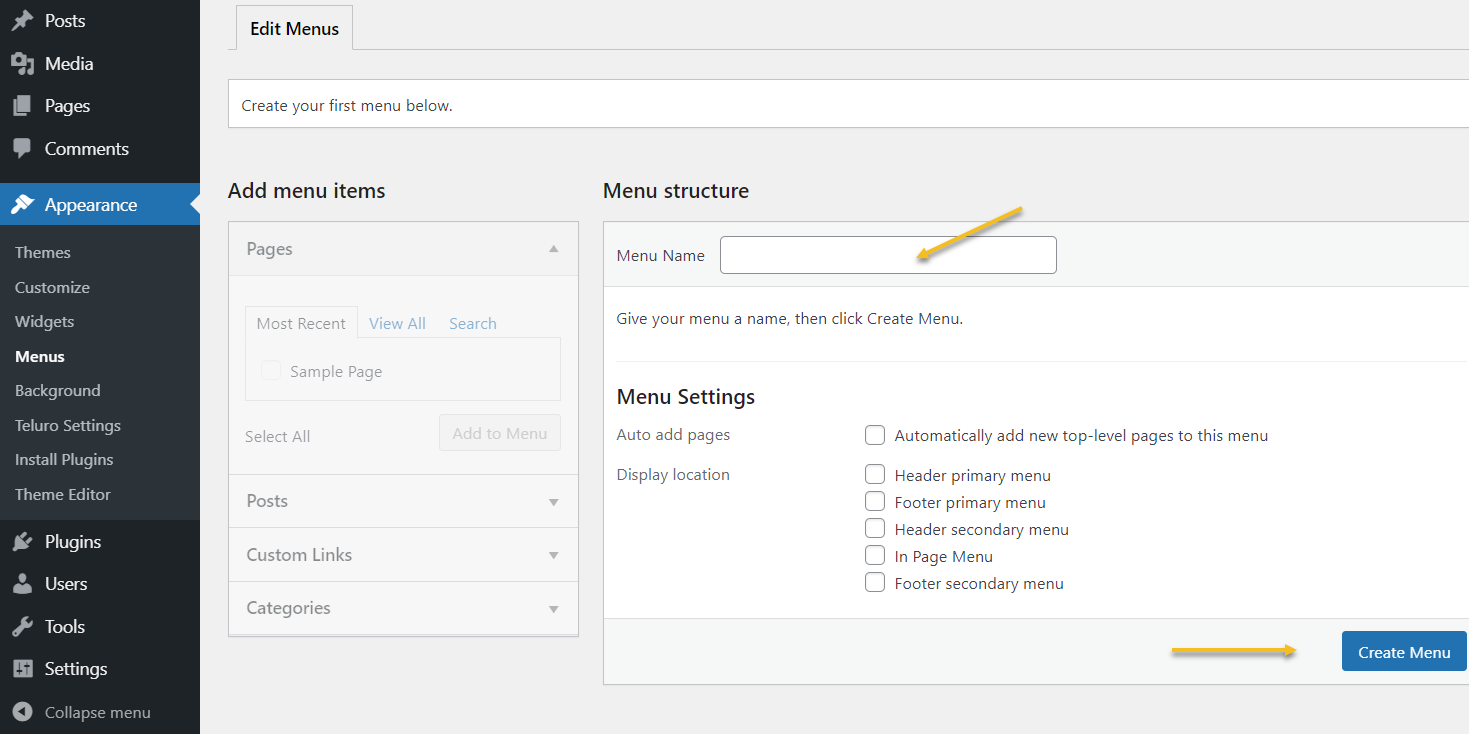
Step 3: Select “create a new menu”.
Step 4: Add your menu items. It’s here where you select your desired pages, posts, products, etc. From the panel on the left, tick your desired item, then hit “Add to Menu”.
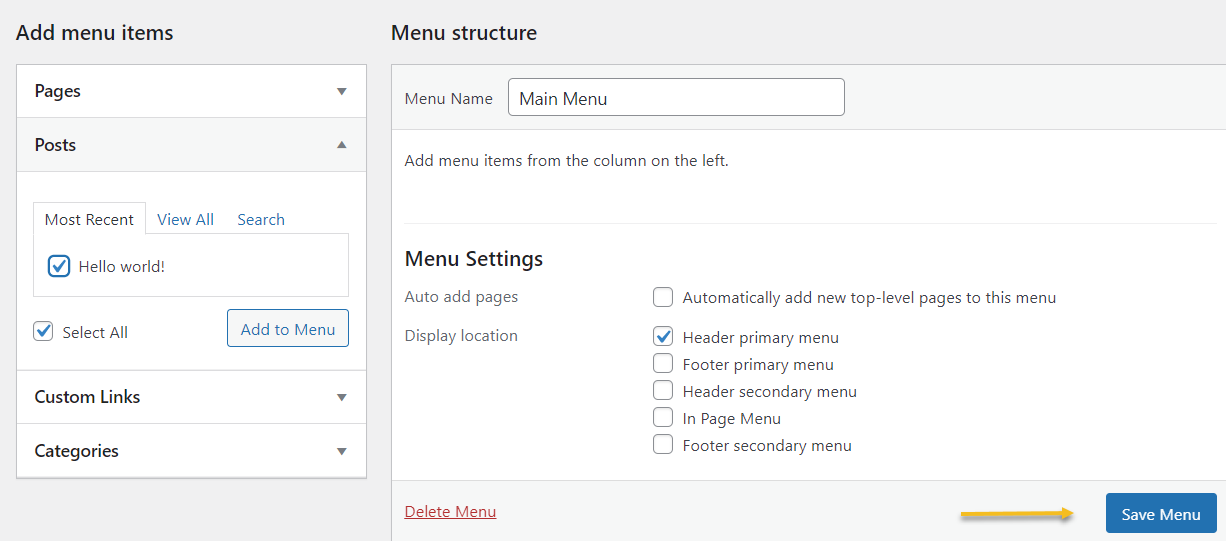
Step 5: Save your menu, from the button on the right.
You can always go back and change your menus.
Below the “Edit Menus” options you can select from a dropdown the menu you wish to edit, or even delete.

Now, right before this chapter we’ve learned how to create a page in WordPress. Now, we’ve added our pages to a menu.
Next, let’s jump to posts!