How do I usually prepare my articles?
Well, I’m using Google Docs for the writing part. I can save each of my images in a separate folder (with a relevant naming, that will help me later), or I can just export as HTML the whole file. The folder with the exported HTML file will also have a folder containing all of the images in the file. Isn’t it cool?
Next, here are the steps for creating the WordPress post:
Step 1: Upload all the images to the WordPress Media Library. Things just go a lot faster like this, instead of just uploading each image one by one. Because it’s tricky, the moment you want to paste your whole article content in your post, images are pasted as well in the Default Editor. But, because they are pasted from Google Docs, they will not be hosted on your site, but on a Google server, and we do not want that.
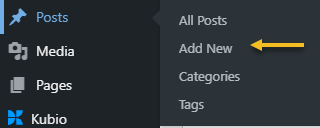
Step 2: Go to Posts -> Add new
Step 3: Give your post a title then paste your article content where it says: “start writing or type”

Step 4: Add your images
As mentioned in the previous chapters, most of the content on your site goes inside blocks. Whenever you need to insert an image, a video, a quote, table, etc, just click on the ”+” sign and select your desired content block. In our case, we shall select the image block.
Next, add your image:
- from the Media Library
- from local storage
- via URL
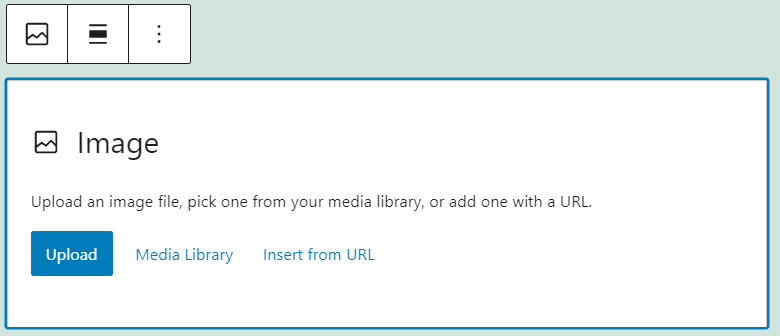
As seen above, there is also an option to align your image.
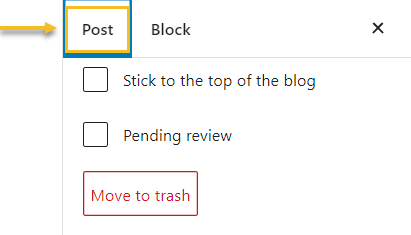
Next, we must make the final setting up before going live with the article. The next steps will happen via the options on the right-hand side. Make sure to select “Post”.
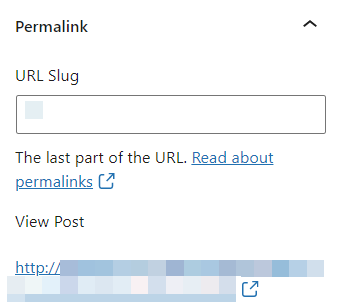
Step 5: Assign your post a URL, inside the “Permalink” option. You can type in the slug (aka the final part of your URL. As a best case practice: don’t make it too long and make sure to include your targeted keyword (the one around which you’re optimizing your content, in order to show up in organic results).
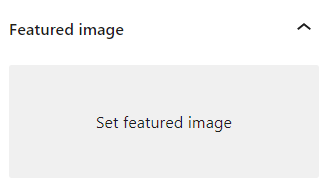
Step 6: Assign a featured image to your article, meaning a representative image that will be shown in your blog listing. You can upload one, or choose one from the Media Library.
Step 7: Assign a category and tags to your post. This can be done later as well.
Categories are meant to classify blog articles in a broad way. Tags let you do some micro-classifications, they describe specific details of your posts. Together they bring SEO benefits to your site, but also help users better navigate your site and content. Next, head over to categories and choose from the existing categories, or create new ones.
More on the topic, in our article WordPress Tags vs Categories: the Unboxing
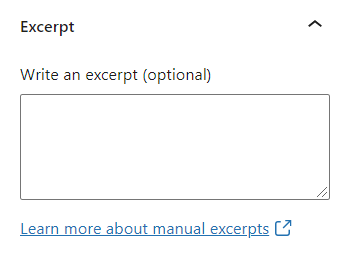
Step 8: Write an excerpt. Even if this is an optional feature, I do urge you to do this. This should be a summary of your article, interesting enough so that blog readers will click on the topic and read on. If “Excerpt” is empty, WordPress automatically creates an excerpt using the first 55 words of the post.
Now, most of the time, when you are on a blog, you’ll see a list of blog articles with their images, and some text below. That text is the excerpt.
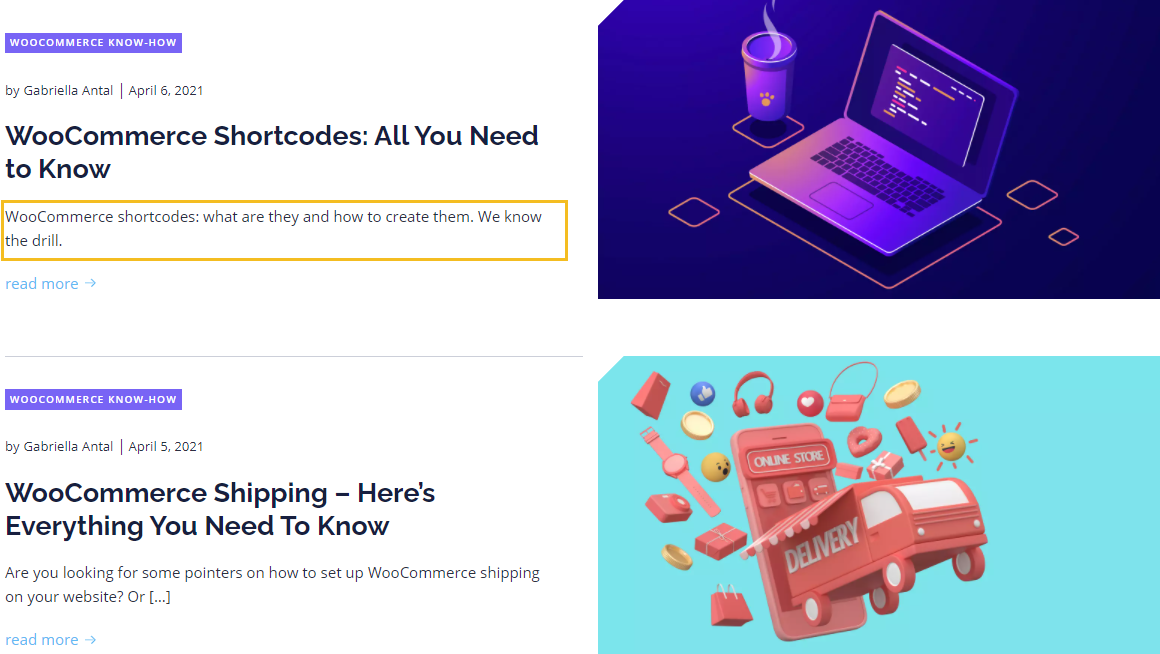
Source: convertsquad.com
Step 8: Save, preview, and publish your blog article.
If your blog article is not yet ready, you can always save it for later, just hit “Save as draft” and come back to it whenever you want.
Before going live with the article I suggest you look at its preview, from the “Preview” option in the upper-right corner. This is how you can identify some errors in your content.
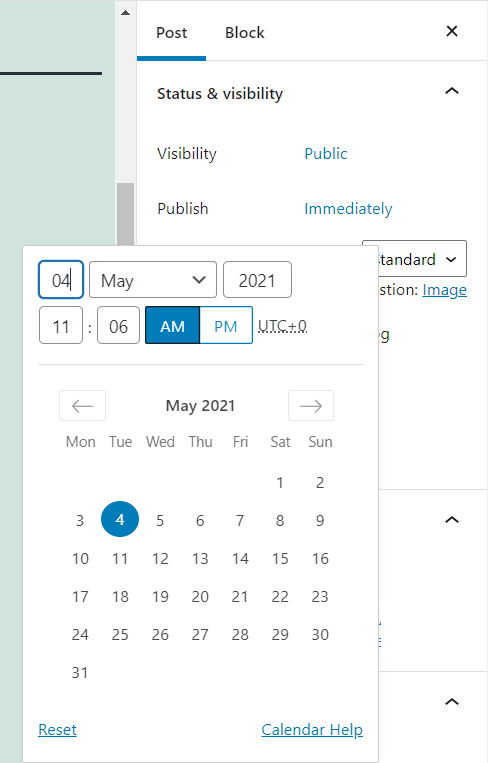
Next, if you want to go live right away just stick to “Publish immediately”, else select a future date from the calendar available.
Aaaand, you’re done!