It was about time, wasn’t it?
In the first part of this chapter I will show you how to work with Gutenberg blocks, and in the second part, I’ll show you how to work with a page builder.
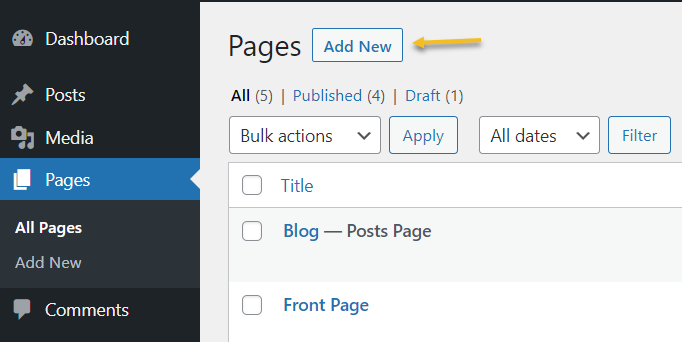
It doesn’t matter which tool you’re using, the page creation is the same. From the WordPress head over to Pages->Add new.
Next, the interfaces will differ, if you’re using the Classic or the Default Editor.
How to Create a Page in WordPress Using the Default Editor (Gutenberg)
First things first: a quick tour of the Default WordPress Editor.
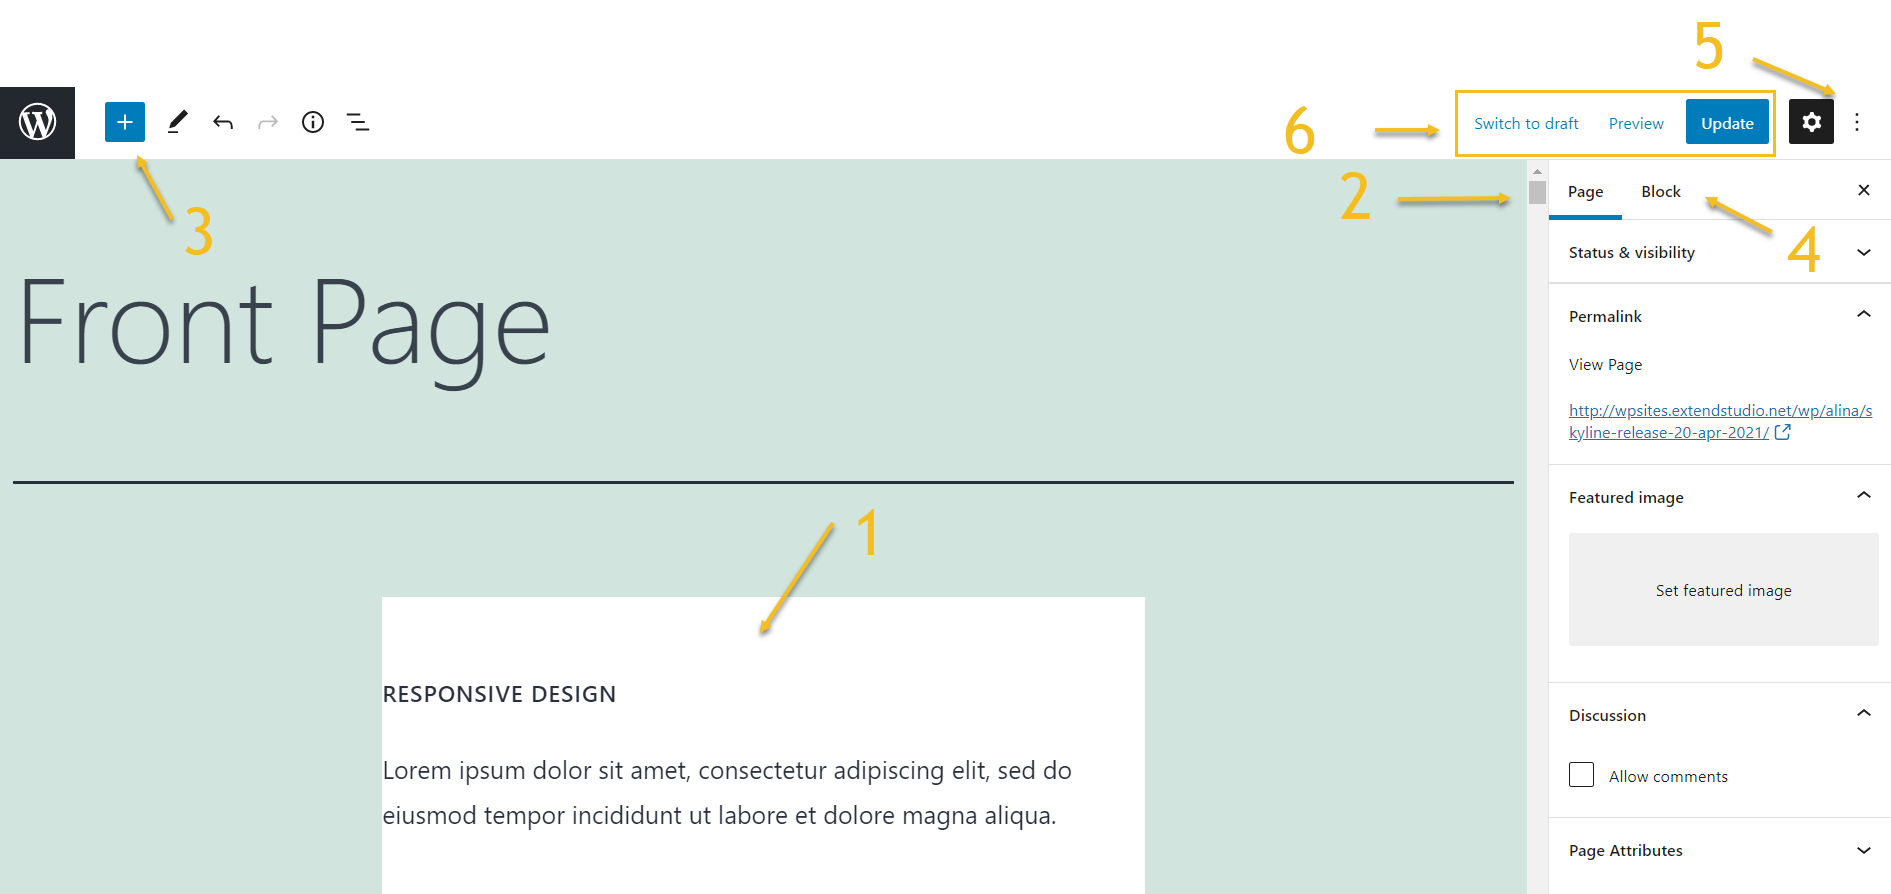
I’ve marked 6 important sections of the editor. Let’s take them one by one:
- Here’s the blank canvas where the content goes in.
- Page setup happens here: URLs setup, featured images, parent page.
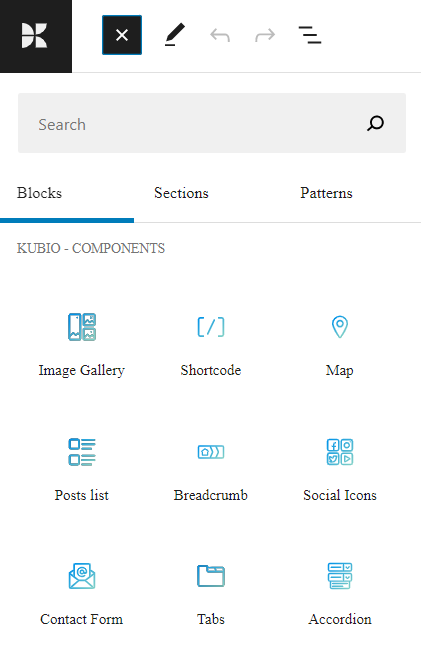
- The “+” signs show you that there’s where you can add blocks from. When you click on the “+” sign a block inserter will open with the default Gutenberg blocks. If you’ve installed a plugin that deploys additional blocks, you’ll find them here as well.

For example, if you’re using Kubio, you will notice some blue-green block icons, like the ones below:
- Whenever you want to edit or style a block, you need to select the “Block” option from the editing panel on the right.
In the example below a table block was added. When the block gets selected on the left, the “Block” option from the right gets highlighted. Now you add some very basic styling.
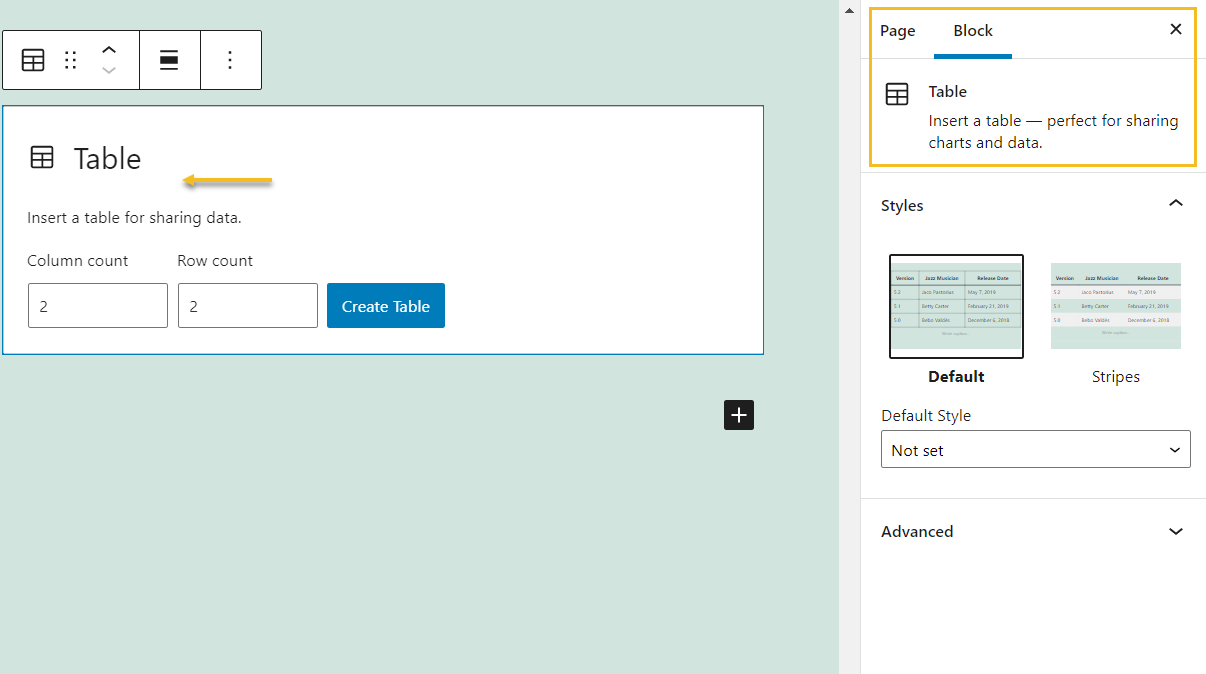
Also, on top of the block you will see a basic toolbar.
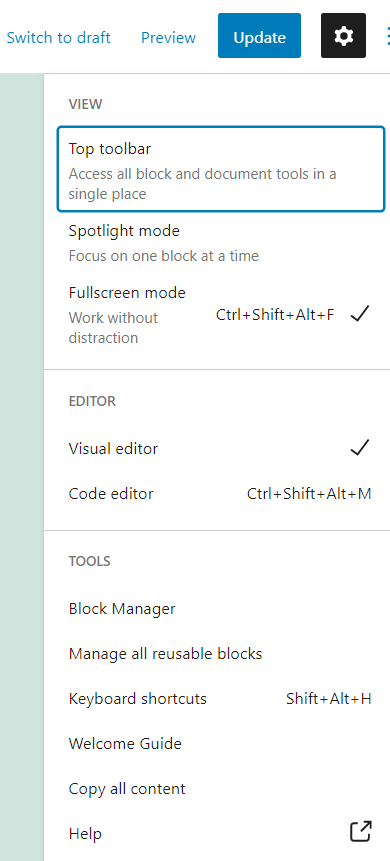
- The three vertical dots on the right allow you to change the way you view the page you’re working on, switch to the text editor (where you can code your own page), and more.
- Here’s where you can preview your page, save it for later, or schedule it for publishing.
New, let’s go back to the moment after you selected Pages->Add New. You should now be seeing this interface.
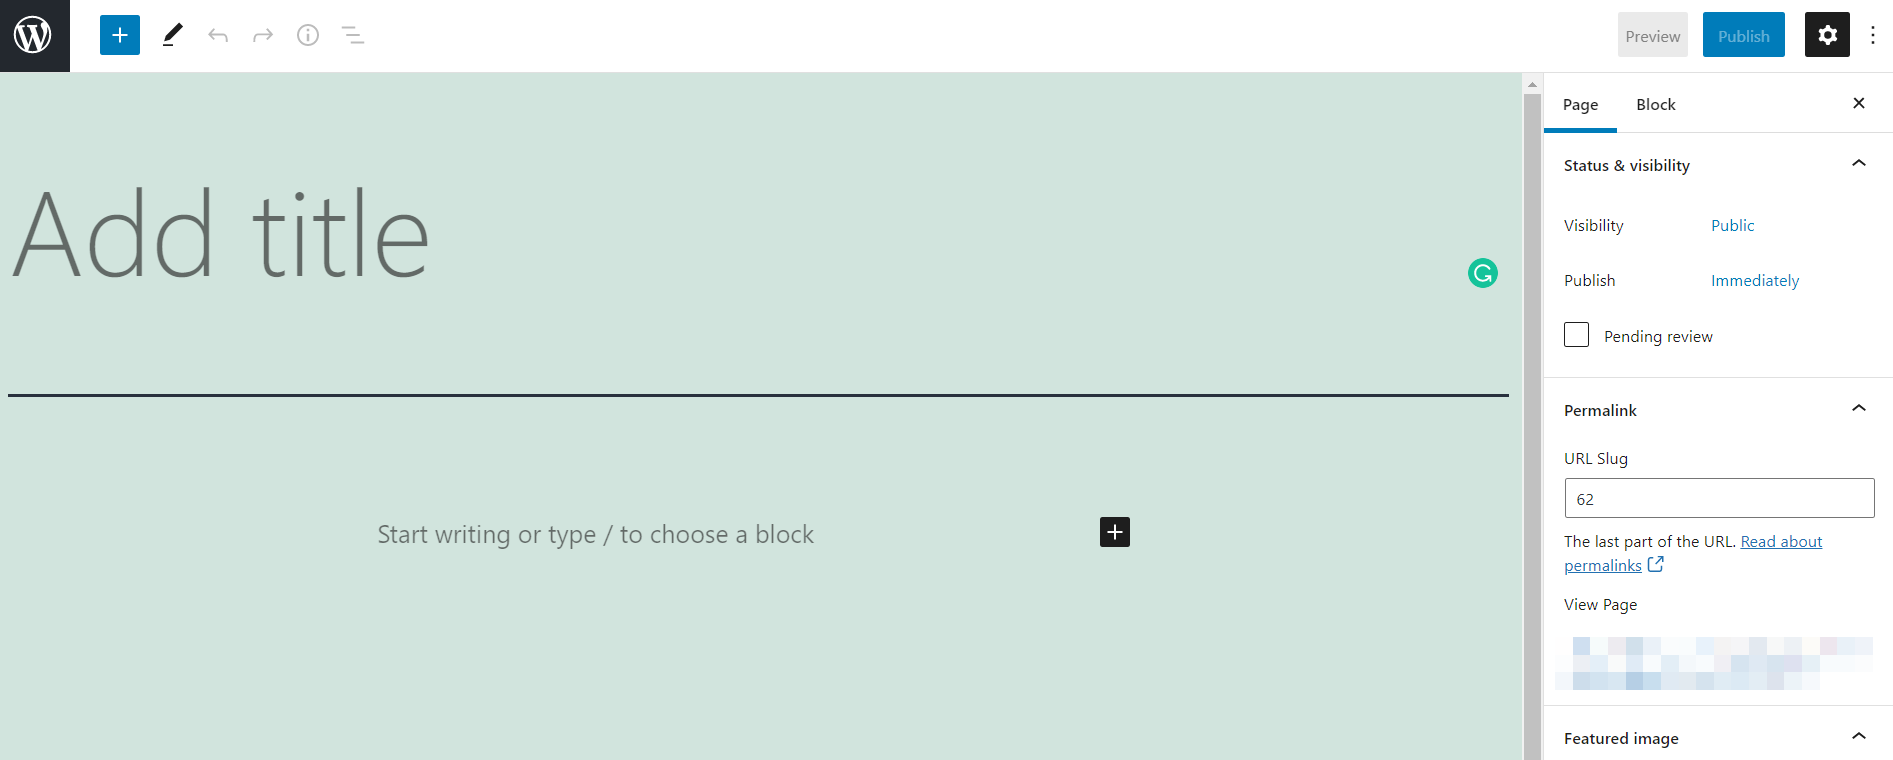
What now?
As pointed out in front of you, you can start typing a title to your page. If you want you can even copy and paste some text content that you have prepared. It’s pretty intuitive how to do this because of this message:

Now, let’s add the first block: an image.
From the “+” sign you see next to the message above, or from the one in the upper left corner, we can add blocks.
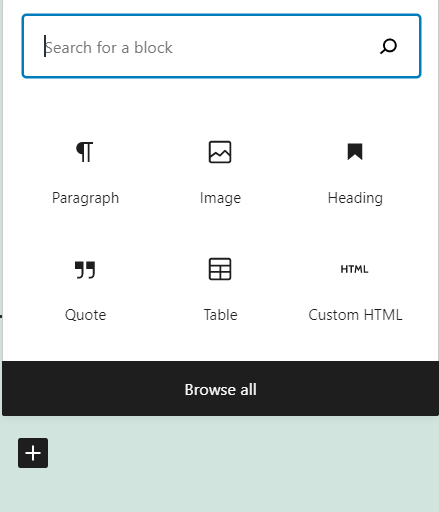
If you don’t see your needed block right away, you can search for it. Let’s select “Image”.
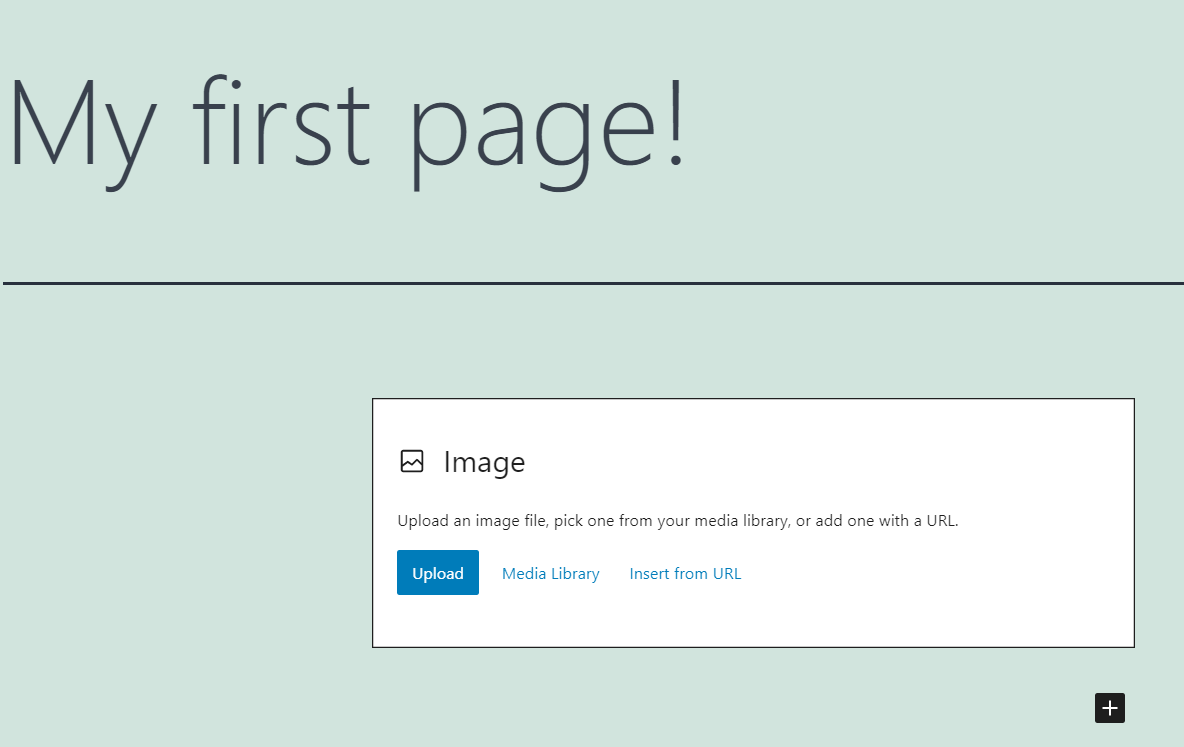
Now we can upload a locally stored image, select one from the Media Library, or even paste the URL of an image. I’m going to go for the image selected from the Media Library.

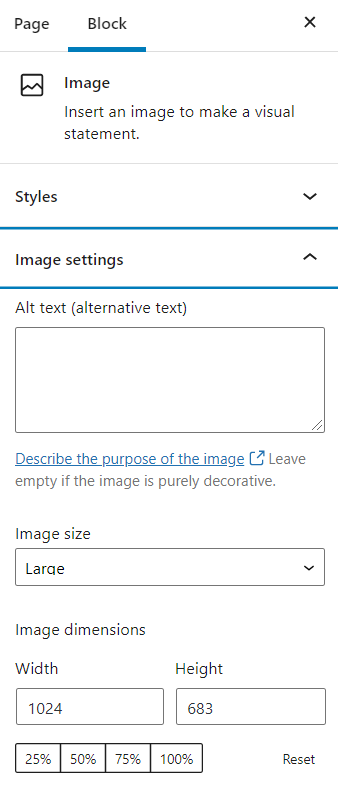
While you select your image block, you’ll see some block editing options on the right. These options vary from block to block. For images you can choose a different style, adjust the dimensions, add CSS classes, and more. For tables you can change text and background color, for example.
The moment you decide your page is done, and you’ve added all the blocks you need, you can preview your page, save it for later or schedule it for publishing.
From the “W” sign in the upper left corner, you can go back to the WordPress dashboard.
Now, if you go to “Pages”, you’ll be seeing all your pages with their publishing dates.
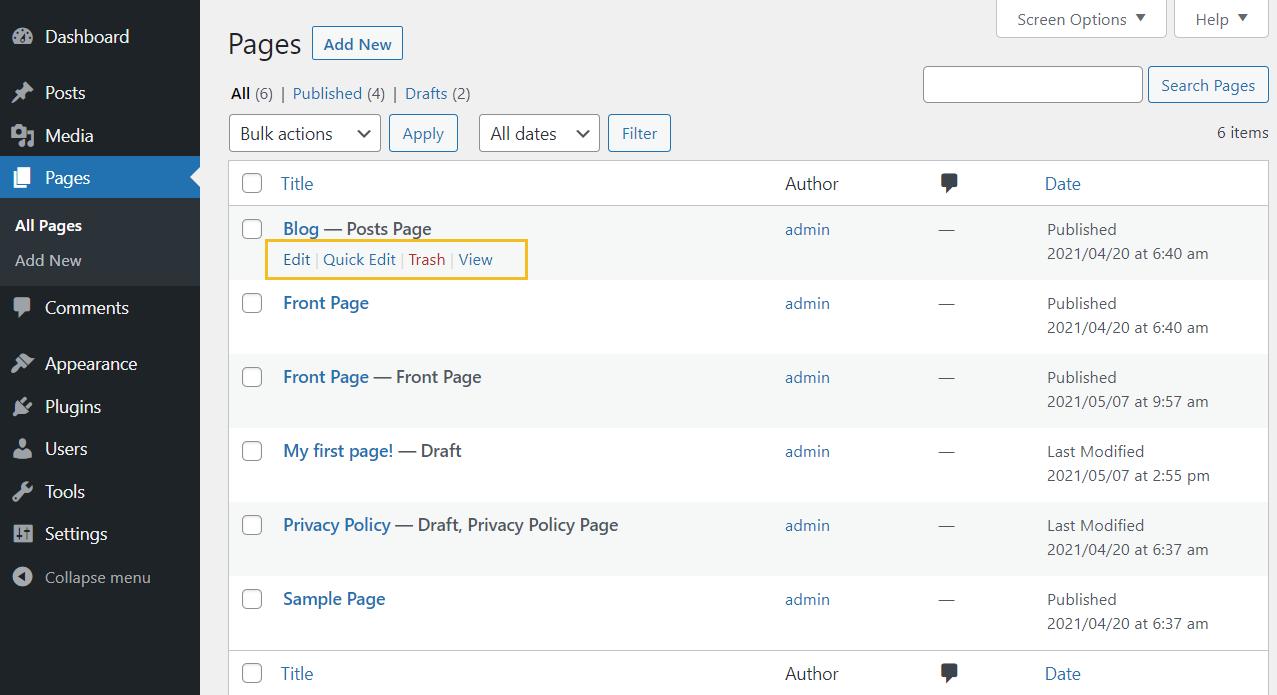
From here you can go back and edit them. Just hover over the title of a page and you’ll be seeing the “Edit”, “Trash”, and “View” options.
If you select the “Quick Edit” option, you’ll be able to make URLs, page title, and publishing date changes very fast. You won’t need to get inside the page to manage these.