
Who needs a gym website in the era of social media?
You do!
Without a site, people may question your legitimacy as a business. Somehow, the website makes it real. The social media profiles you might have have several constraints that you can’t avoid. Sure, you can add beautiful visuals and cool profile images, but, at the end of the day, they won’t be able to properly tell the story of your brands and offering.
With a website, you can properly create an identity. You can customize the color scheme, the typography, the visuals, to properly tell the story of your brand and to clearly differentiate yourself from the competition.
Social media are great channels to interact with fans, customers, and potential customers. The content there is not static, stuff can get lost in translation there. They can be fun, like club-fun. But you can’t live your life inside the club. You need a safe place, and that’s your website.
Now, in this article I’m going to present you some best-case gym web design practices, as well as show you how you can kick off with website design for free all by yourself. No coding required.
Ready to roll?
Best-case practices for gym website design
Your gym website can have 5 main purposes:
- Inform visitors about the services you offer, their prices and schedules,
- Prove know-how and sound trustworthy,
- Attract new members,
- Help with bookings,
- Build a community (optional)
Now, let’s see what website elements can help with that.
- Location(s) and contact information
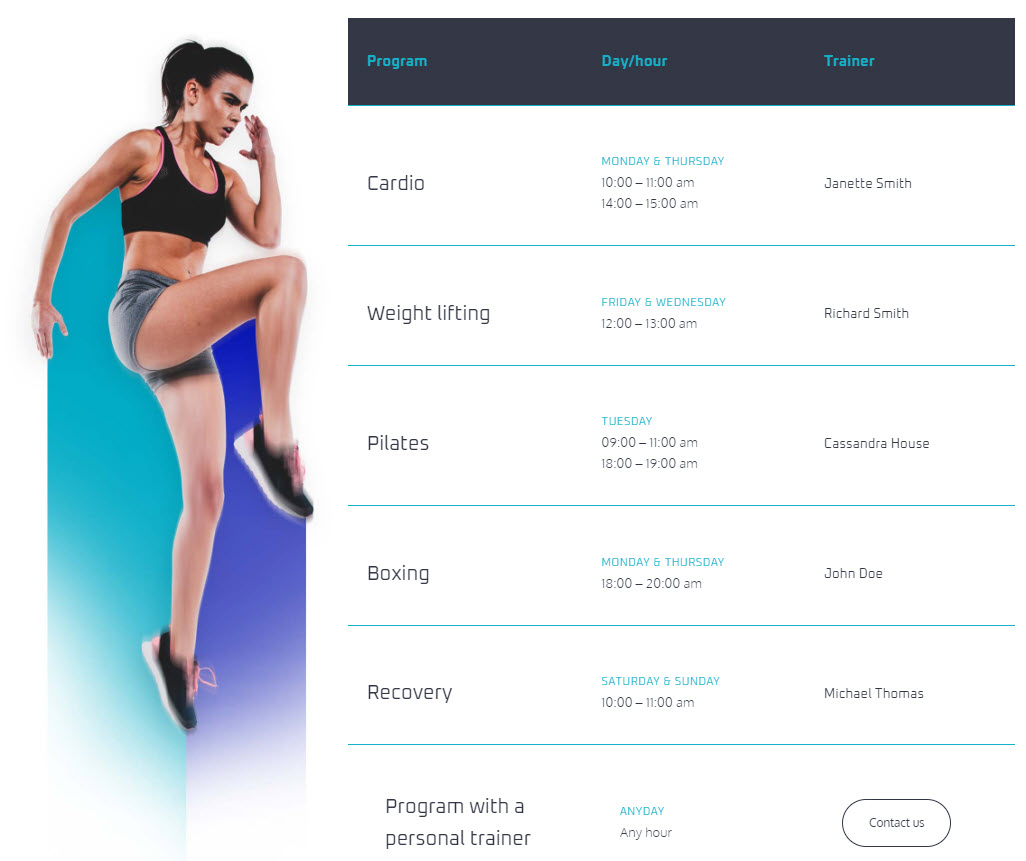
All your locations and their schedule should be made visible.
Here’s an example from the Gym website template by Kubio:
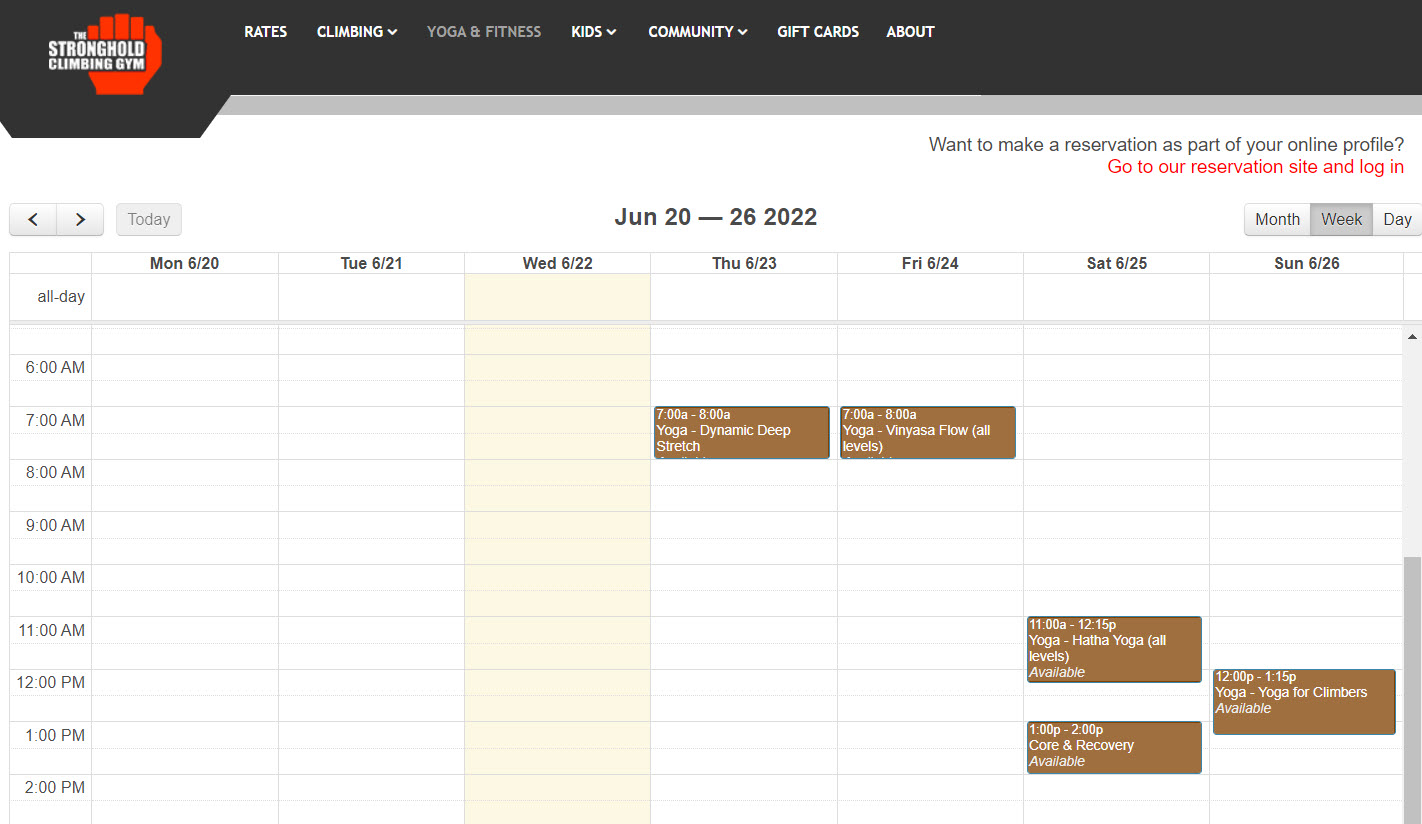
You could even use certain calendar widgets to show schedules and availability. This is how the folks at StrongholdClimb do it.
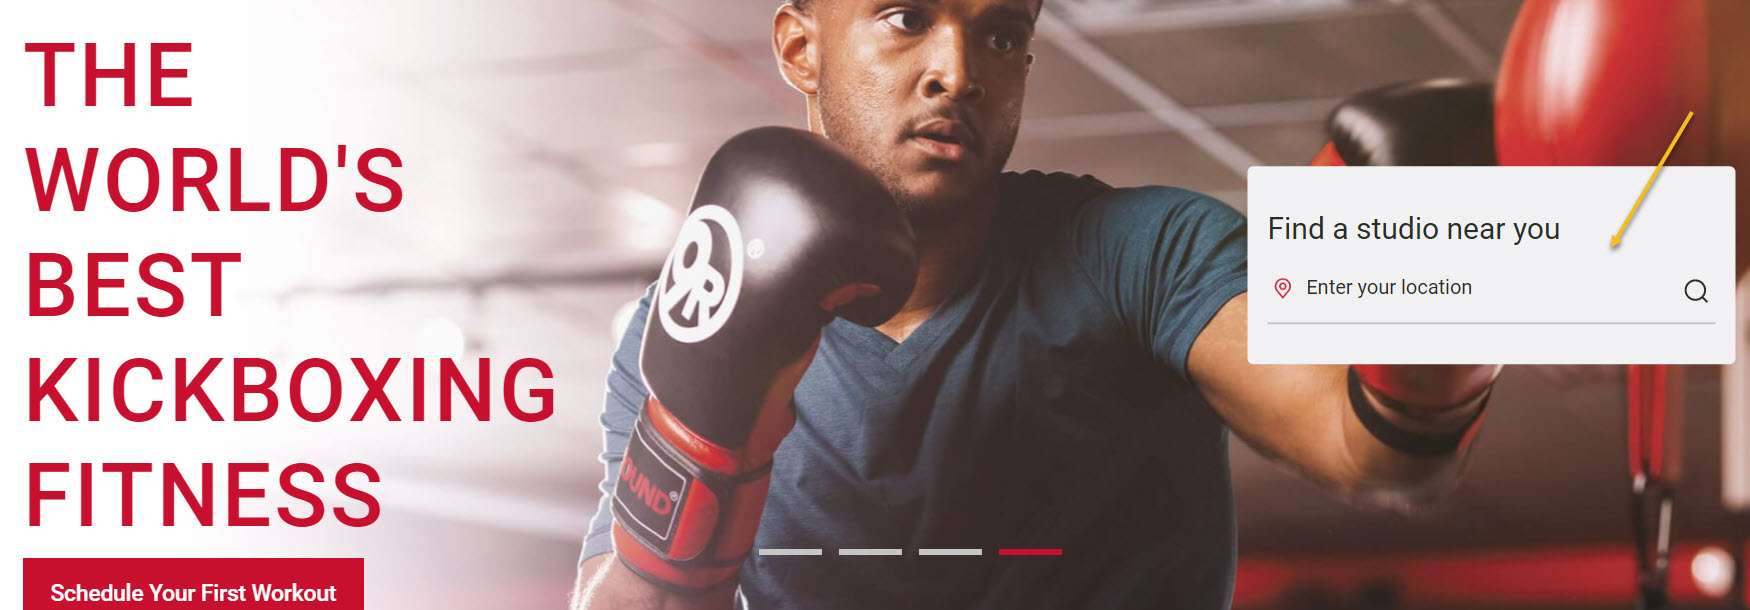
You could even use a feature that detects locations close to the location of the website’s visitor. Here’s an example from 9Round:
Make it easy to find your contact information (email, phone number, social media profiles).
.
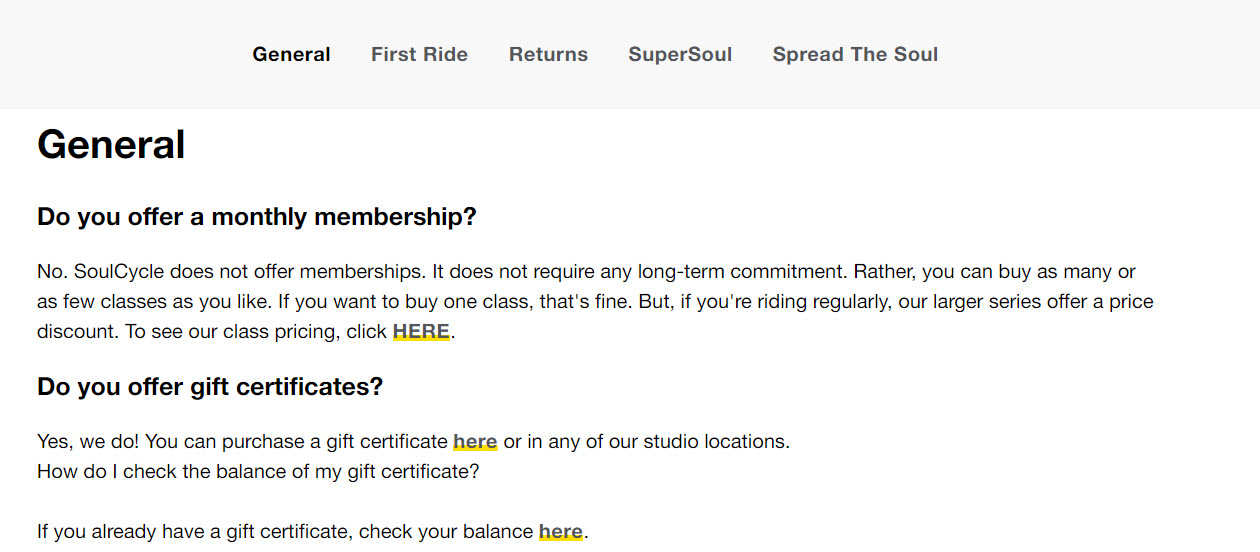
- Create an FAQ page. How many sessions are included in a plan? When do you need to make a booking? Can you cancel a plan? Make sure you answer the most popular questions your clients and potential clients have.
The folks at SoulCycle have even 5 FAQ categories.
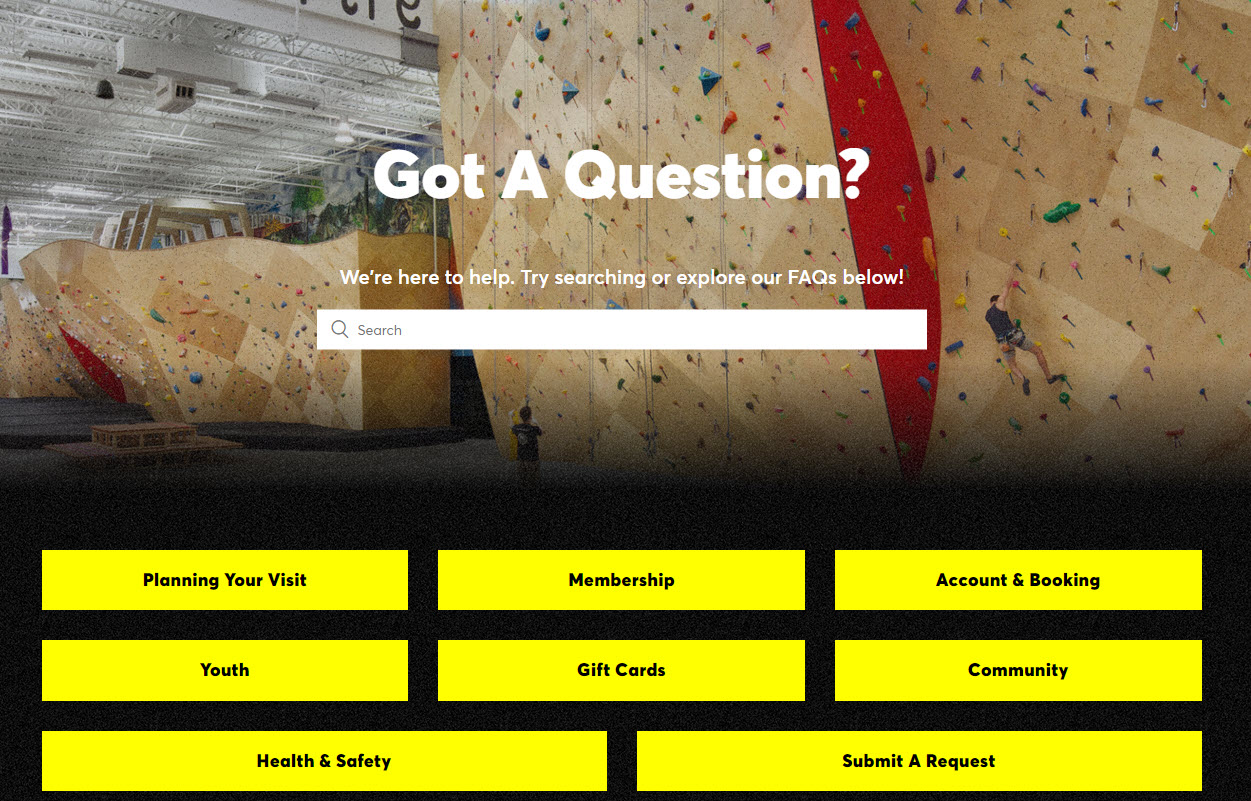
The folks at BrooklynBoulders also have a search bar on their FAQ page. This makes navigation easier, but also gives the website owners hints about the needs of their potential and actual clients.
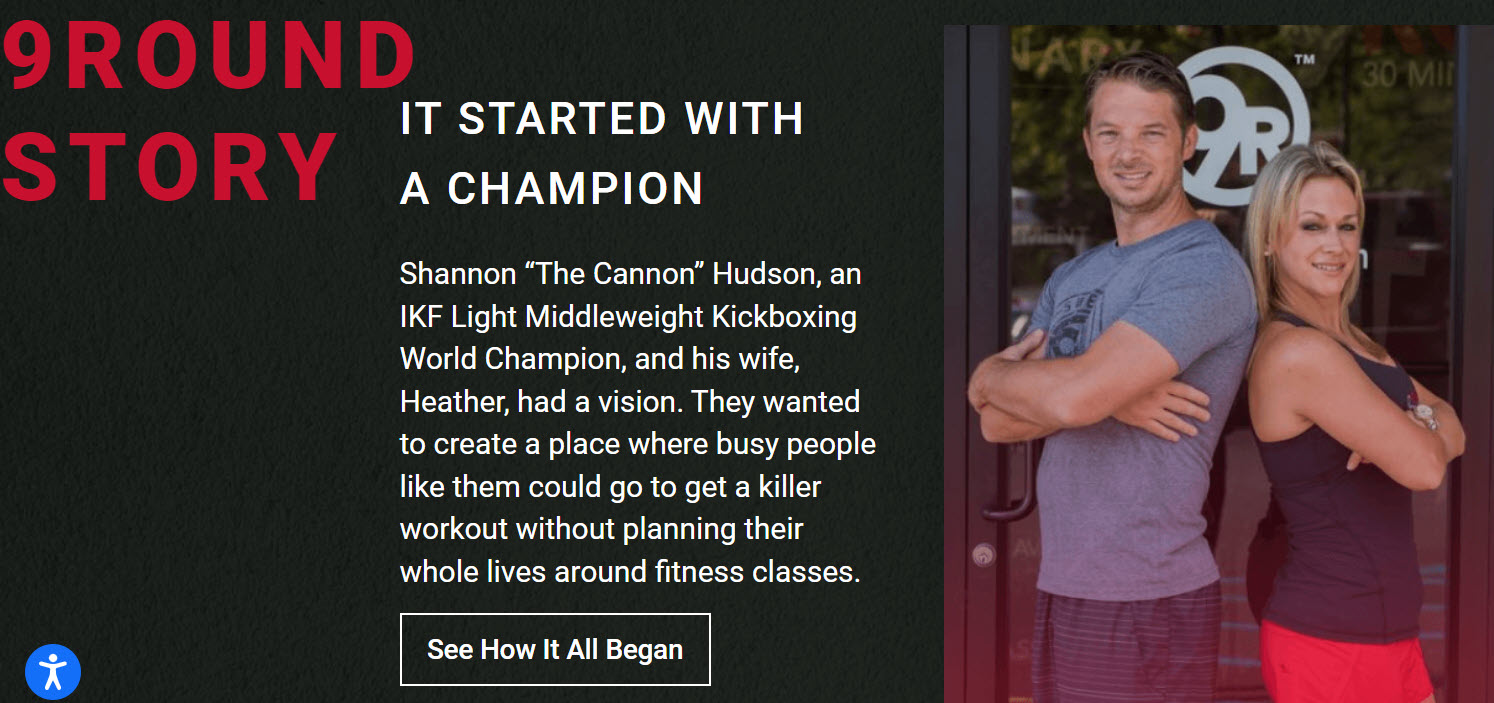
- Show-off the skills and qualifications of the instructors. This will increase the trust in your brand. This is how the folks at 9Round do it. They even back-up this with a story. And stories are a marketing strategy that can really build a brand.
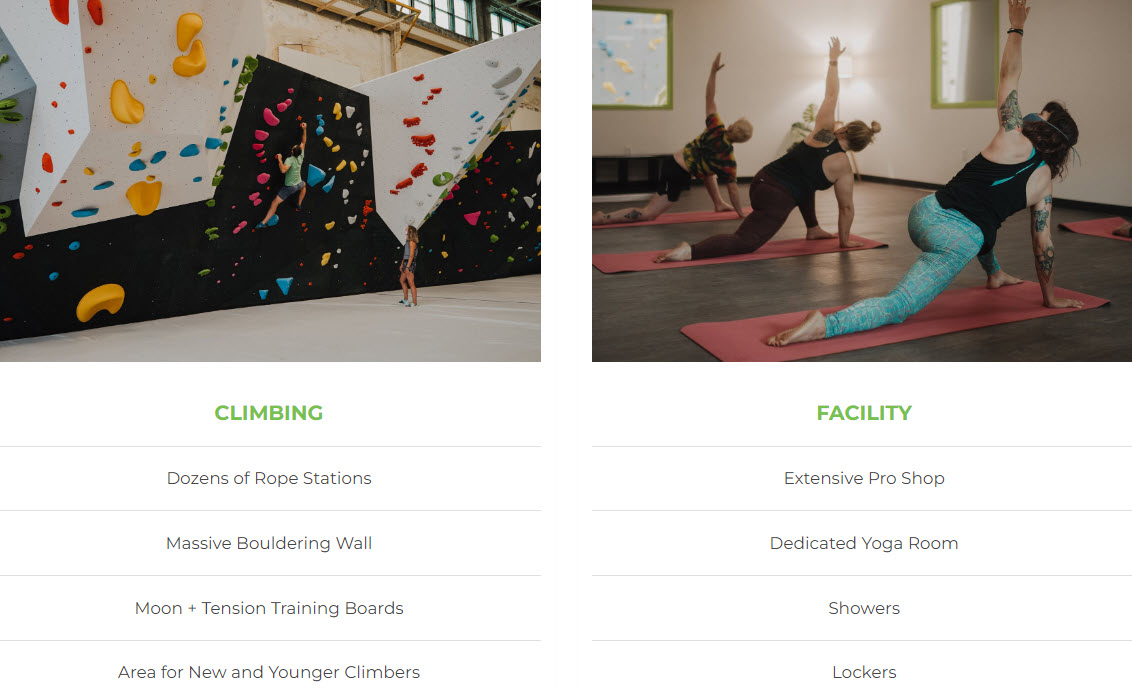
- Present your amenities. Do you have a room for pilates or zumba? What kind of equipment is there? Is there a steam room?
Here’s how the folks at ClimbSoil present their amenities:
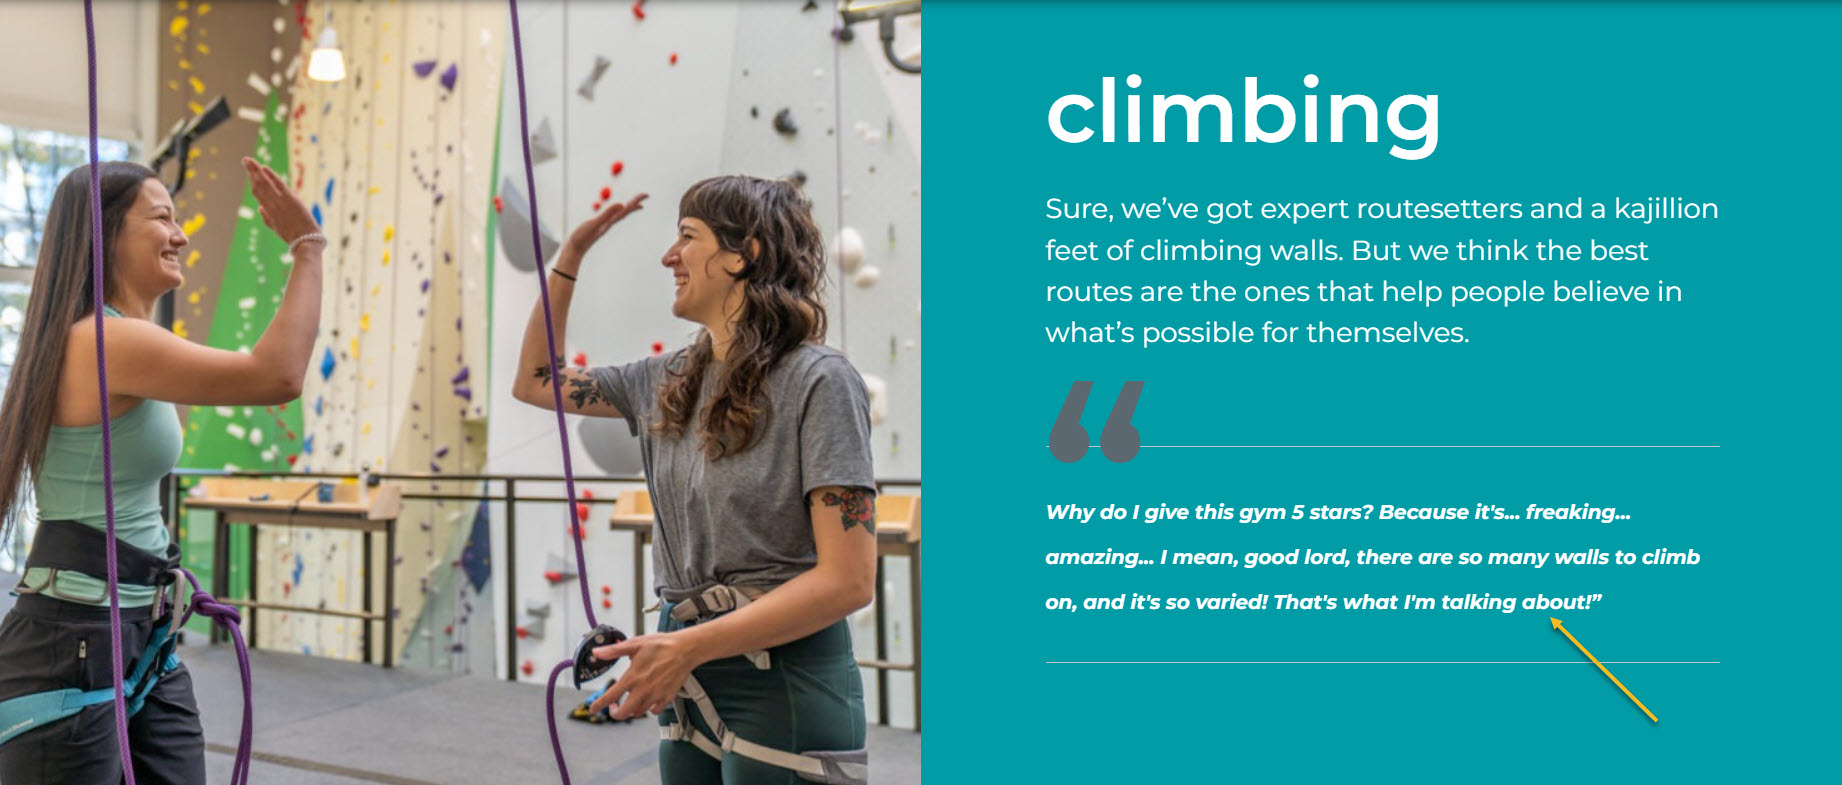
- Use client testimonials and stories. These are really powerful and really prove the value of your services. I mean, wouldn’t you feel excited to hear that climbing at MovementGyms is “freaking…amazing”? This is how a client describes the experience.
The folks at Go180, a personal training studio in The Netherlands have a special website page called “Stories”, where they present great client stories that are very relatable.

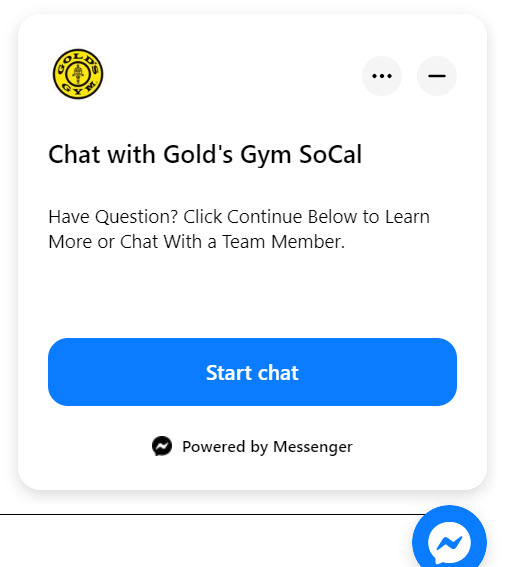
- Have live chat options on your website. The easiest way to do this is to integrate Facebook Messenger. This is how the folks at Gold’s Gym do it.
- Make your seasonal offers stand out. ElbGym in Germany has a special 50% discount valid until Jun 24th. The message and calls to action are clear, and they are included in the homepage’s hero.
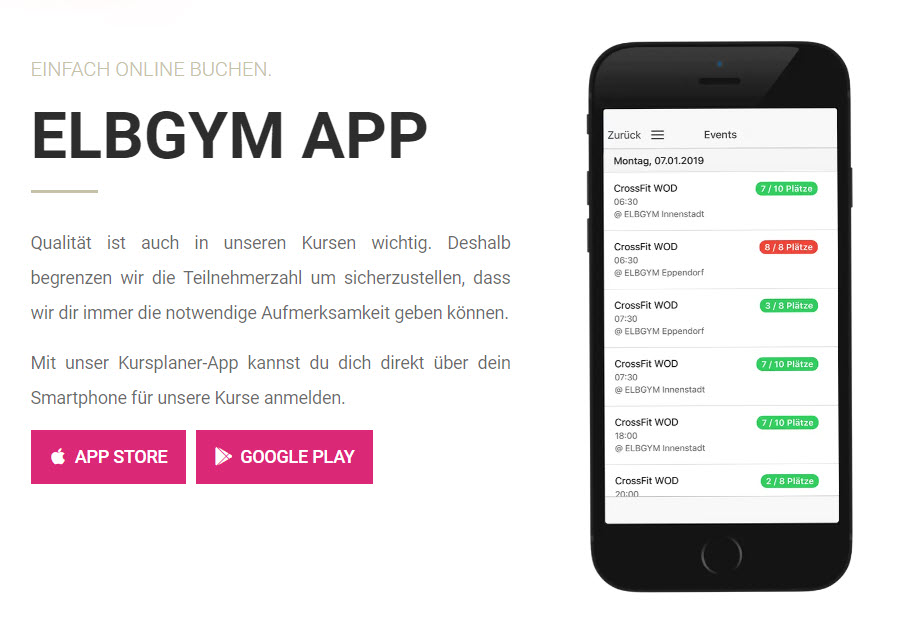
- For bigger gyms, with more locations and services, an app might be a good option. Make sure you promote your app on your website, like the folks at ElbGym do.
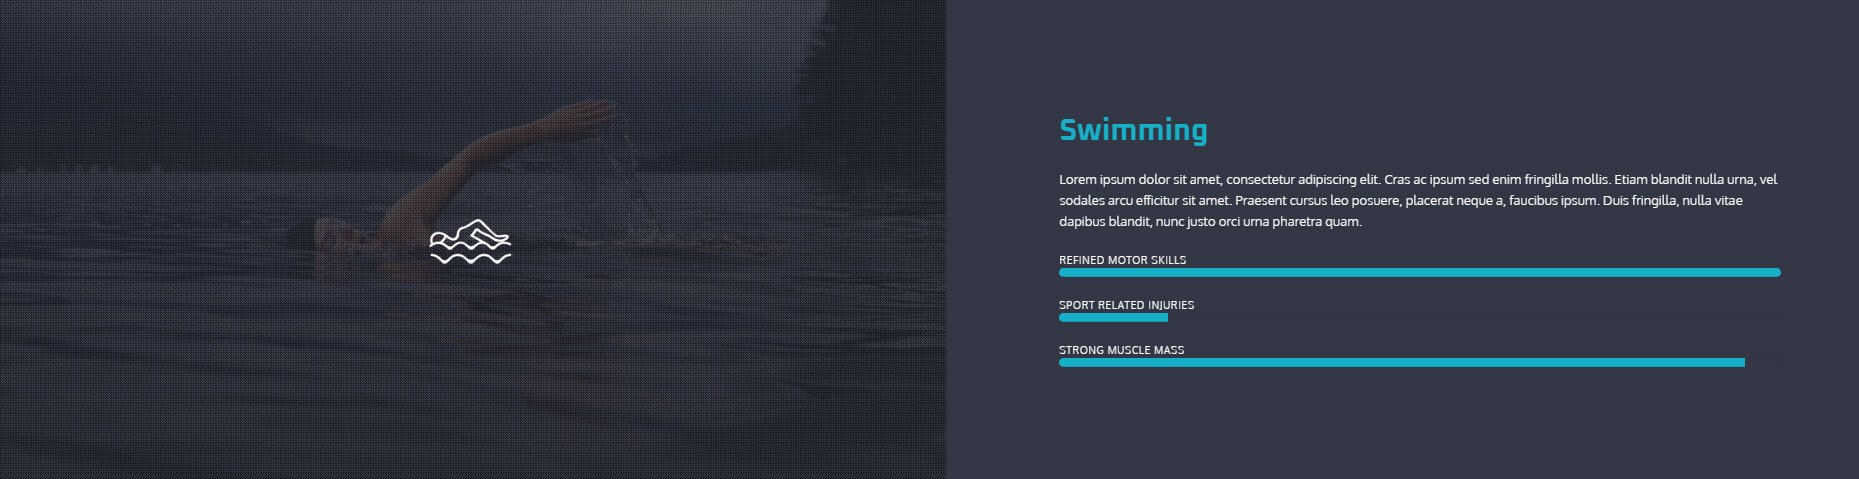
- Make sure to emphasize on the benefits of your gym courses and programs, in order for the potential customers to make an informed decision.
Here’s a great benefits section example from the Gym website template from the Kubio builder.
- Use strong and dynamic visuals (images and visuals). They will make your website more eye-catching and will increase your conversion rates. I like the images presented on the ClimbSoil website:
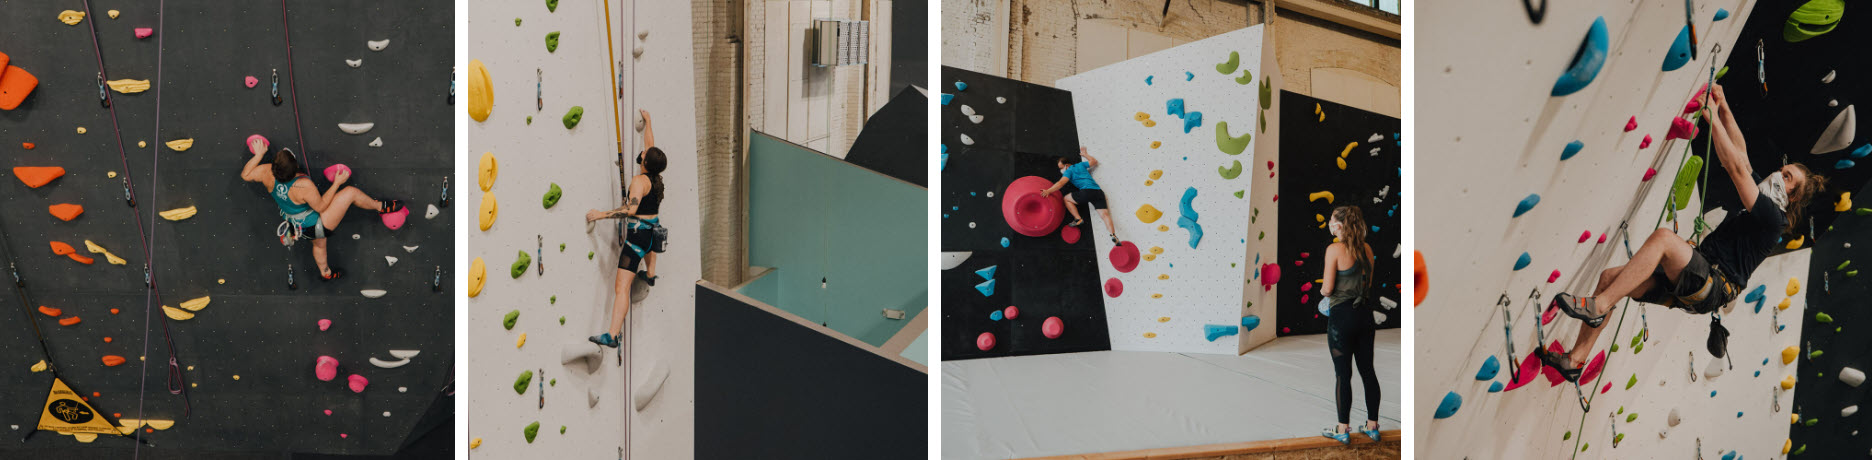
They also have a page that showcases videos.
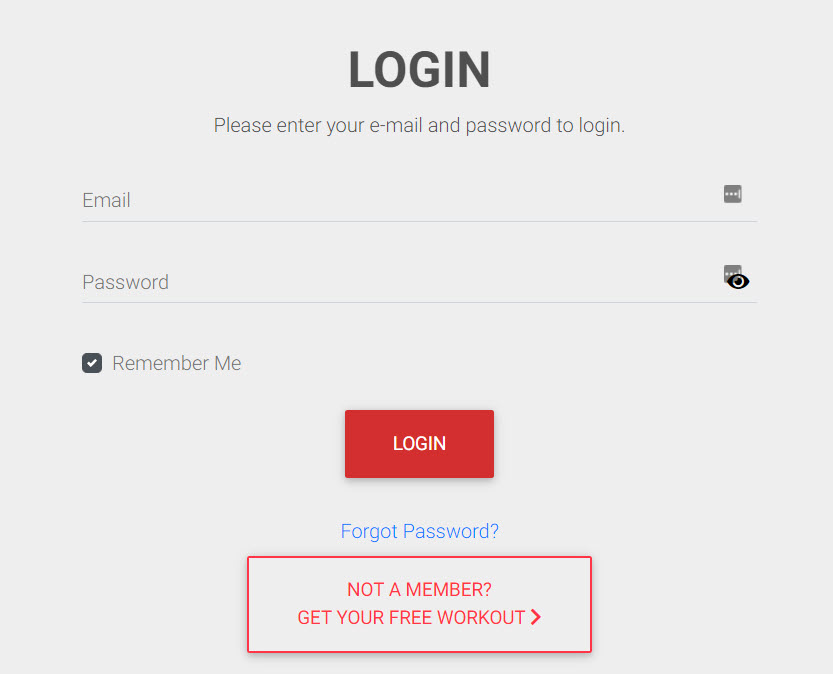
- Have a member accounts system that allows members to manage their own membership, update payment details, manage bookings, set up reminders, and more. This will help you with planning and administration processes, while having happy customers that feel in charge.
5 gym website designs we absolutely love!
We picked a few sports websites that range from kickboxing to climbing. Here they are:
9Round
Why we like the website:
- It uses geolocation in order to recommend the closest studio,
- The copy is emotional and convincing. Wouldn’t you feel motivated when you read “Activate your inner hero”. I would reply : “Bring it on!”, even if I’m one lazy person.
- The benefits of the services are clearly stated,
- Testimonials are used to reinforce the benefits of the services,
- They run a newsletter and have a consistent blog with topics ranging from fitness to health and wellness,
- Great brand story, explaining how 9round was born,
- There’s an online shop for branded merchandise.
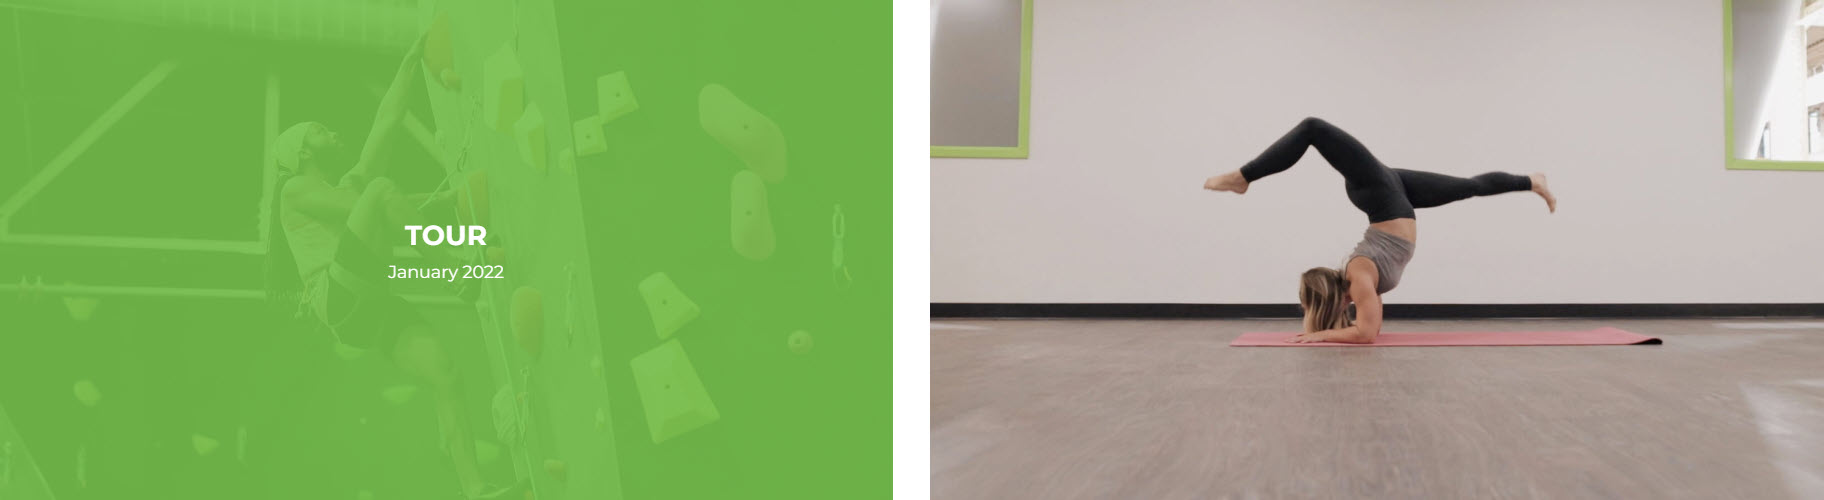
Movement Gyms
At Movement Gyms, the main classes are fitness, Yoga, and climbing.
Here’s what I like about their website:
- Each program has a description and a relevant testimonial,
- They have a “Why us” page explaining their reason for being, and which are the values that connects them,
- They present each location with their schedule and amenities.

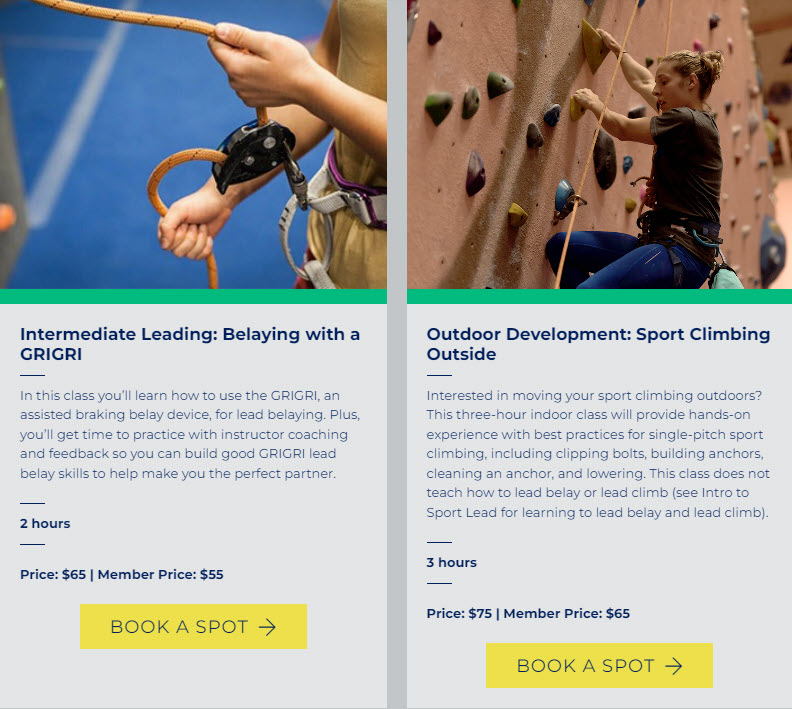
- Each class inside a specific program has a relevant description and a clear call to action: “Book a spot”.
- They have a web page dedicated to first-time visitors. Here they can find a calendar where they can book a tour to better understand the offering. They can filter the calendar across activities, locations, and classes.
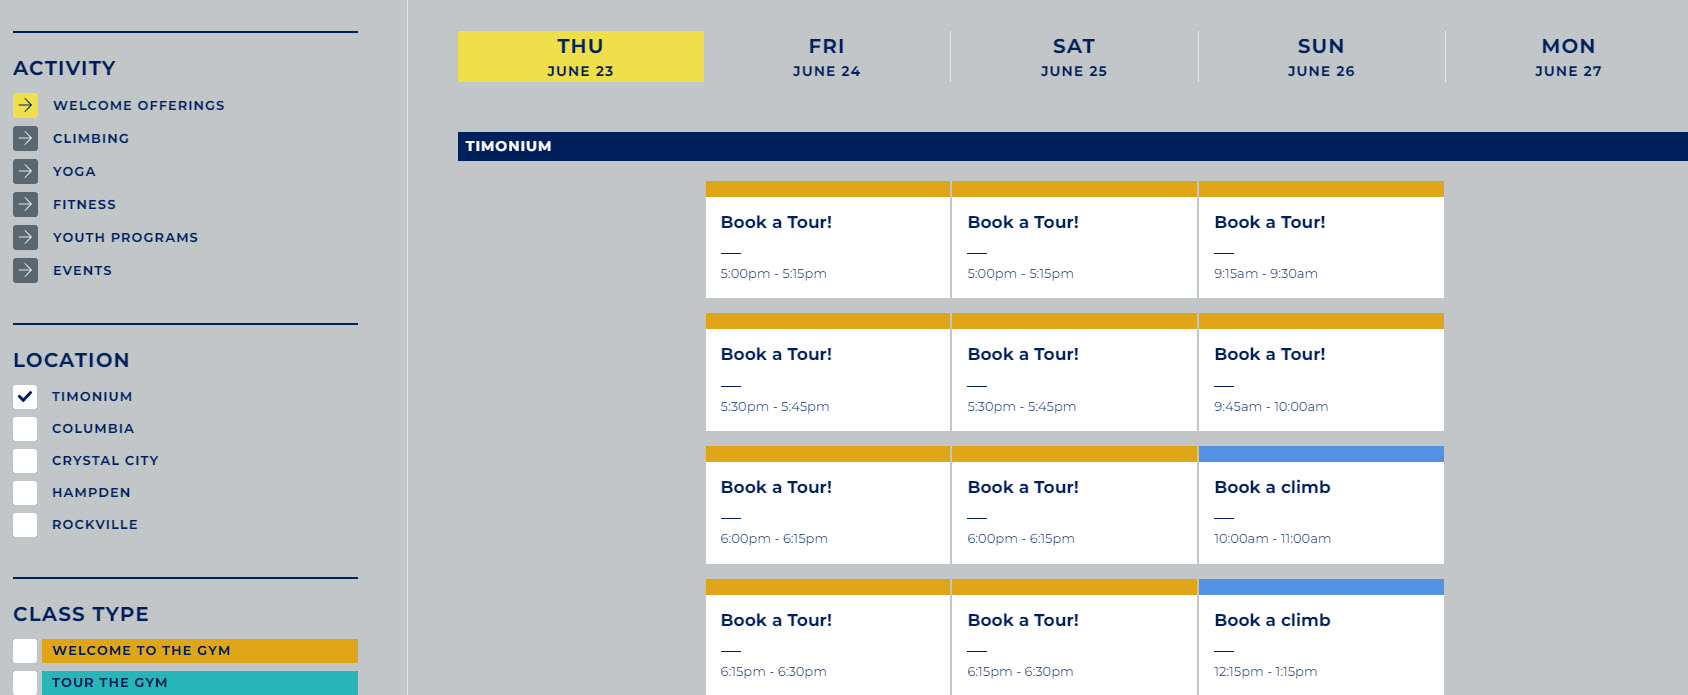
- Great calendar for activities
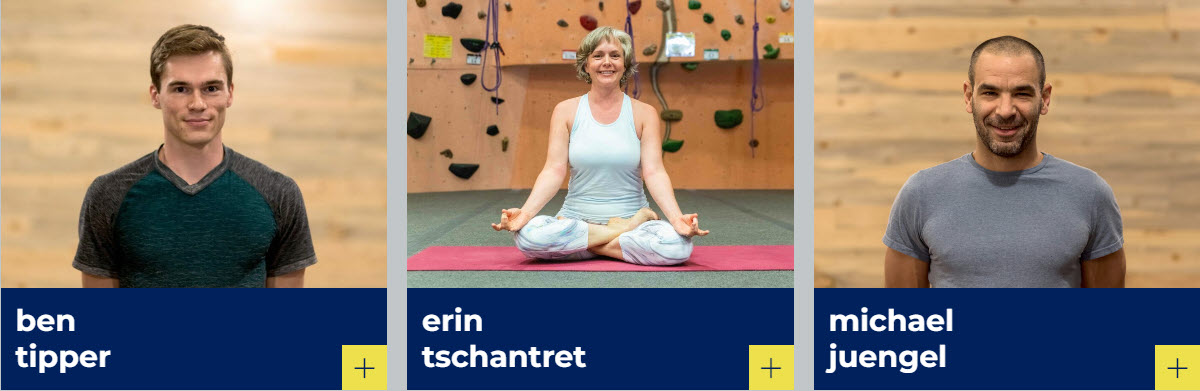
- Dedicated pages to meet the instructors and teachers.
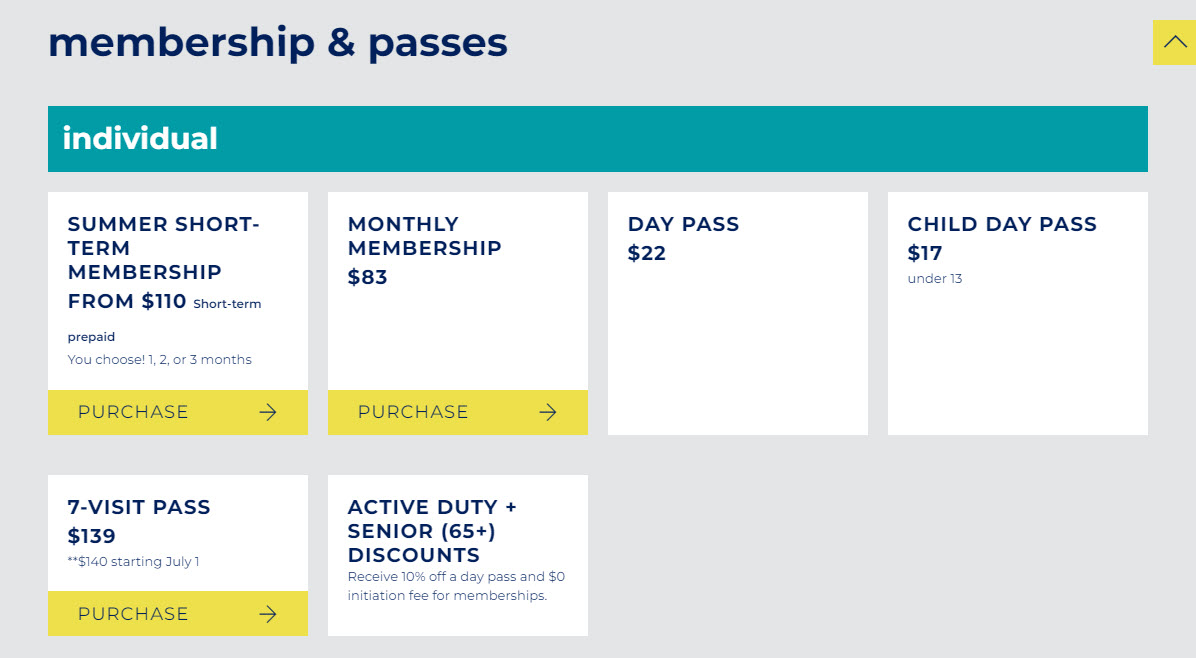
- A separate page explaining the types of memberships and passes, as well as FAQs.
ClimbSoil
Here’s what we like about the design of ClimbSoil’s website:
- Clean gym website design, with minimalist photos.
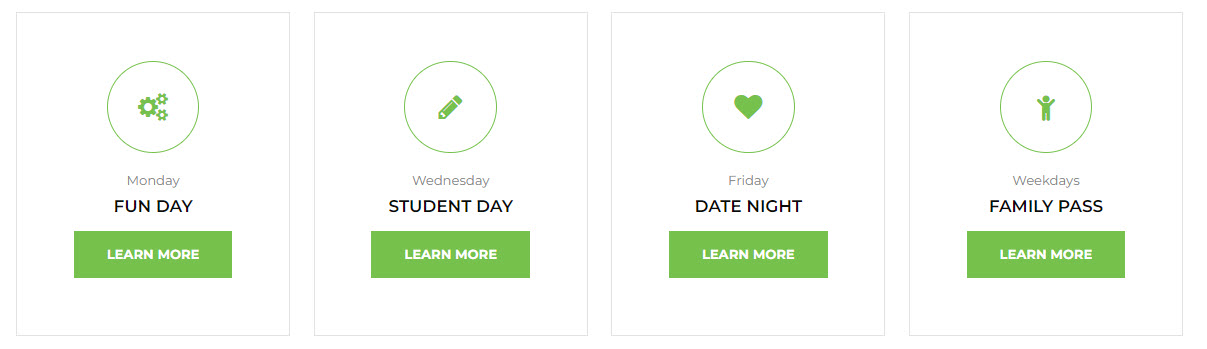
- Package deals designed for certain days of the week.
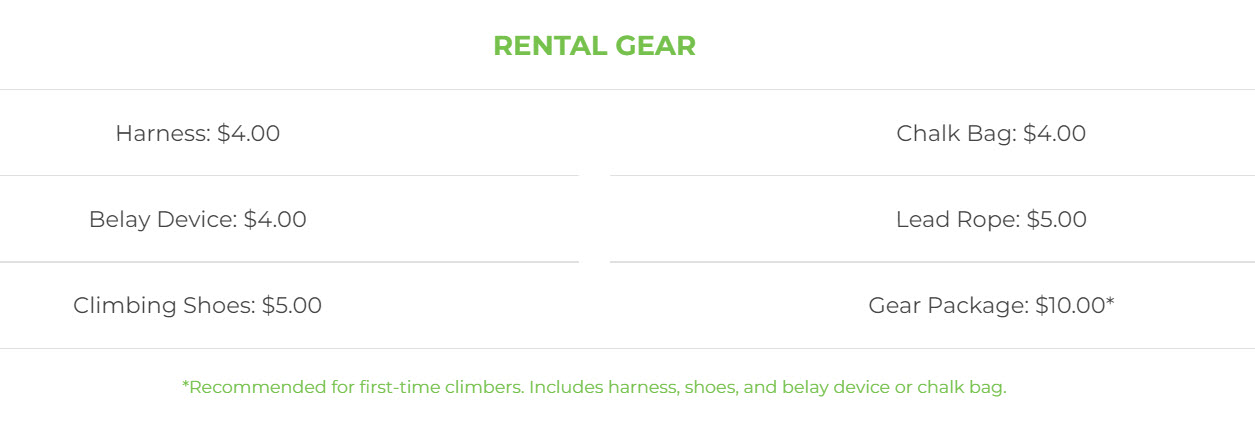
- Rental gear info is short and sweet.
- Great imagery presented on dedicated pages with photos and videos.
- Dedicated amenities page.
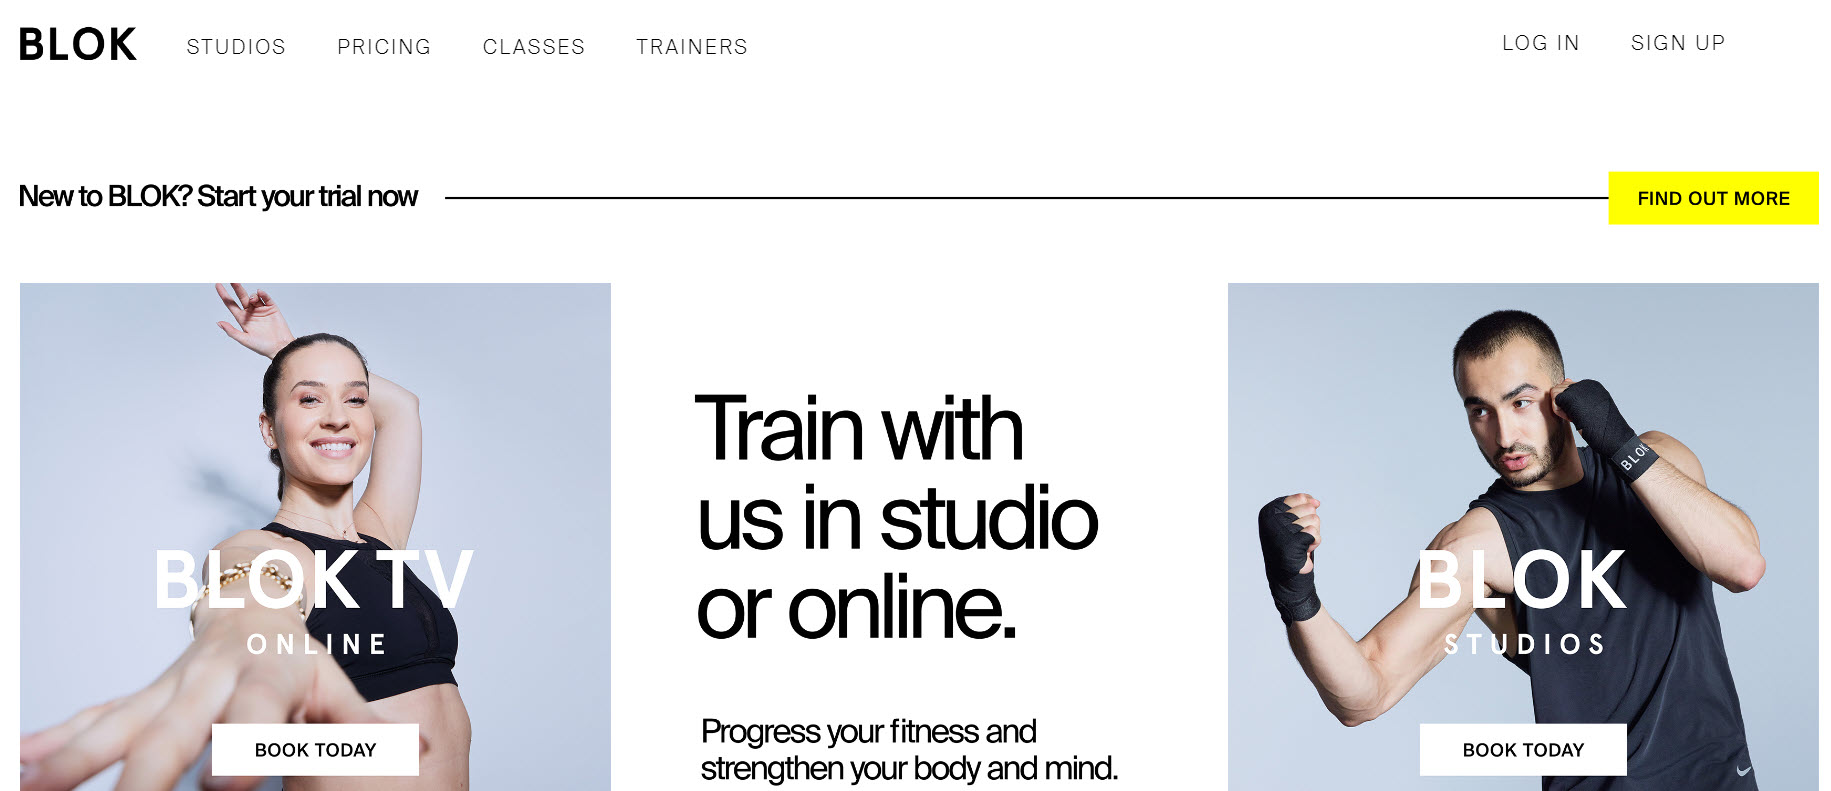
Blok
The website design of this studio is following some of the latest trends: clean and minimalist, flat color palette, large fonts.
Here’s what else we love about the website:
- The website’s menu is concise: Studios, Pricing, Classes, Trainers, Log in, and Sign up. It’s all clear, right? And it’s also a sticky menu.
- They have two main clear service options: online classes and live classes. They are clearly stated in the homepage’s hero.
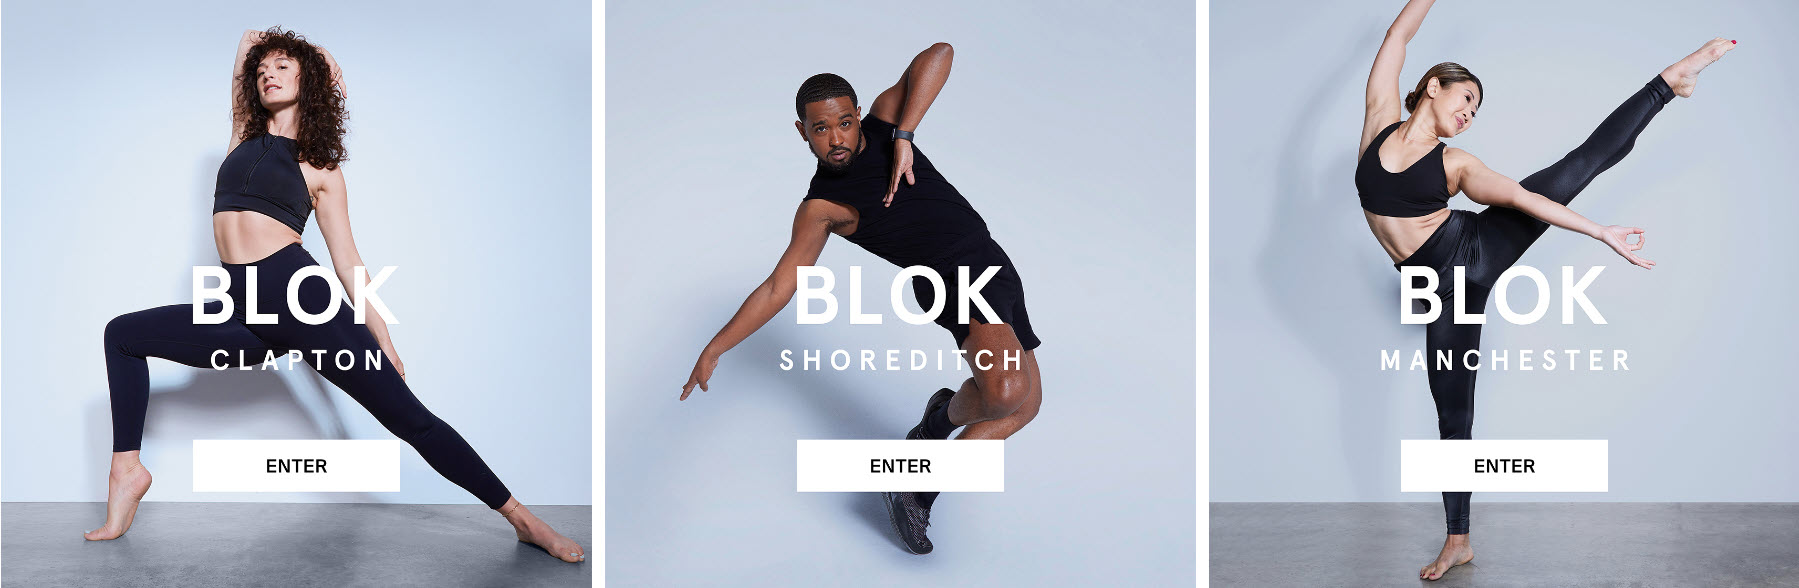
- If you go for live classes, you’ll be taken to a page with their locations.
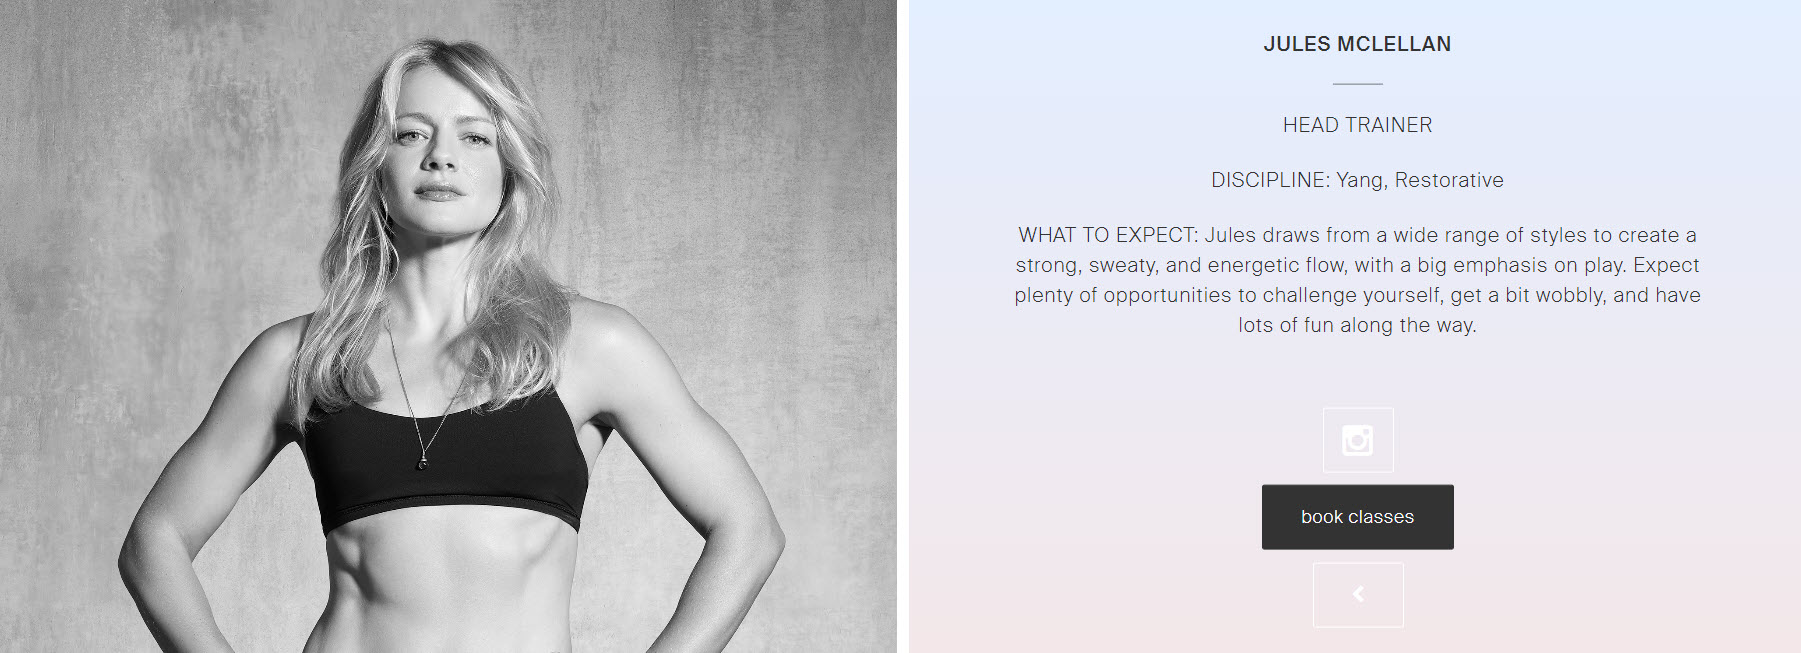
- The trainers are presented on a separate page, with their photo and names. When clicking on the photo you will be taken to a dedicated trainer page, with more details on the experience. There’s one problem on these pages: no proper contrast between the instagram icon, the CTA, and the background. I bet you didn’t even see the Instagram icon.
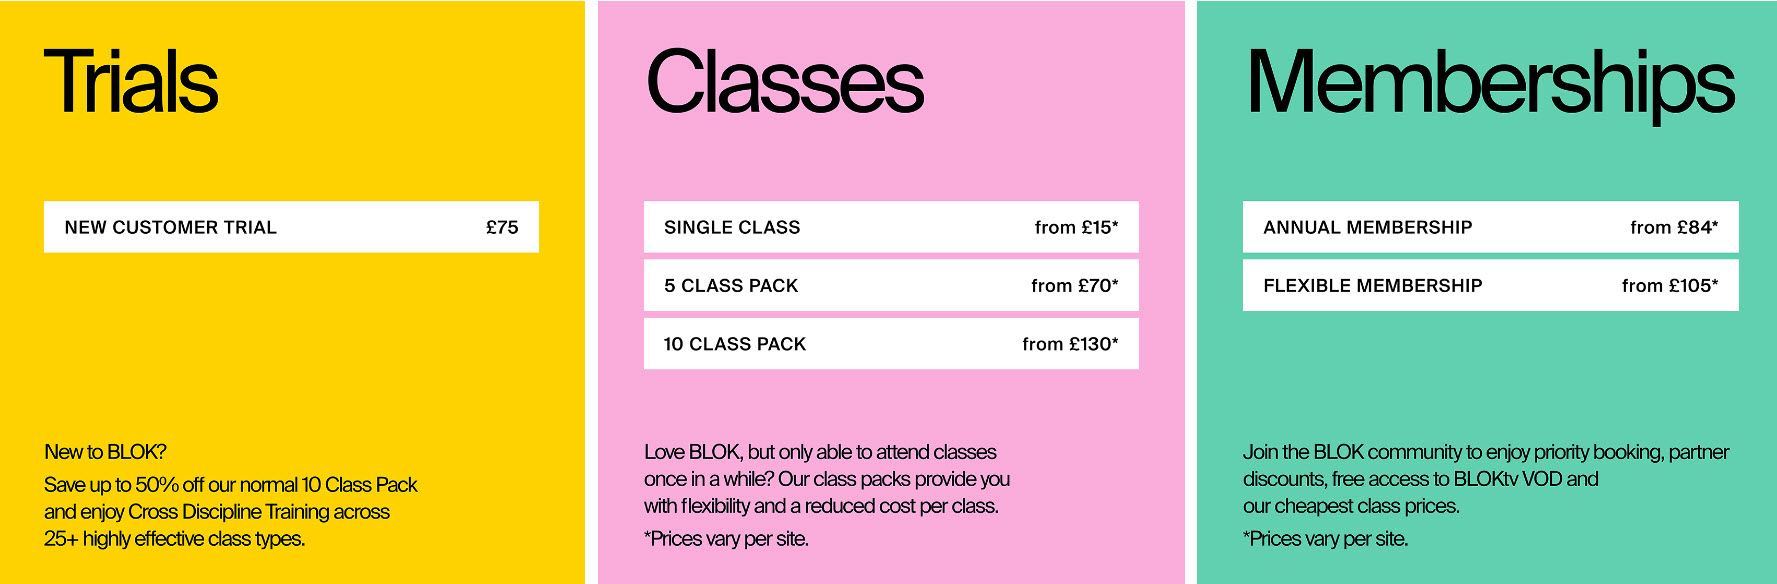
- The prices are clearly stated.
- The classes schedule is clearly presented inside a calendar with filtering options by trainer, studio, and type of class.
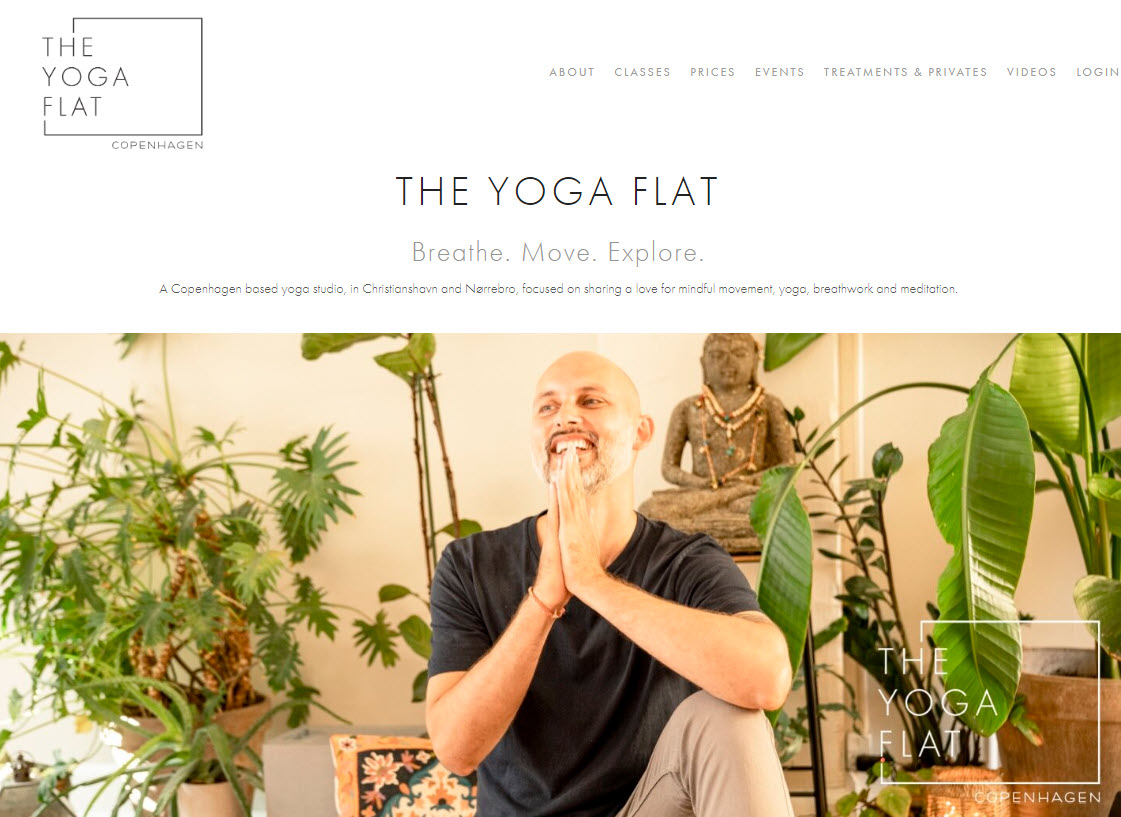
The Yoga Flat
This Copenhagen Yoga studio has a neat website design. What we like about this website:
- The choice of fonts is breathable. Maybe because breathing is something crucial in Yoga?
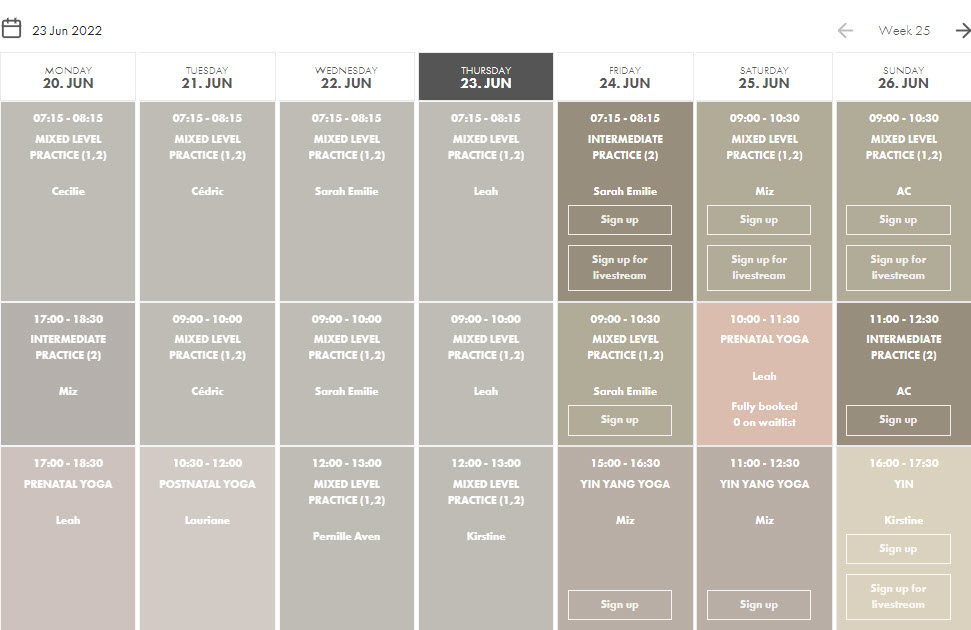
- They use a clean booking calendar.
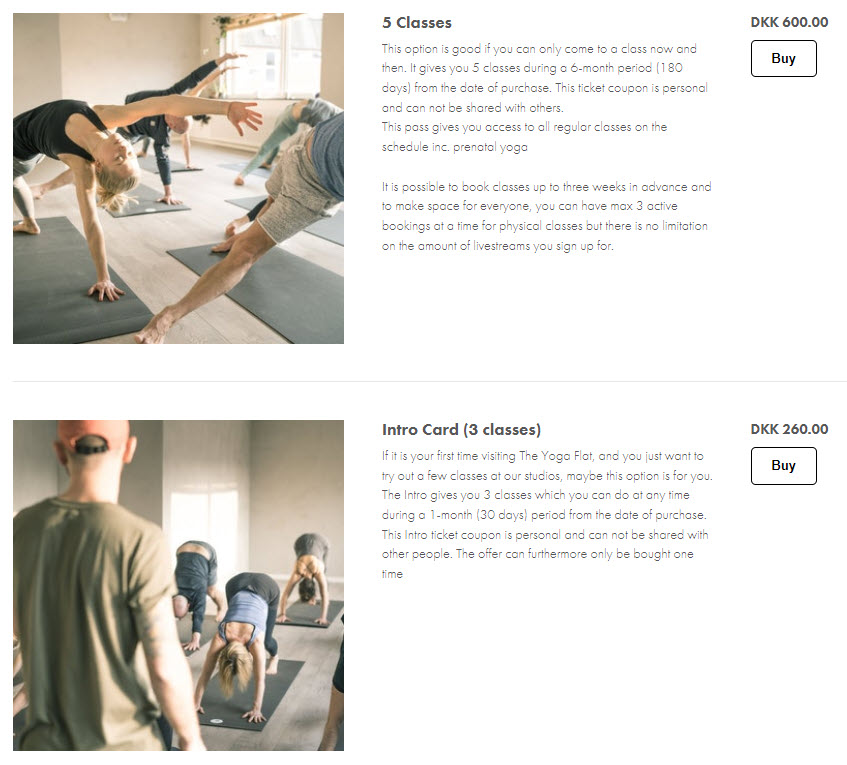
- The pricing list is clear.
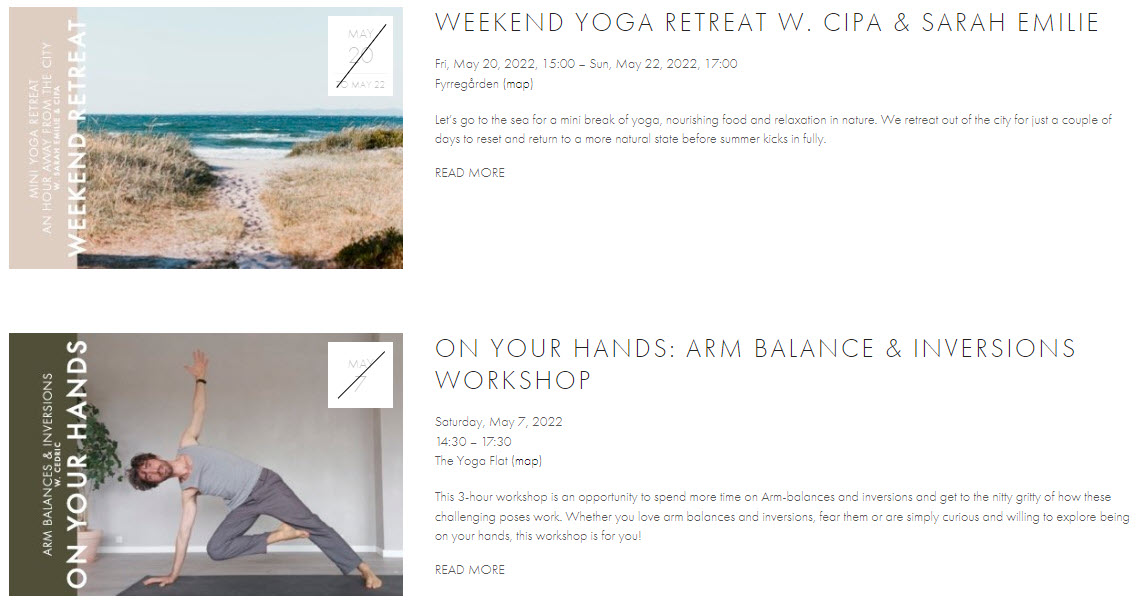
- They organize lots of events, they are clearly presented on the homepage, as well as on a separate page.
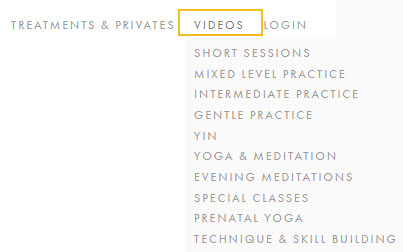
- There’s a large range of videos available on the site.
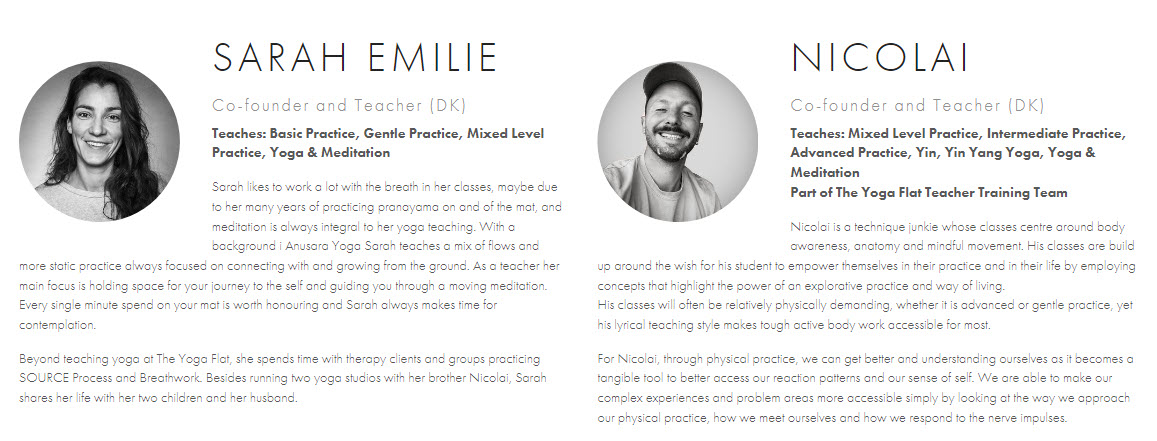
- The trainers are not missing from the website.
- There’s a newsletter subscription available, as well as an app.
Gym website design: a 30 minutes tutorial
No matter the web design platform you’re using, the advice above still stands.
Now, from the technical perspective, here’s what you will need to jumpstart with gym website design:
- A domain name
- A hosting provider
- A web design platform such as WordPress, Wix, Webflow, etc.
Now, WordPress powers more than 40% of the websites worldwide and this kinda says it all.
No matter the platform you use, you will be able to design on top of a predefined template, or just start from scratch.
For example, here’s the Kubio builder gym website template:
Kubio is a WordPress builder, meaning that it allows you to create websites inside WordPress.
Now, let’s see how you can customize the template above and enrich it with new elements. The advice here is valid even if you start your site from scratch.
The process presented here is similar to other builders, inside or outside WordPress.
- Installing Kubio WordPress page builder to help you with your gym website design
After you buy a domain name and acquire a hosting plan, you will need to install WordPress. The process differs from among hosting providers, but it should be straightforward.
When this is done, you will see an interface looking like this:
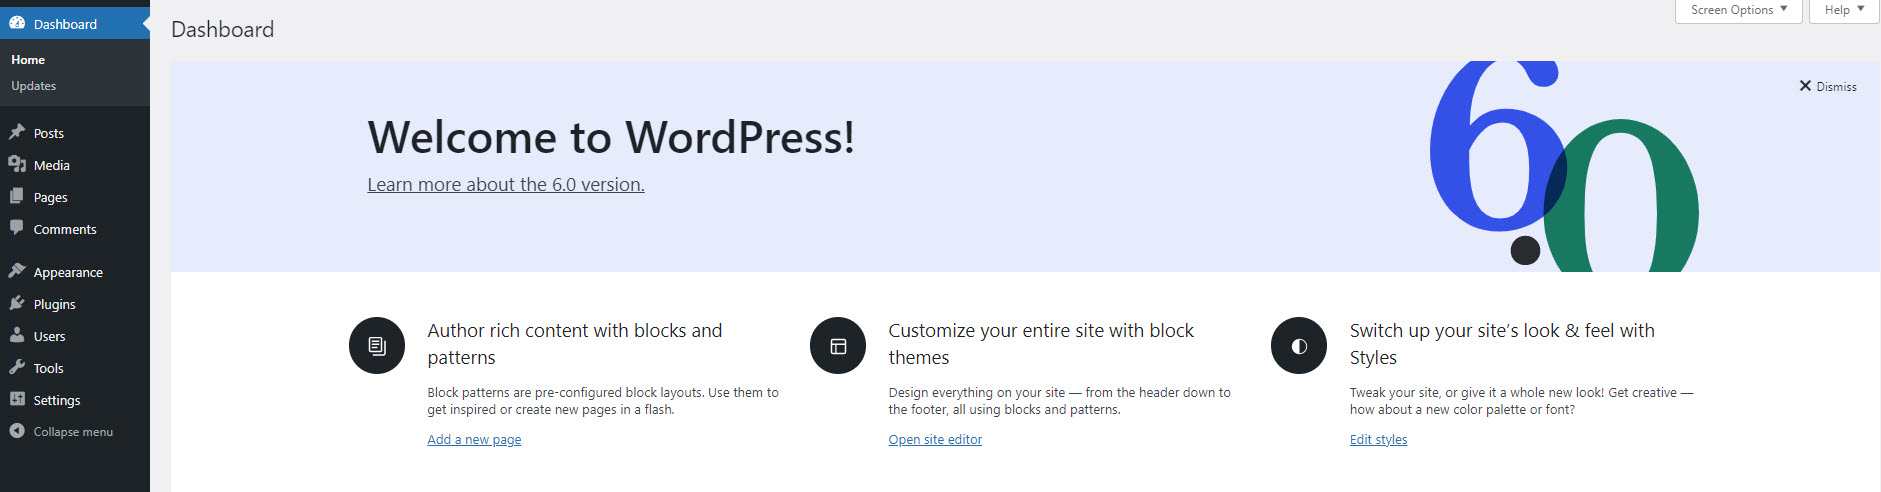
This is the WordPress Dashboard.
If you look at the menu on the left you will see several options. I’m going to present you with a few of them.
- Appearance -> Themes. You will come here to install a WordPress theme. A theme will dictate the overall layout and look of your site. Every WordPress site technically needs to have a theme installed and activated, but this doesn’t mean you need to use your theme’s design. If you use a builder such as Kubio, you can replace the theme’s layout with custom designs. Page builders give you more freedom over design, than themes, everything in a drag and drop visual interface.
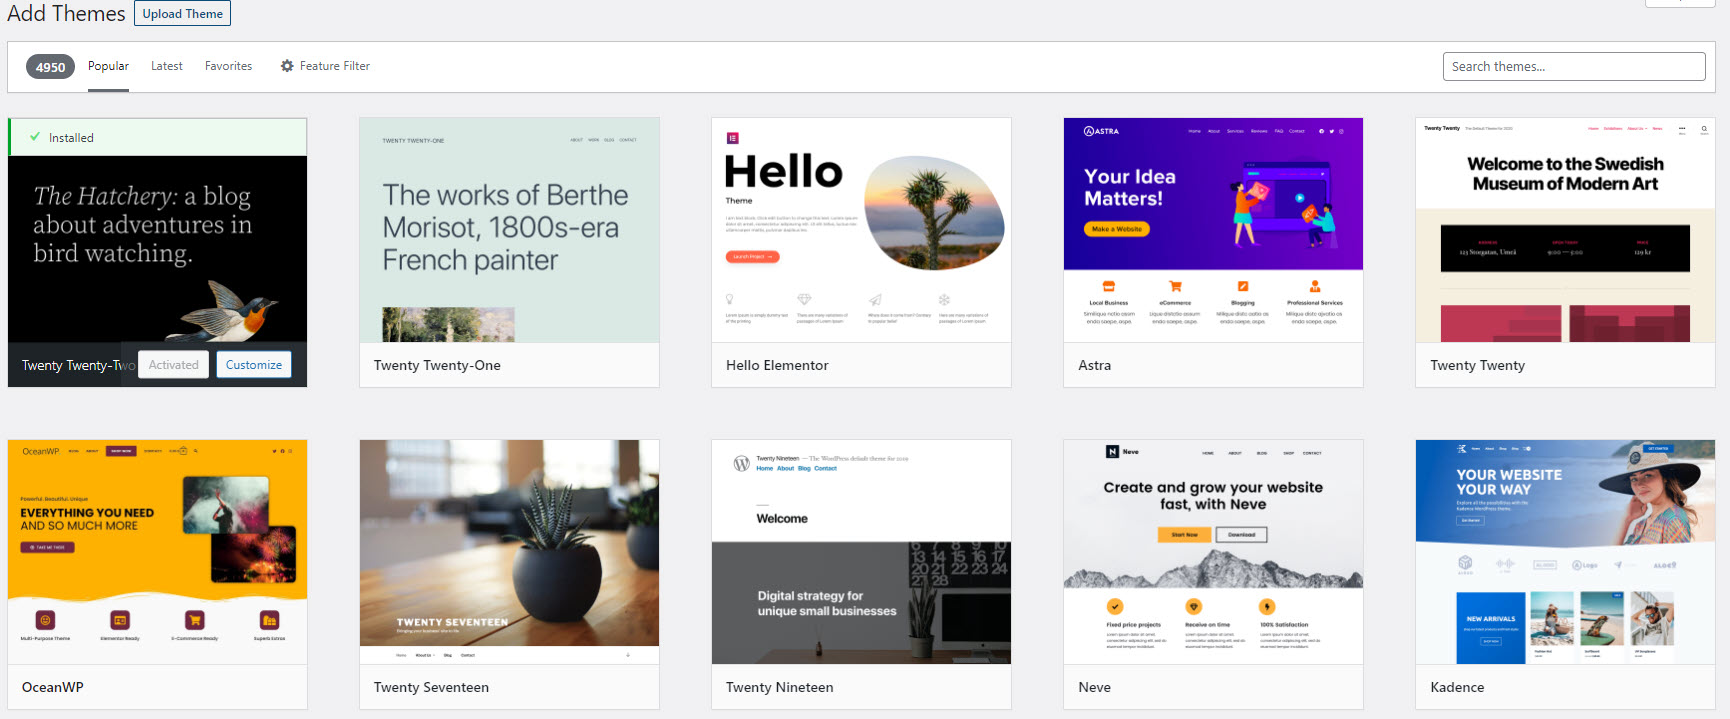
When you use WordPress for the first time, you will notice that a default theme is already activated: Twenty Twenty Two. We’ll stick with it for now, because Kubio gives you the power to customize any theme.
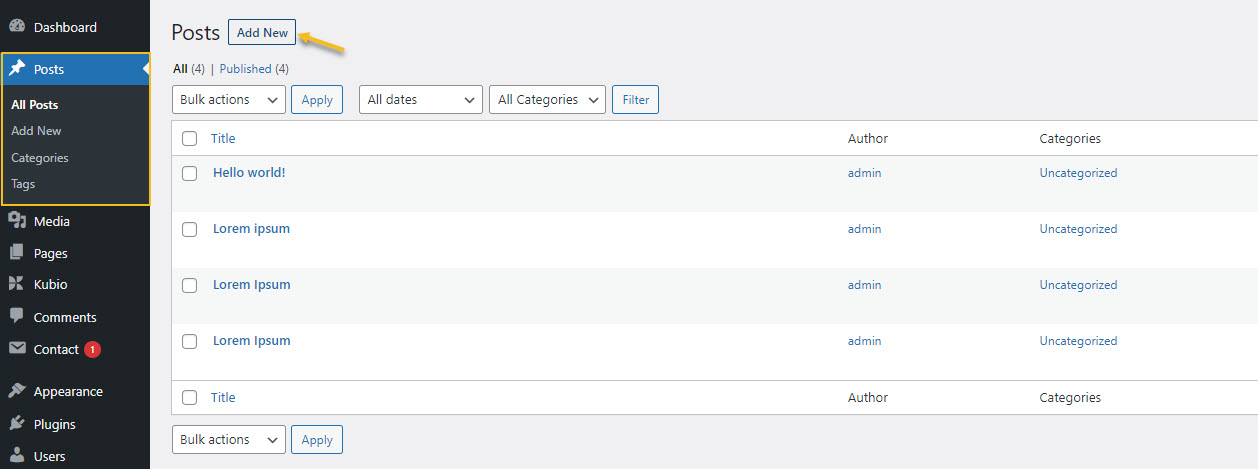
- Posts – here you will create and manage your blog posts. Use the “Add post” button to create a new blog post.
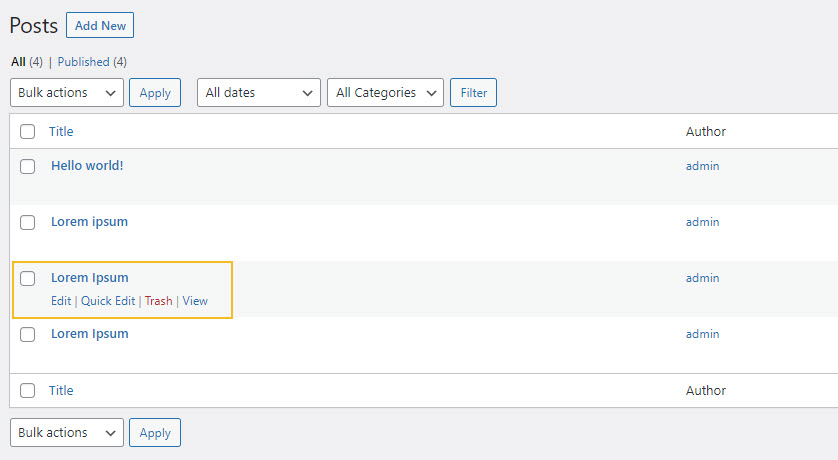
If you hover over the names of posts you will notice a menu. The options there allow you to edit the post, view it, or delete it.
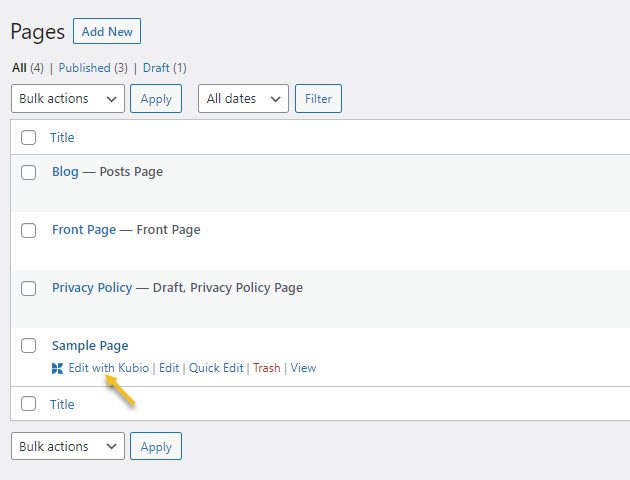
- Pages – here you will create and manage web pages. Use the “Add new” button to create new blank pages. If you hover over the names of the pages you will notice a menu. The options there allow you to edit the page, view it, or delete it. If you are using Kubio builder, make sure to enter the page using the “Edit with Kubio” option.
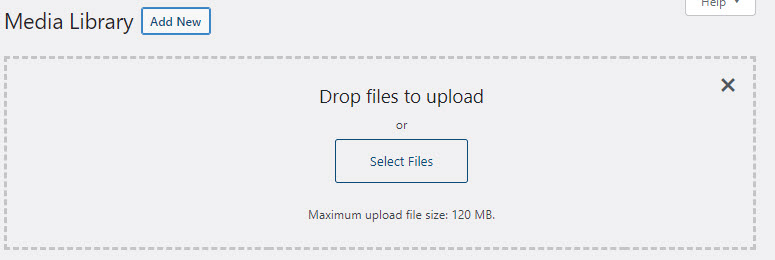
- Media – here you will upload the media you will use inside pages and posts, from images and videos to audio and other files. Use the “Add New” button to add new media items to the library.
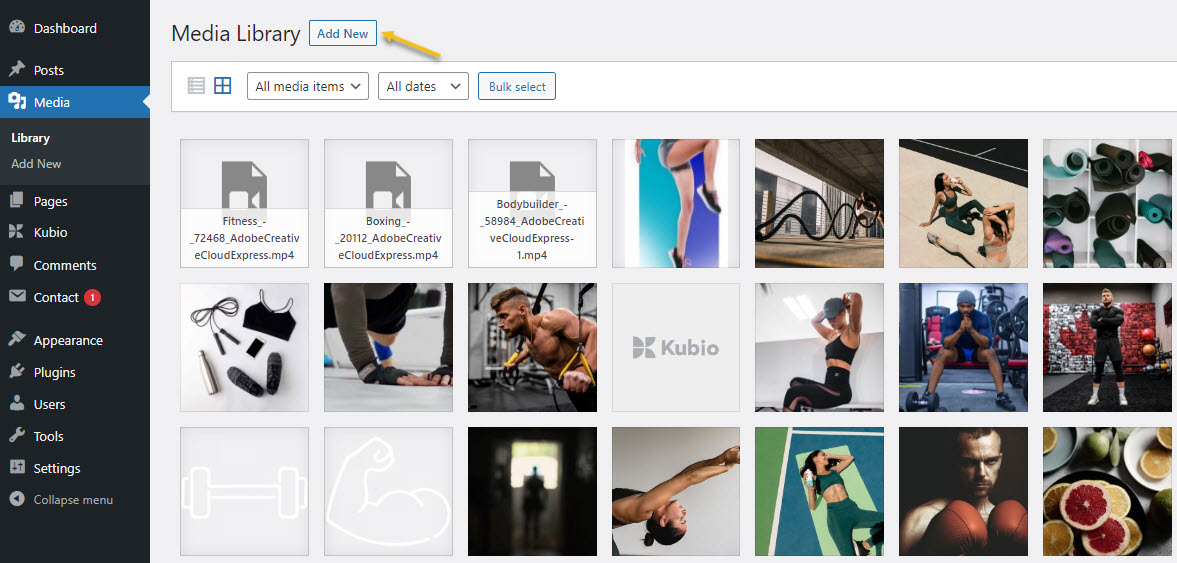
You can drag and drop items to the Media Library or use the “Select Files” button in order to browse for them.
- Plugins – here you will add new functionalities to your site. Maybe you need a contact form, or a membership feature, etc. This is where you will find them.
Kubio is in fact a plugin.
Let’s install it.
- Let’s head to Plugins -> Add New.
- Type “Kubio” in the search bar on the right-hand side of the dashboard.
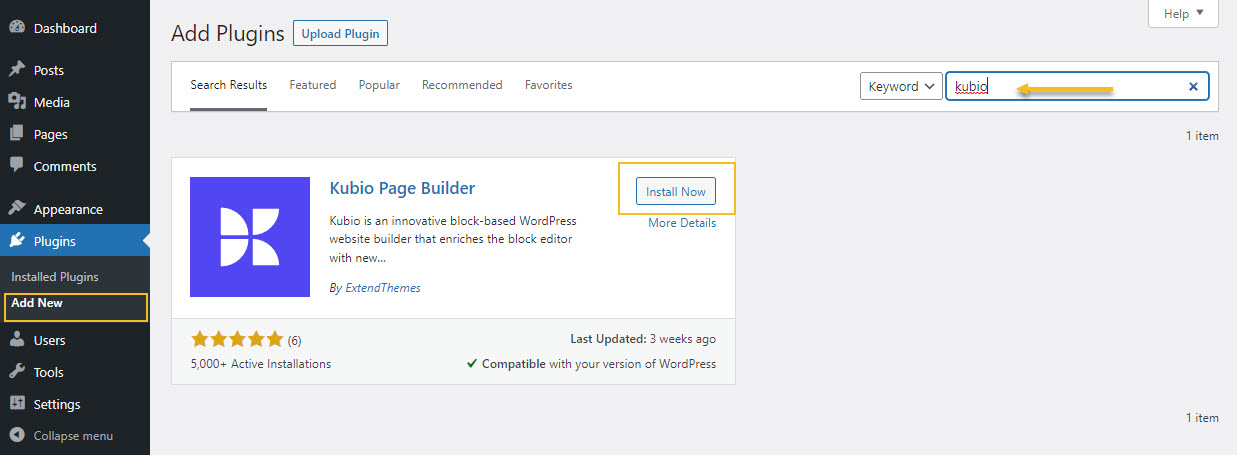
- Go to the Kubio Page Builder card and click on “Install now”
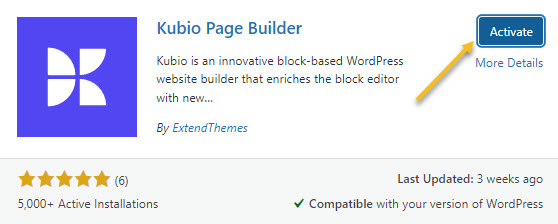
- Activate the plugin.
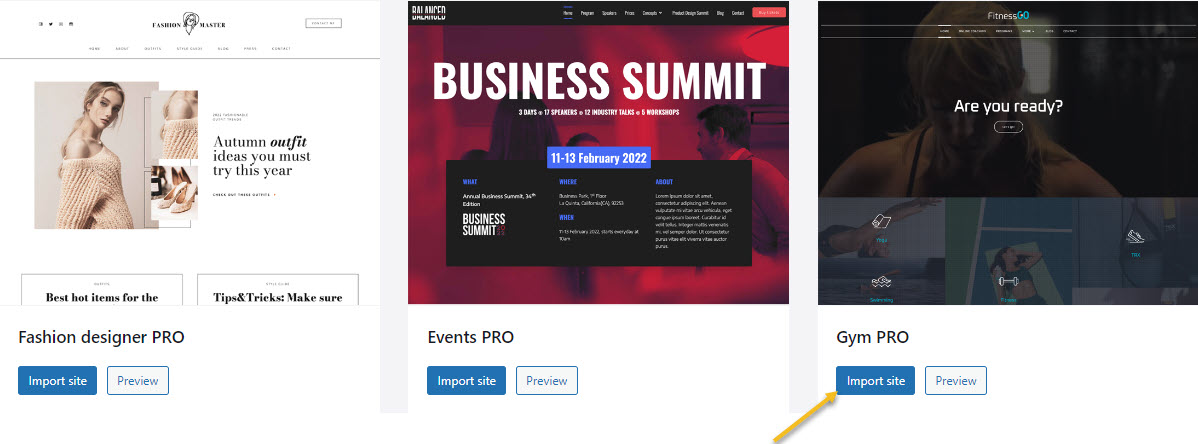
Kubio is a free builder, but there are some features and website templates (or starter sites) that are included in the paid plan. The gym starter site is a PRO one. But don’t panic! I’m using the gym starter site as an example to show you the capabilities of Kubio. You can create a gym website with the free plan as well.
Now, the moment you activate Kubio, you will notice that a Kubio menu will show up inside the menu on the left hand side of the WordPress dashboard.
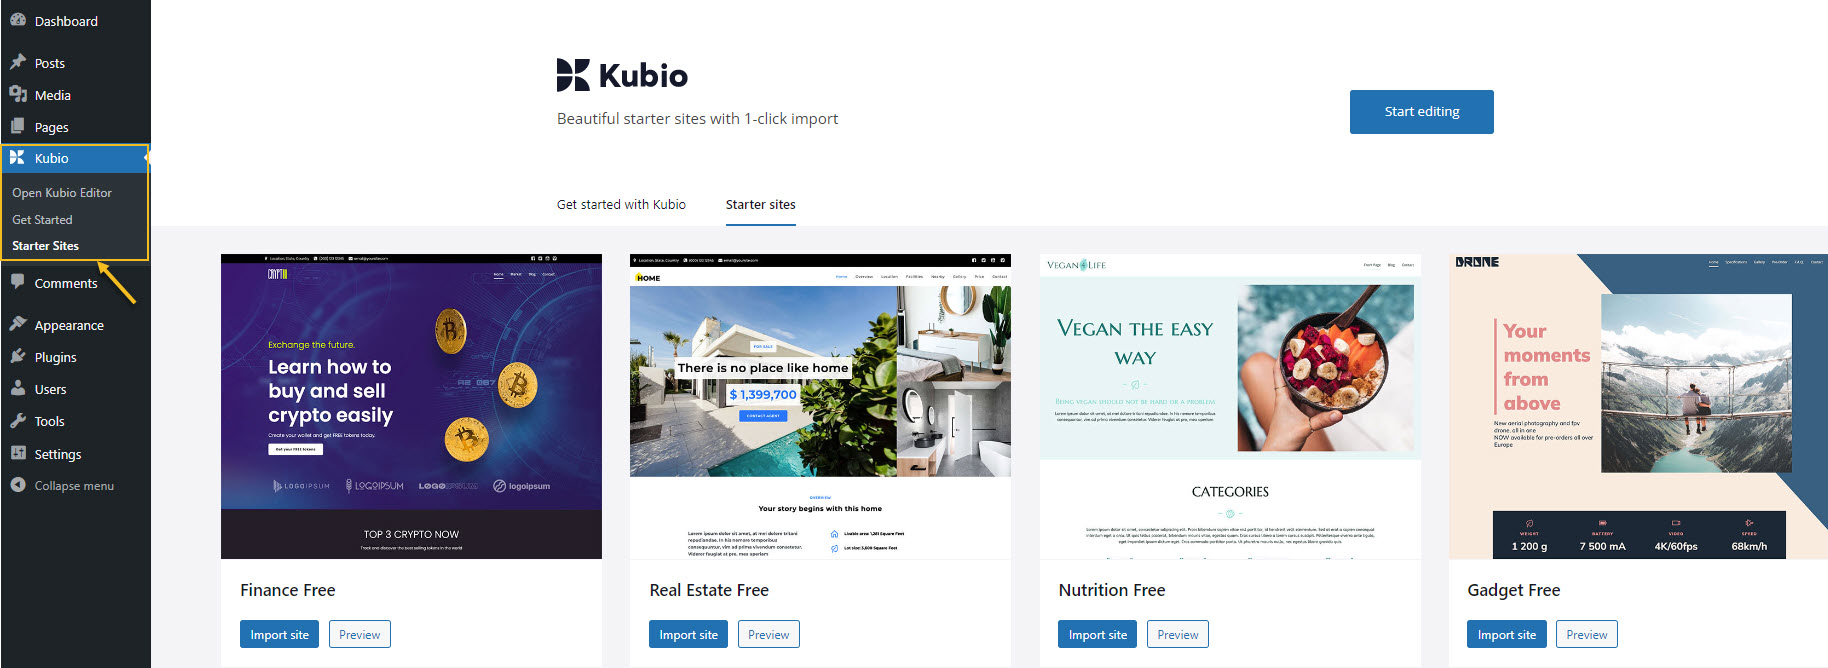
Click on starter sites, then go to the Gym PRO starter site and click on “Import site”.
And now you’re in!
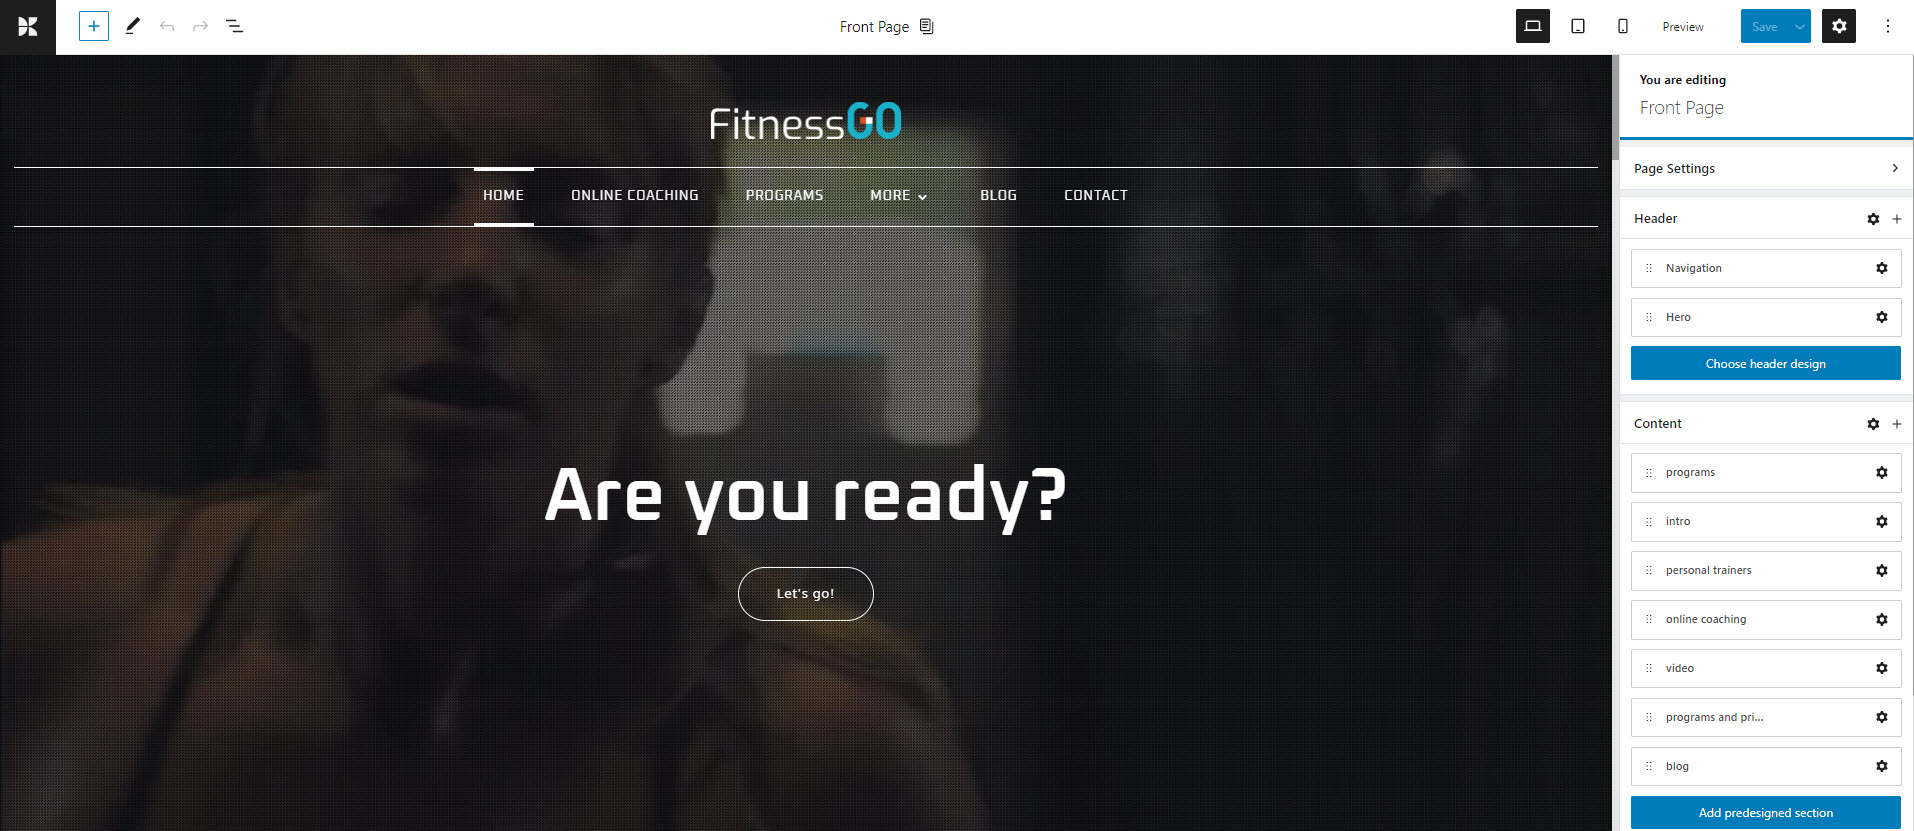
Here’s how the homepage looks like inside the Kubio Editor:
- Understanding blocks in WordPress and Kubio
Blocks are website items that can serve various purposes: headings, images, lists, tables, etc.
Inside the WordPress editor, there are some already existing blocks. You can use them from any page or post level. Kubio will add some extra blocks in the blocks panel. If you go to the “+” sign in the upper-left corner, you’ll see the block inserter. The default WordPress blocks have black icons, while the Kubio ones have blue & green icons. The Kubio blocks are shown first.

You can easily drag and drop them onto the canvas then customize them however you like.
The moment you select a block from a page, a block editing panel will be available on the right with the following options: Content, Style, and Advanced. Inside these options, the settings will vary depending on the chosen block.
You can locate the “+” sign inside the canvas as well. Just hover between various elements on the site to uncover them.
Let’s select the logo on our homepage with a mouse click. Notice how a square will show up round the logo? This means the selection is done. Also, notice the block editing panel on the right? It has “Logo” written at the top. This means you are now editing the logo.
As I said, there are three layers inside the block editing panel. It’s here where all the customizations are happening. I’m not gonna go into all the details here. If you want, you can read the documentation for more.
In short, in the case of the logo block, you can use the block editing panel to:
- Add a logo image,
- Add a link to the logo,
- Customize the height of the logo,
- Align the logo,
- Set up margins and paddings,
- Add a background (solid color, gradient, image, video, or slideshow),
- Add borders,
and more.
Most of these options are common across other blocks as well. This means that once you get the hang of editing one block, the rest will feel like a breeze.
- How to make text changes
Text mostly comes in two formats in WordPress and Kubio: paragraphs and headings.
You can easily add them as blocks, from the block inserter.
When you add the heading block, it will have a dummy text, like here:
You can go ahead and click on the text to make changes to it. The changes will happen in real-time. If you want to go live with the changes, hit the “Save” button in the upper-right.
You can also find text inside button blocks, carousels, and more. You can just click on the text and make changes to it. It’s that easy. Here’s how it works in the case of button text:
But what if you want to change the text-font, its size, or weight?
Well, the block editing panel will have the options for those.
Let’s work with our button text for now. The typography options can be found either inside the “Style” or the “Advanced” levels in the block editing panel.
Let’s go to Advanced -> Typography.
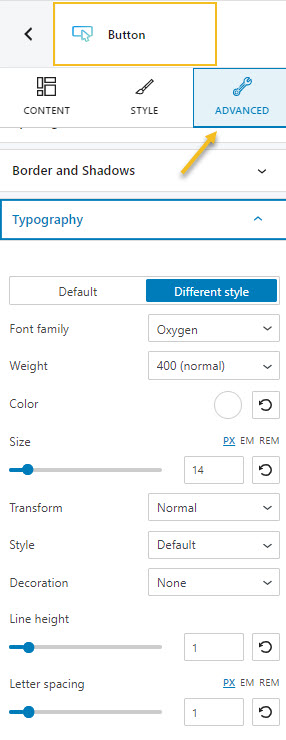
Here you can make changes to the font family, font weight, color, sizes, line height, and more. You can find more in depth know-how on the typography topic, here.
- How to add images and videos to a page
Now, we have two options here: make changes to an existing image/video, add a new image/video.
- How to add the image block and the video block
As I’ve already mentioned, you need to locate the “+” sign in order to open up the block inserter. Once you open it you can look for the image or video block and click on it. It will be added to the page in an instant.
Next, all you have to do is customize the image or video inside the block editing panel.
Here you have the details of working with the image block.
Here you have the details of working with the video block.
- How to make changes to existing images or videos
Let’s say you have an image or video on a page and want to change it. Select it with a click. This will prompt the block editing panel on the right side.
You can change the image or video from the “Content” level.
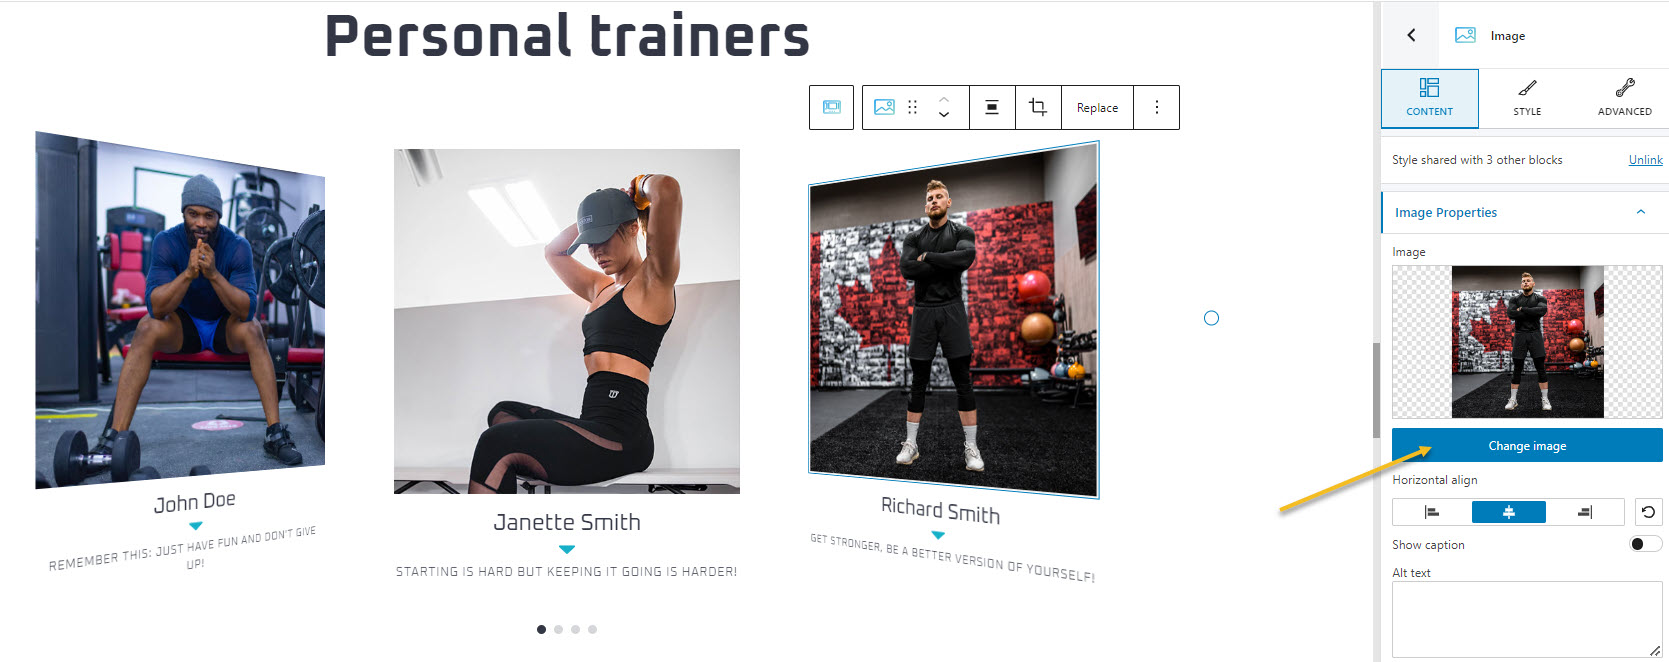
Then, you can easily play with the customizations available inside “Style” and “Advanced”
Now, there’s one thing you should be aware of: image or video backgrounds.
You can use images to present the services you’re offering (Yoga, pilates, kickboxing…), clients, trainers, etc. You can use image backgrounds for stylistic purposes.
The same goes for videos and video backgrounds.
For example, in the hero of our homepage, there’s a video background being used.
This video lays in the background of the main heading and main call to action.
You can add backgrounds to many blocks inside Kubio: column, rows, carousel, etc.
They can be added from the “Style” or “Advanced” levels inside the block editing panel. No matter the block you’re adding the background to, here’s how the options look like, both inside “Style” and “Advanced”.
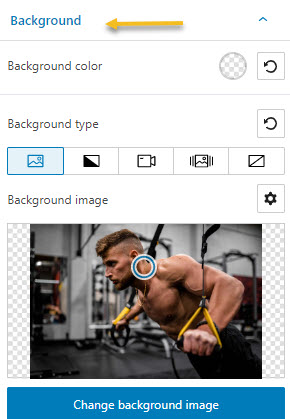
If you want to find out more about customizing backgrounds in Kubio, we have a thorough article on the topic, here.
- How to add new website sections
Every web page in Kubio is made up of sections that can be split into columns. In addition, you can add blocks to your sections and columns. Sections can be edited like any other block, inside the block editing panel. There’s one tiny change there, there’s “Layout” instead of “Content”.
There are 2 main ways for adding sections to a page or post using Kubio. After adding a section, the editing and styling options are the same.
- You can add sections as blocks, from the block inserter. Just open up the block inserter using the “+” sign in the upper-left, and look for “Section”. Nwow, drag the section block to your page.

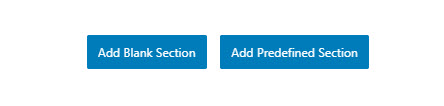
- Go to the bottom of the page, and click on the “Add blank section” button.
When the section gets added to the page, you will be asked to select a type of layout.
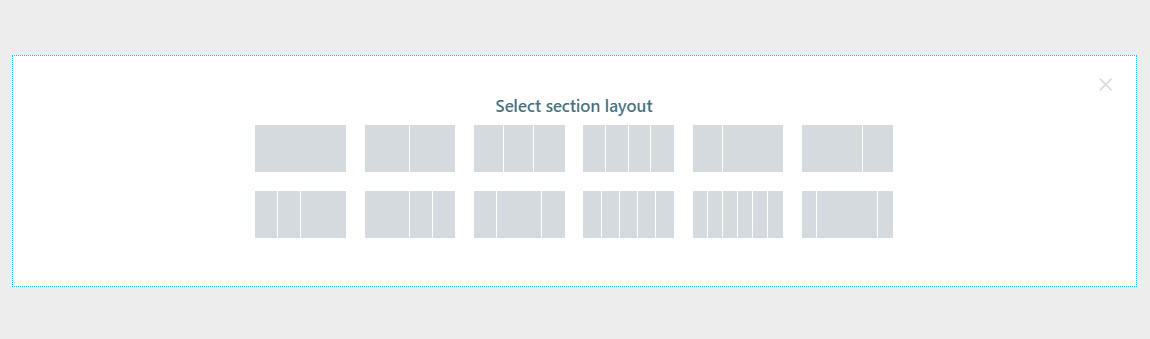
Click on the one that matches your vision for the section.
I’m gonna choose a layout with 3 columns with unequal widths.

Use the “+” signs to add blocks to the columns. I’m adding a map, a heading, and a button.
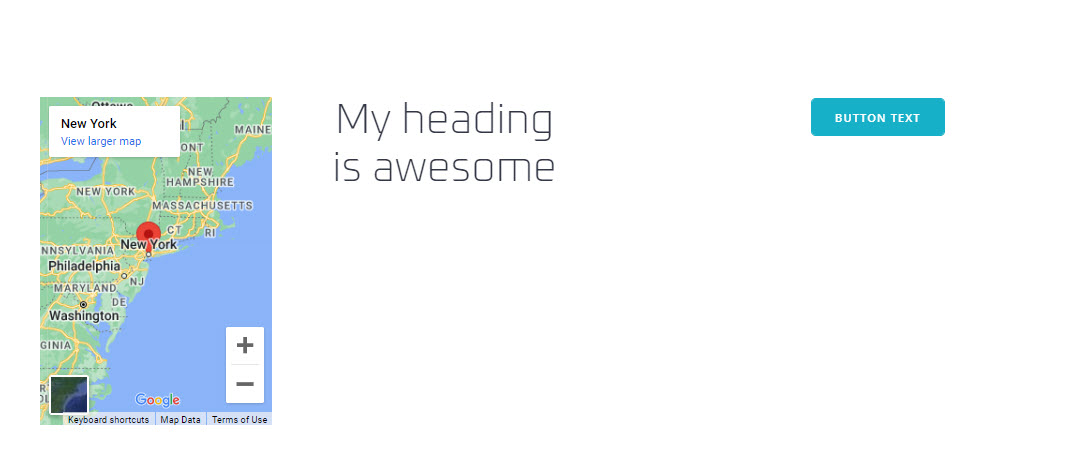
I can now play with the background, the width of the columns, the font color, and so on. Everything will be done block by block inside the block editing panel.
Now, let’s select the whole section.
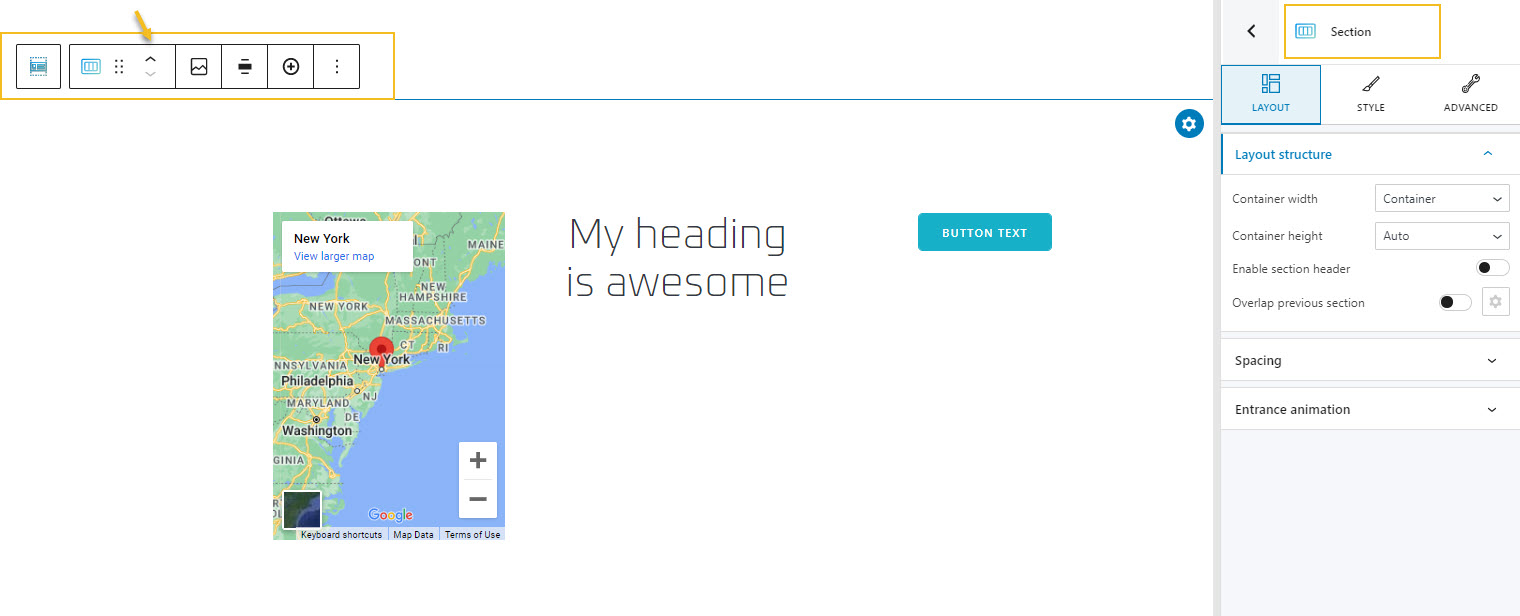
A toolbar will show up on top of it. You can use the up and down arrows to move the section on the page. You can use the 6 dots to drag and drop it wherever you want.
This toolbar has some other options as well. They can differ from block to block. You can use it also for block duplication and deletion.
Now, did you notice there was another button next to the one saying “Add blank section”?
It said “Add predesigned section”. This is a great Kubio feature!
With Kubio you have access to predesigned website sections that can serve various purposes: from team sections to features. They are fully customizable.
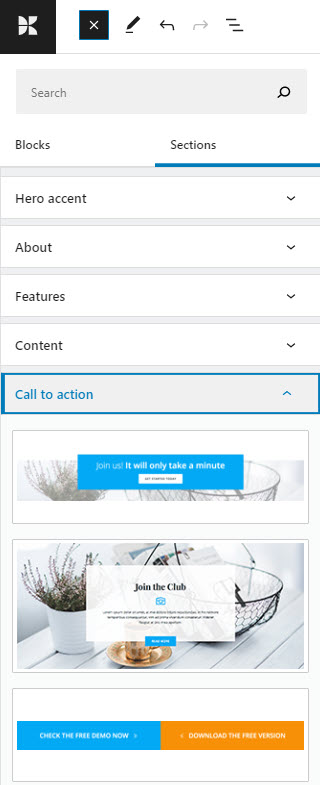
When you click on the “Add predesigned section” button you will open up the block inserter on the left-hand side, at the “Sections” level. Click on a section to add it to the page, then use the toolbar to move it wherever you want.
You can now replace the text and add your visuals. You do not reinvent the wheel with Kubio. This way you can save time and focus on what’s more important: finding the right visuals, preparing the copy, etc.
These sections are made of blocks. You can edit them separately in the block editing panel.
Here’s an example of a counter section.
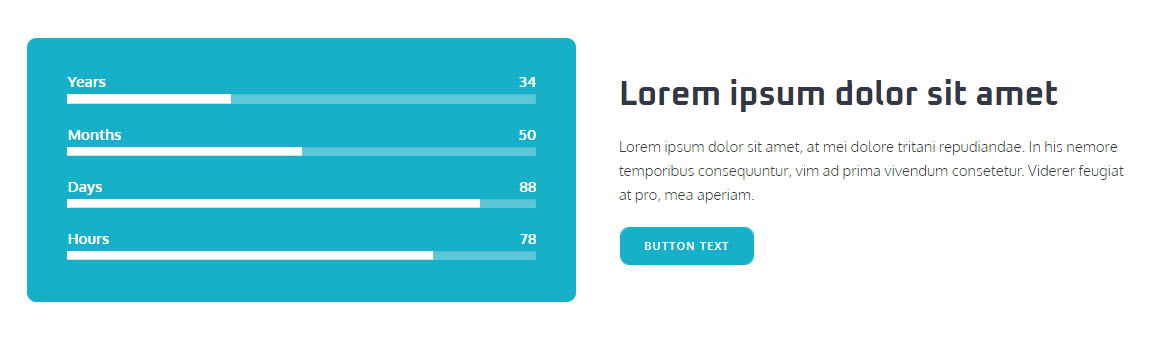
It includes the following blocks: counter, heading, paragraph, and button.
The moment you add such sections to a page they will match the color scheme and typography of the page. Cool, right?
And that’s about it. You are now ready for gym website design with Kubio!
Other tools you need for WordPress gym website design
There are lots of features that can’t be managed by the theme or page builder you’re using, such as SEO optimization, website security and back-up, forms, e-commerce features, and more. Plugins are here to compensate for the lack of such options.
What plugins would I recommend for your gym website design?
Well, here’s a shortlist:
- Contact form plugin. The most popular plugins are Contact Form 7 and WPForms. Here’s additional info on how to manage contact forms in WordPress.
- Membership plugin. MemberPress is the most popular plugin in the niche.
- Event scheduling plugin. MotoPress is my recommendation here. It works well as a gym booking system.
- SEO plugin. The best in class are Yoast SEO and RankMath.
- Email marketing plugin. You need such a plugin in order to send emails to your potential customers and customers. I personally love Sendinblue. Before using any email marketing plugin you need to create an account on the email marketing provider’s website.
- Anti-spam plugin. Such plugins prevent your site from publishing malicious content. The most popular one is Akismet.
- Website performance optimization plugin. You can use Hummingbird to monitor, analyze, and optimize the performance of your gym website.
Wrap up
You now know:
- Which are the website sections that are a must in the case of gym website design.
- Which gym and sports websites can help you with inspiration.
- How you can create a gym website in WordPress, the most popular website design platform out there.
- How you can use Kubio free WordPress page builder to create your gym website by drag and drop, using predesigned templates and sections.
- Kubio has a ready-made gym starter site that you can use to kick off your gym website.
It’s your turn now to kick-off with your gym website design. If you want more details on how you can jumpstart your WordPress website, we’ve got your back here: How to Create a WordPress Website in 2022.
May the design force be with you!
If you liked this article, and want to have access to similar content, make sure to subscribe to our YouTube Channel. You can also follow us on Facebook.