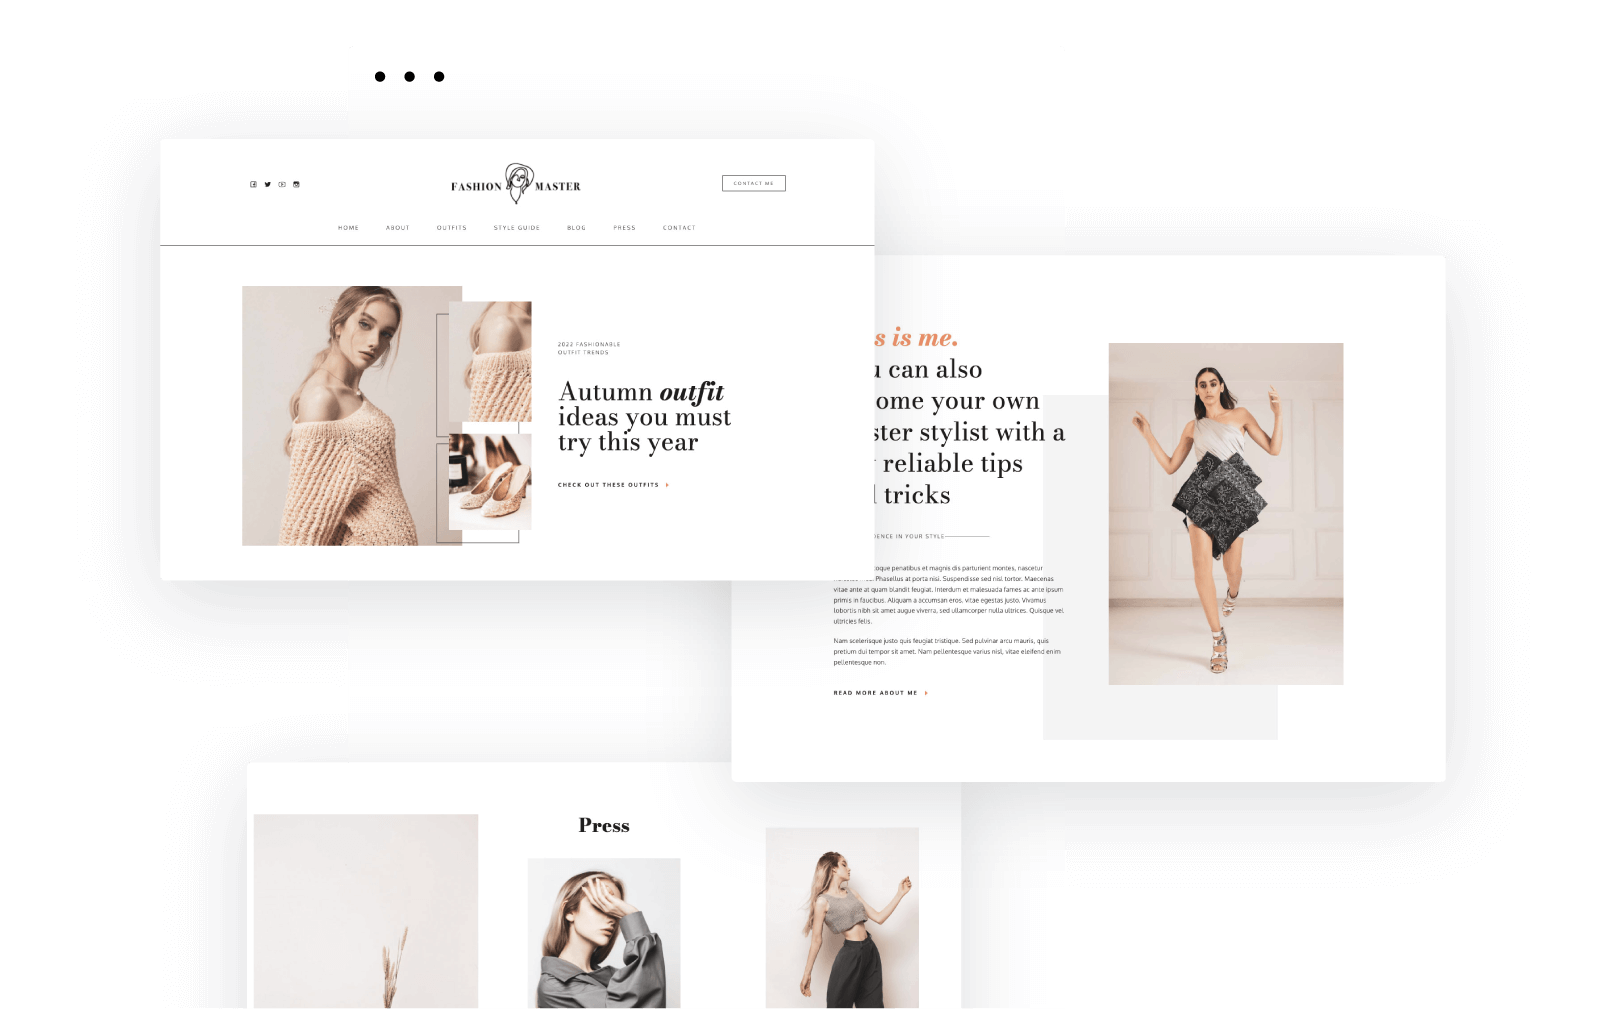
Let’s say you have created a page and want to edit it using Kubio.
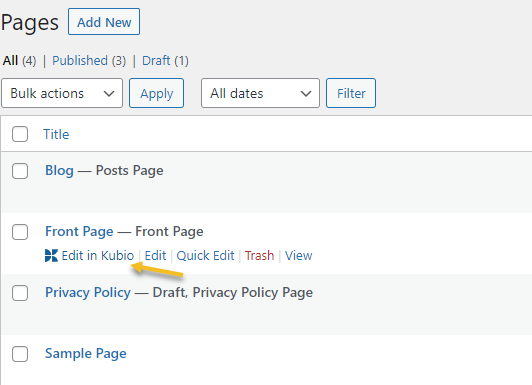
From the WordPress dashboard, go to “Pages” and hover over the desired page. Now, select “Edit in Kubio”.
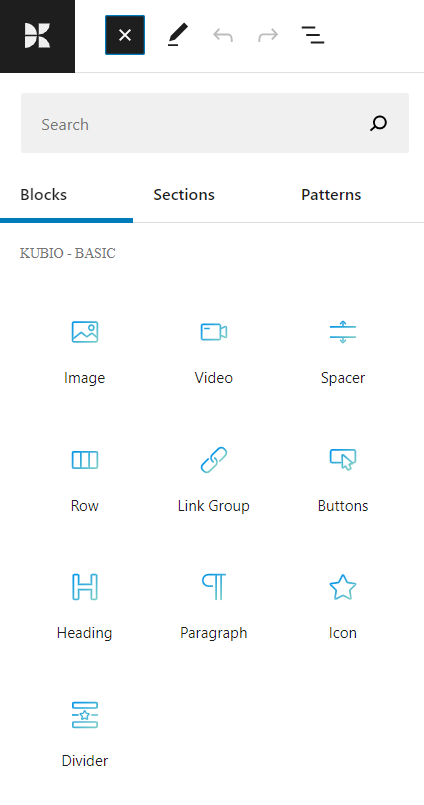
Now, every “+” sign you see will open up a block inserter that will allow you to add Gutenberg blocks to your web page. The ones with the black icon are Default Gutenberg blocks, while the ones with a blue-green icon are Kubio blocks.
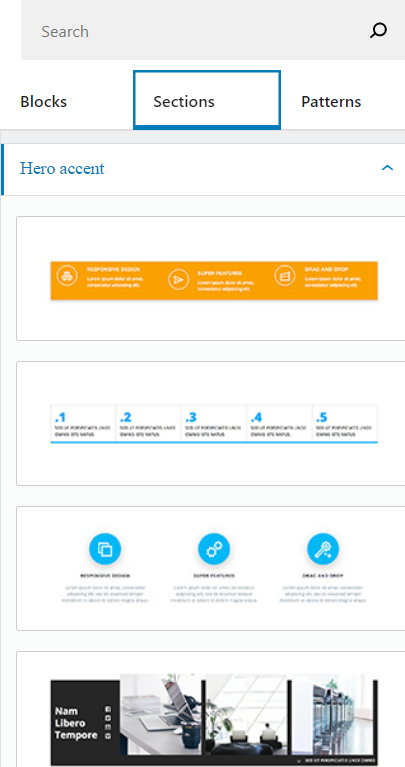
The block inserter also allows you to add ready-made Kubio content sections to your WordPress page. Here are the section categories available in the Kubio builder: Hero Accent, About, Features, Content, Call To Action, Blog, Counters, Portfolio, Photo Gallery, Testimonials, Clients, Team, Contact, F.A.Q., and Pricing. Some of them are available in the free plan, some of them in the paid one. There’s a”PRO” badge that lets you know which is included in the paid one.
How to customize sections of your WordPress page in Kubio
If you want to change the text in your sections, you can do it in-line, meaning inside the section itself, live. Many builders or themes do not allow this, you’ll have to make text changes in the panel on the left.
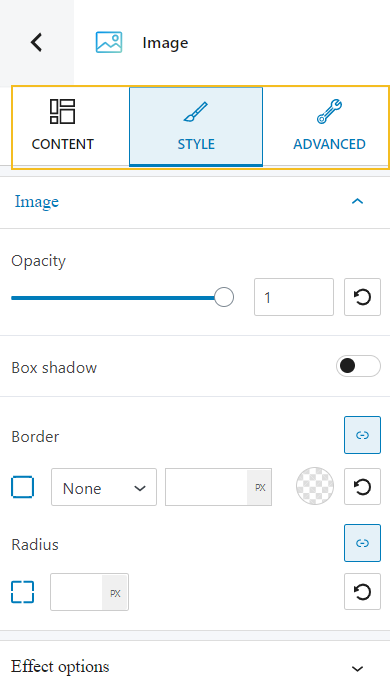
If you want to make changes to an image from your site (add an overlay, a frame etc), it’s all intuitive. Start by selecting your image. With the image selected, you’ll see a block editing panel on the right hand-side.
The panel has 3 options, no matter the block you choose.
- Content – here you can make changes to the actual content. In the case of images you can upload another one, and even change its size.
- Style – you can play with color, text, shadows, and more.
- Advanced – here you can more advanced customization in terms of typography, backgrounds, dividers, transformations, and more.
If you want to find out more on how to work with blocks and sections in Kubio, check this documentation article.


