As mentioned in a previous chapter, these are the Kubio basic blocks:
- Image
- Video
- Spacer
- Row
- Link group
- Buttons
- Heading
- Paragraph
- Icon
- Divider
Blocks can be added by selecting the “+” sign in the upper-left corner or anywhere on the canvas. Whenever you click on the “+” sign you will see a block inserter from which you can choose your block. You can drag the block on the canvas if you want.
Now, every block has a toolbar with some basic editing options. They show up when you select the block on the page you’re working on. These basic block editing options vary slightly from block to block.
All blocks share the following basic editing options:
- Positioning.

Here you have three options. When you select the 6 dots, you will have the option to drag and drop the block where you want. When you select the up and down arrows, you will move the block up and down. Some blocks (eg: buttons block) have left and right allows, that allow you to move the block to the left or right.
- Options. Inside options, there are several actions that you can take:
- Duplicate. This allows you to clone your current block.
- Insert before. This allows you to insert a new block before the current one.
- Insert after. This allows you to insert a new block after the current one.
- Group. This allows you to group more blocks so that you can reposition / drag and drop them together whenever you need.
- Remove block. This is how you delete the block you’re currently on.
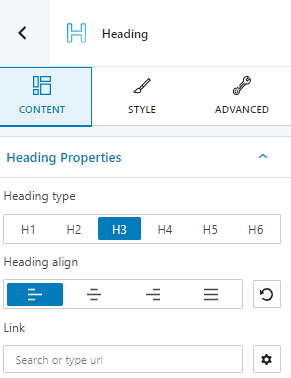
There are also advanced editing options available for every block, like the ones you could notice when editing sections or columns. The moment a Gutenberg block is selected, a block editing panel will be available on the left with the following options: content, style, and advanced. Inside these options, the settings will vary depending on the chosen block.

At the “Advanced” level you will notice some common editing options:

