With the help of AI Image, you can now replace any image from your website by searching a new one or generating it.
There are 3 ways you can access the AI image feature:
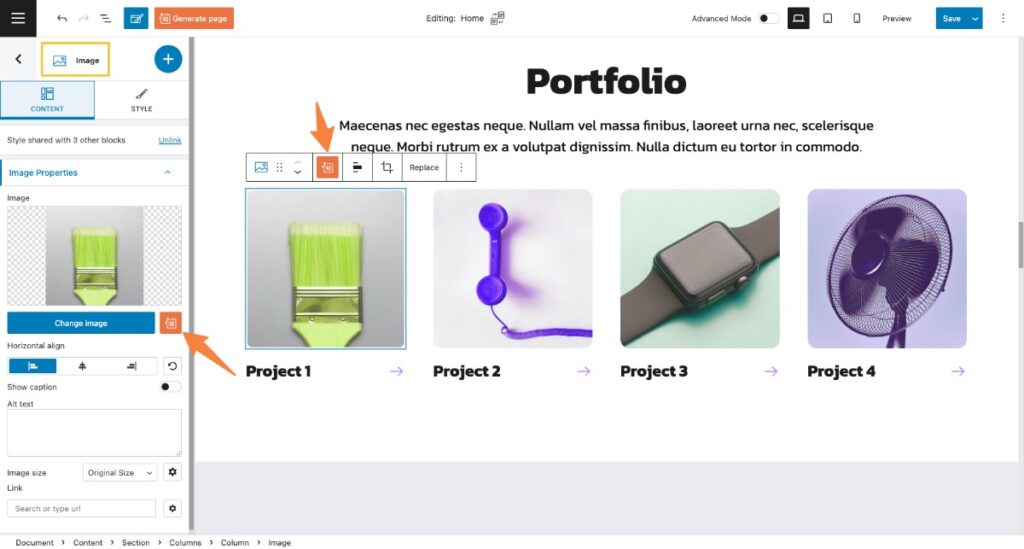
1. Select an image block and in the toolbar of the block, click the AI button;
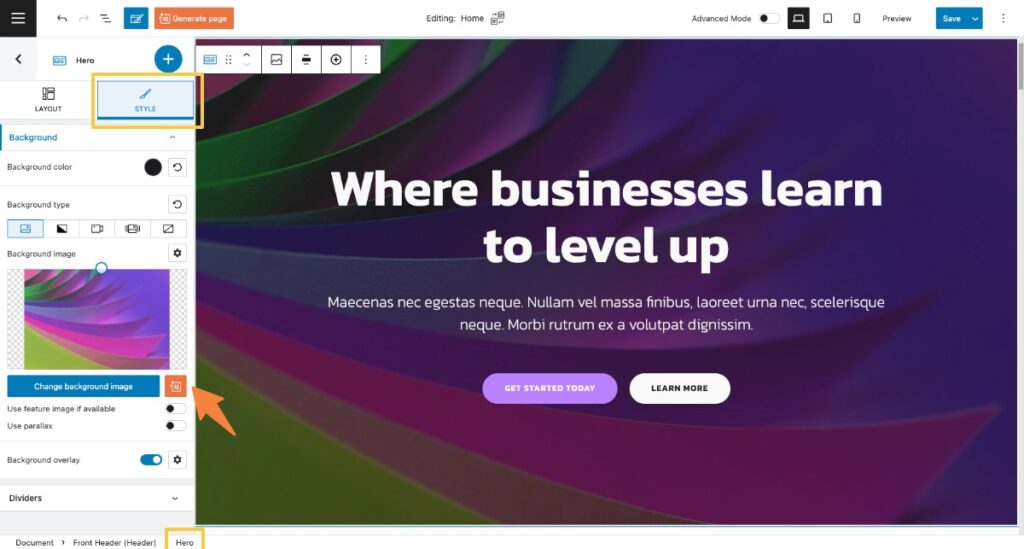
3. To modify a background image, follow these simple steps:
- Identify the Section or Column: Select the specific column or section containing the image background (e.g., hero block);
- Navigate to the Style tab inside the editing panel (on the left-side of the screen);.
- Click the “AI” button situated next to the “Change Background Image” option.
Each of these actions will lead you to the same “AI image” window.
If you haven’t registered or logged into your Kubio cloud account, a wizard will appear. Just follow the instructions of the wizard in order to have access to the AI image features.
Let’s continue and see what you can do in this AI image window.
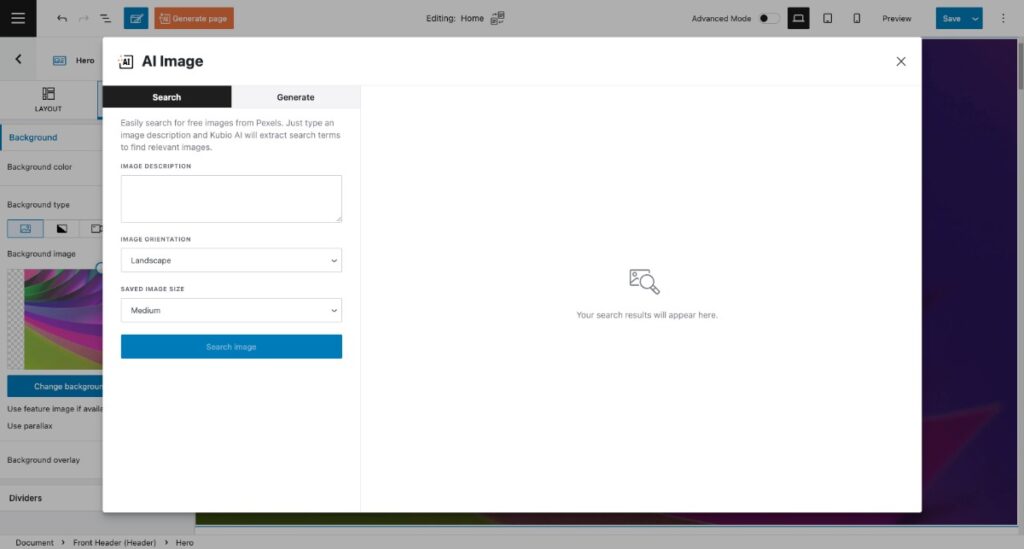
In the top left side of the window, you have two tabs: “Search” and “Generate”. Let’s dive into some details about them.
- Search tab
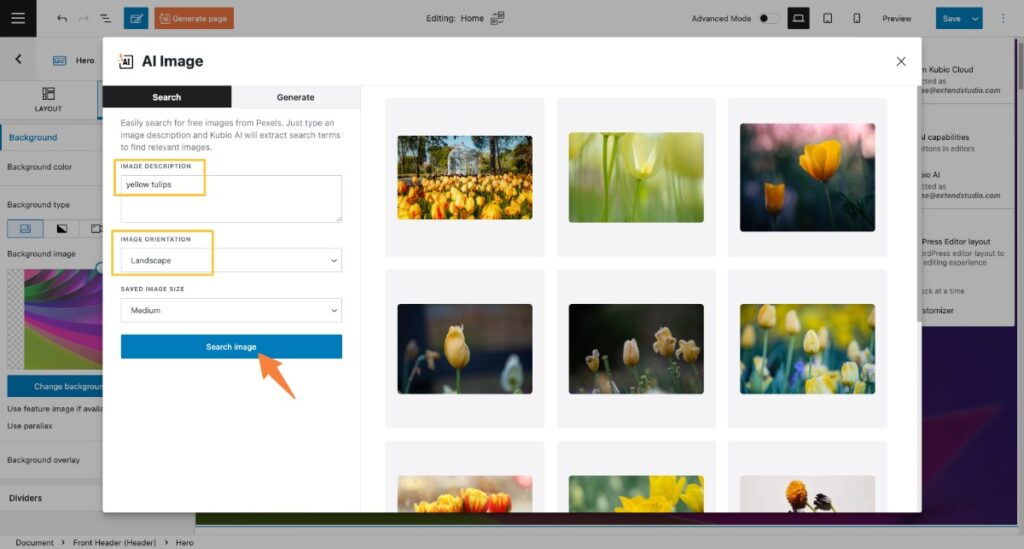
Here you can easily search for free images from Pexels. Just type an image description, choose the image orientation and size and Kubio AI will extract search terms to find relevant images. The results will appear on the right side of the window.
Let’s make a search for “yellow tulips”, landscape orientation and medium size.
If you like an image, hover it and click on the “Use this image” button. If you want to make another search or you’re just not sure yet, you can save it for later.
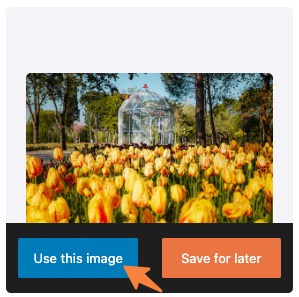
Let’s save the first images for later and see how we can use it. The “save for later” option will save the image in the media gallery of the website.
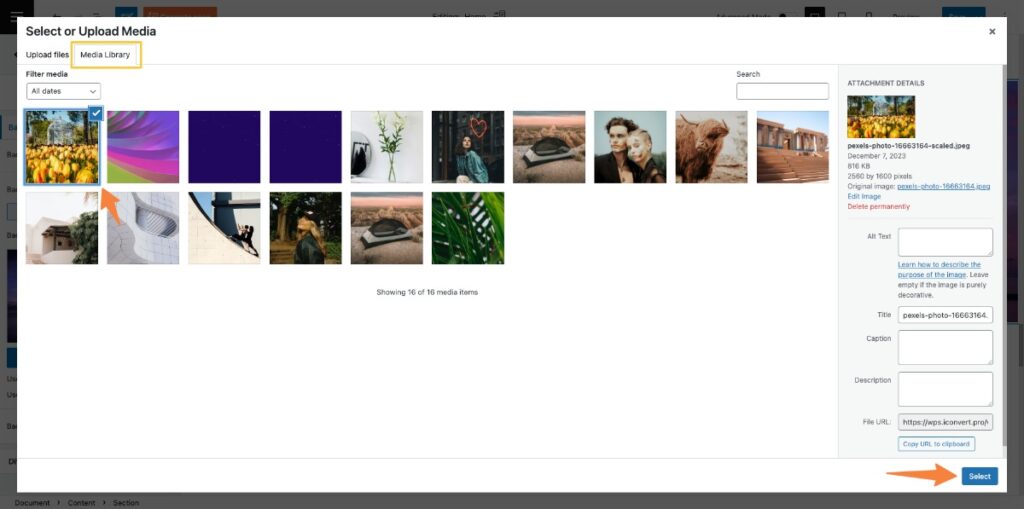
Here is an example: you want to use this image as a background image for another section. In order to do that, select the section, navigate to the Style tab, choose the “Background image” type and then click the “Change background image” button. You will find the image in the Media Library tab.
You can read more about how to customize colors, backgrounds and overlays in this article.
- Generate tab (PRO only)
Here you can generate new images, generate variations of them or retouch them by using generative fil. Let’s see how these features work.
- Generate new images
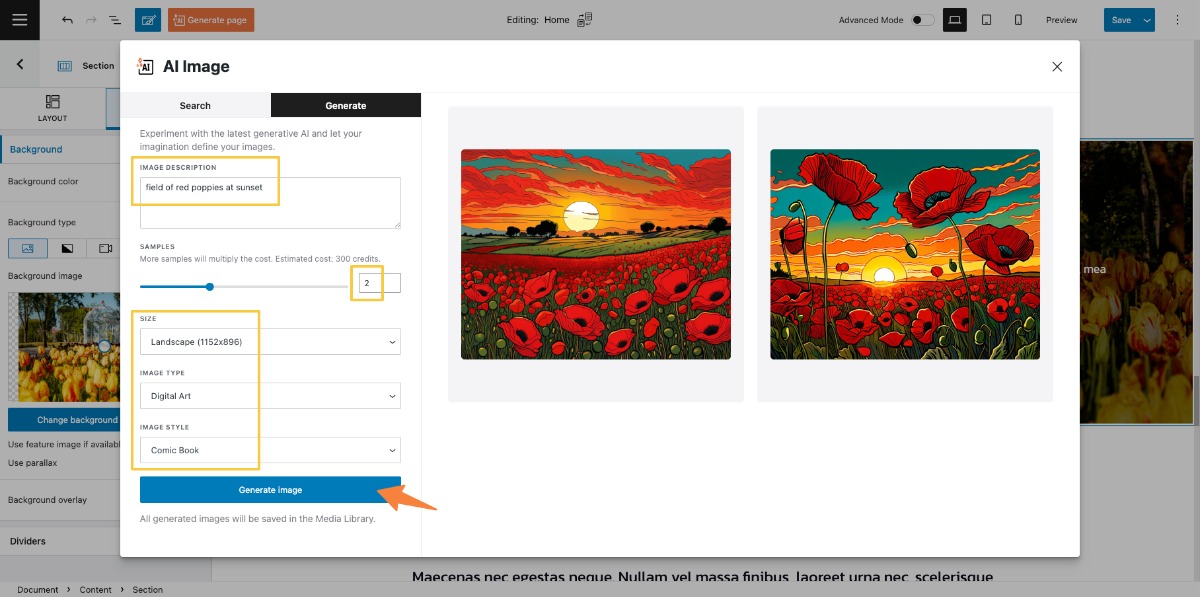
This feature allows you to generate new images in different styles, sizes and types. Just fill in some words in the “Image descriptions” field, choose the number of samples, size, type and style of the image and hit the “Generate image” button. Your results will appear on the right side of the window.
Note: the image style is determined by the image type.
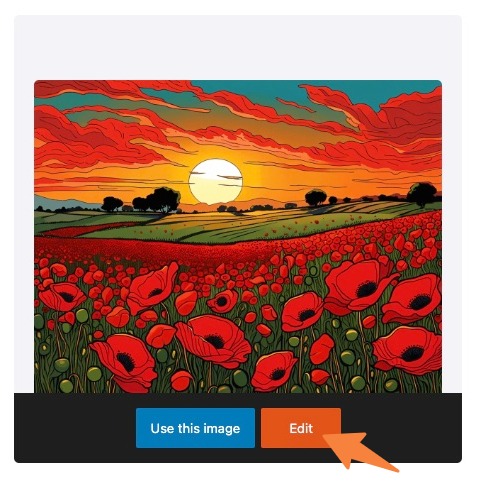
At this point, you can either use an image or edit it.
- Generate variations
After you generate an image (or multiple images), hover over the image and click the “Edit” button.
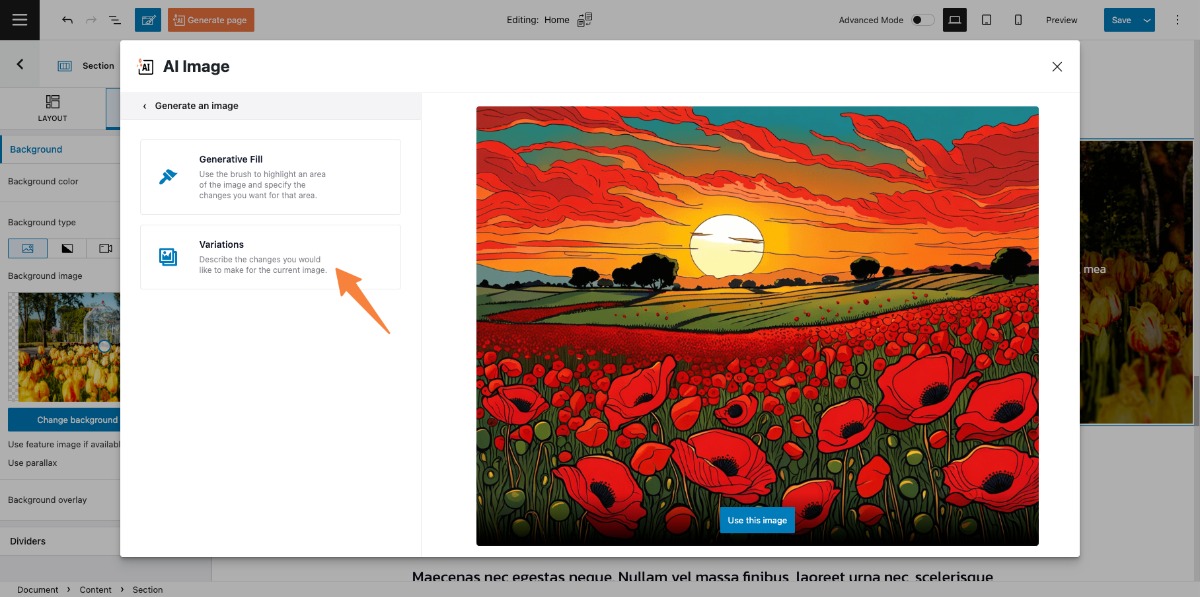
In the next step, you can use the feature “Variations”, use this image or “Generative fill”. We’ll get back on the last one later on. For now, let’s dive into the “Variations” option, click on this option.
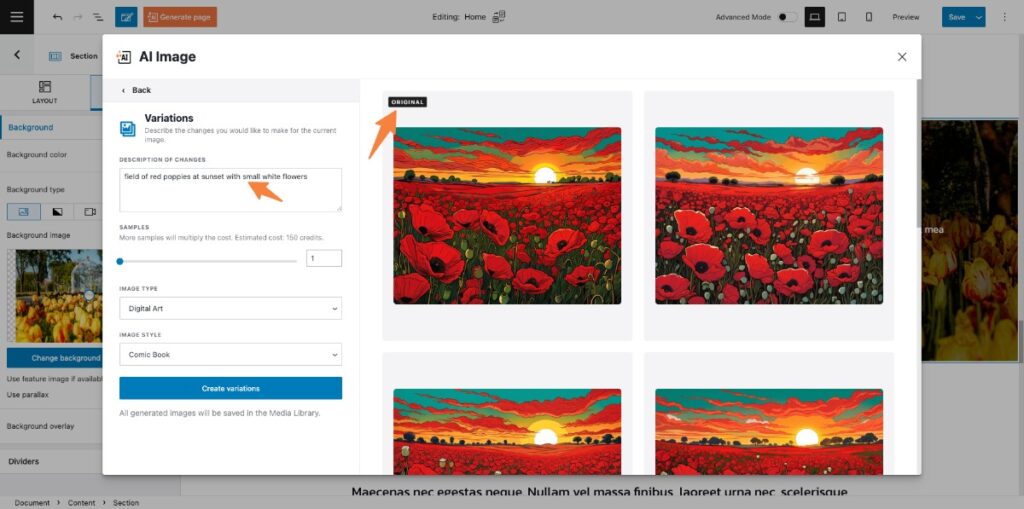
In the next screen, we have the same generative option like in the 1st step but the difference is that the changes will be made on the current image. For example: you want to keep the type and style of the image but you want to make the flowers white. For this, you will write your request/changes in the “description” field and click the “Create variations” button.
On the right side of the screen you will see the original image next to the 2 new variations. For these variations you can now either use them or make new variations.
Note: Every new variation of the same original image will be added next to the other variations.
Important! Use the sample wisely because more samples will multiply the credit cost.
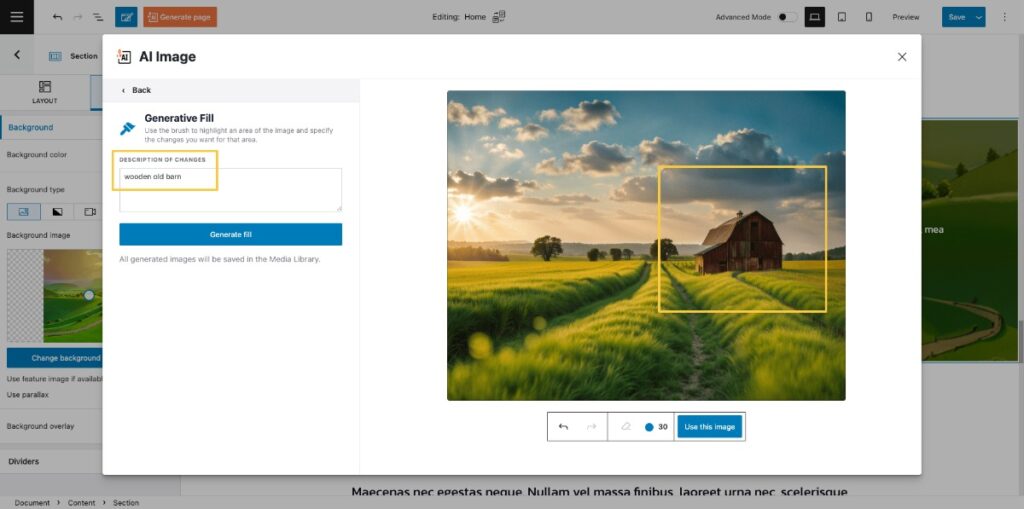
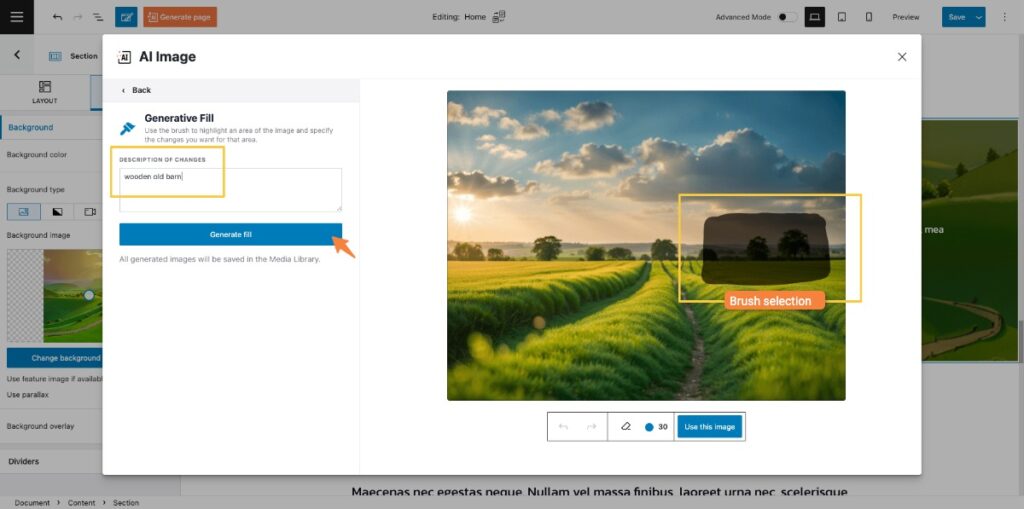
- Generative fill
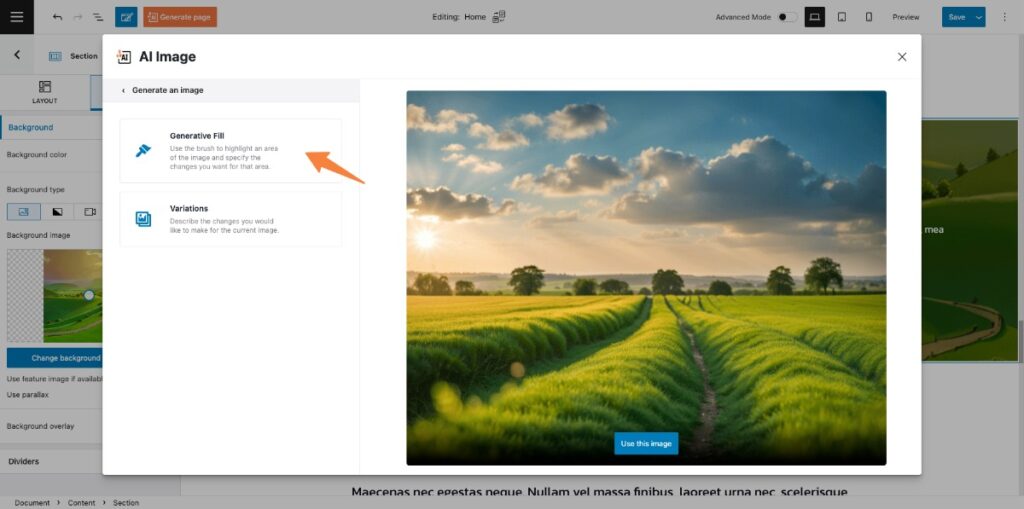
After generating a new image, click on the “edit” button over it. In the next screen, select the “Generative Fill” option from the top left of the window.
In the next screen, in the toolbar at the bottom of the image we have the following actions (from left to right):

- Undo: undo a generative fill you don’t like;
- Redo: redo a generative fill if you changed your mind;
- Erase: this will delete your current empty brush strokes.
- Brush size: retouch your selection with 4 different brush sizes (20, 30, 40 or 50px);
- “Use this image” button: when you’re ready and happy with your result, click on this button and the image will inserted in the current block/section.
Using the brush, draw over the portion of the image you want to edit, write a short description and generate a new fill.
Here is the final result: