This columns block allows you to add a row with two columns to a section. You can drag the WordPress image block to the section you want on your page, or add the block from any “+” sign on your canvas.
When you select the columns block, you will see a toolbar showing up on top of it, with several basic editing options. In a previous chapter we explained the common editing options for all blocks: positioning, duplicate, insert before, insert after, copy style, copy style and link, paste style, and remove block. The copy and paste styling options are available with the PRO plans.

Here are the specific editing options for the columns block:
- Insert row of columns before. This option allows you to add a row before the current row.
- Insert row of columns after. This option allows you to add a row after the current row.
Columns block: customizations within the block editing panel
The moment you select the columns block, the block editing panel will open up on the right-hand side. It always has three options: layout, style, and advanced, like in the case of sections and columns. In the case of the rest of the blocks, “Layout” gets replaced with “Content”.
Layout
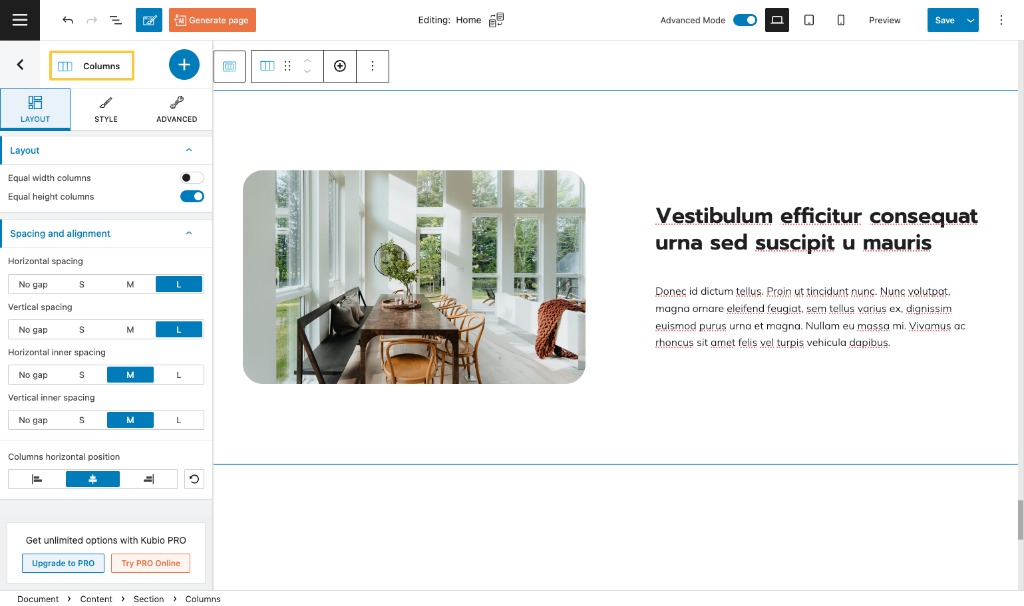
Here you can:
- Establish whether the columns have equal width or not;
- Establish whether the columns have equal height or not;
- Choose how big you want the gap to look between the content inside a row. You can assign no gap, small, medium, and large gaps across horizontal and vertical spacing, horizontal and vertical inner spacing.
- Set up the column horizontal position.
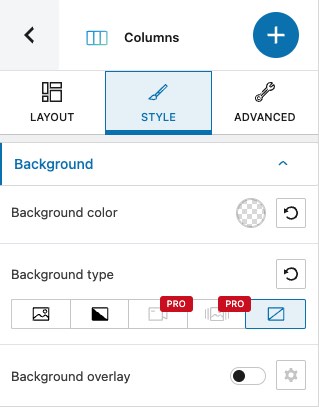
Style
Here you can make changes to background color and background type. For PRO users, a background overlay option is available. Here‘s how you can make all these background customizations.
Advanced
At this level you can make additional row edits, both in the normal state and the hovering one.
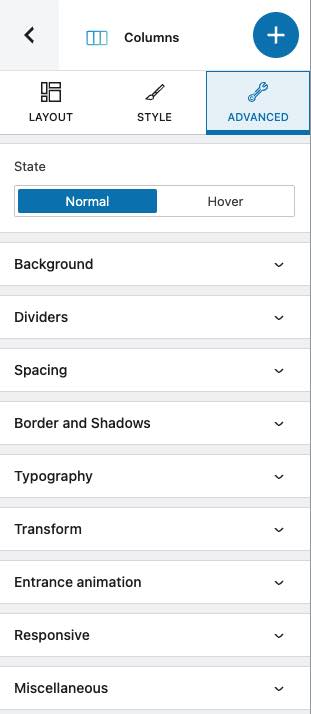
Here are the available advanced row edits for both states.
- Background. Here you can make adjustments to background color and type.
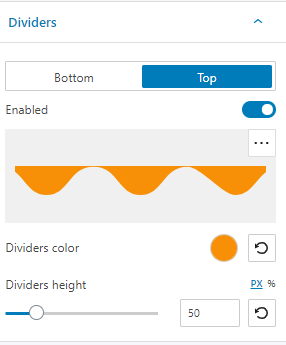
- Dividers. Here you can customize the top or bottom divider. You can choose from several ready-made divider designs. You have full control over the color and height of the dividers.
- Spacing. Here you can set up the margins and paddings for the row.
- Border and shadows. Here you can add borders with a different color, radius and thickness to your row. Also, you can add box shadows. You have full control over the position, blur, spread and color of the box shadow.
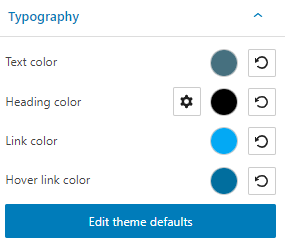
- Typography. Here you can make changes to text, heading (from H1 to H6), link, and hover link color. You also have a shortcut to editing themes defaults.
- Transform. Here you can play with the perspective of your content section across the X, Y, and/or Z axes.
- Responsive. Here you can decide whether the row will show or not on desktop, tablet or mobile.
- Miscellaneous. At this level you can set up the z-index of your block (vertically order the elements that overlap), set up if the element overflows or not (displaying the content of the block flowing out of its container into the surrounding area), add HTML anchors and CSS classes.
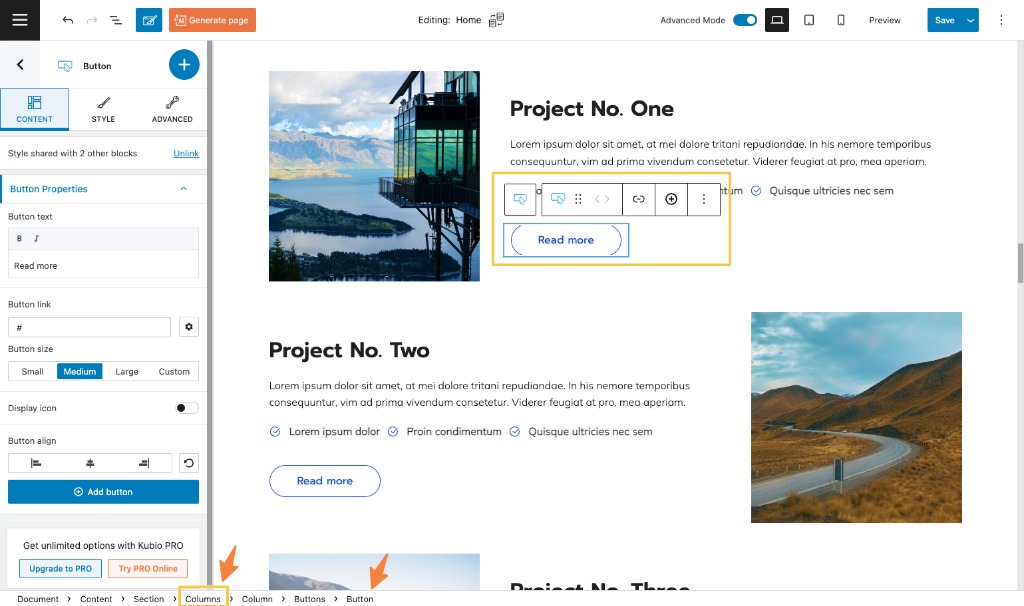
Important! The moment you add any section or block to a page, its content will be placed inside a row of columns by default. You can easily check this out if you go ahead and select a block from the canvas. For example, I’m selecting a button. If you look at the bottom of the interface, you’ll notice some breadcrumbs that show how website elements lay inside one another. In this case the button is placed inside a column, while the column nests inside a columns block. The columns block lays inside a section. All the sections of a page form a document. Find out more about nesting, here.
You can easily make edits and add styling to any row that nests any block, as shown in this doc.