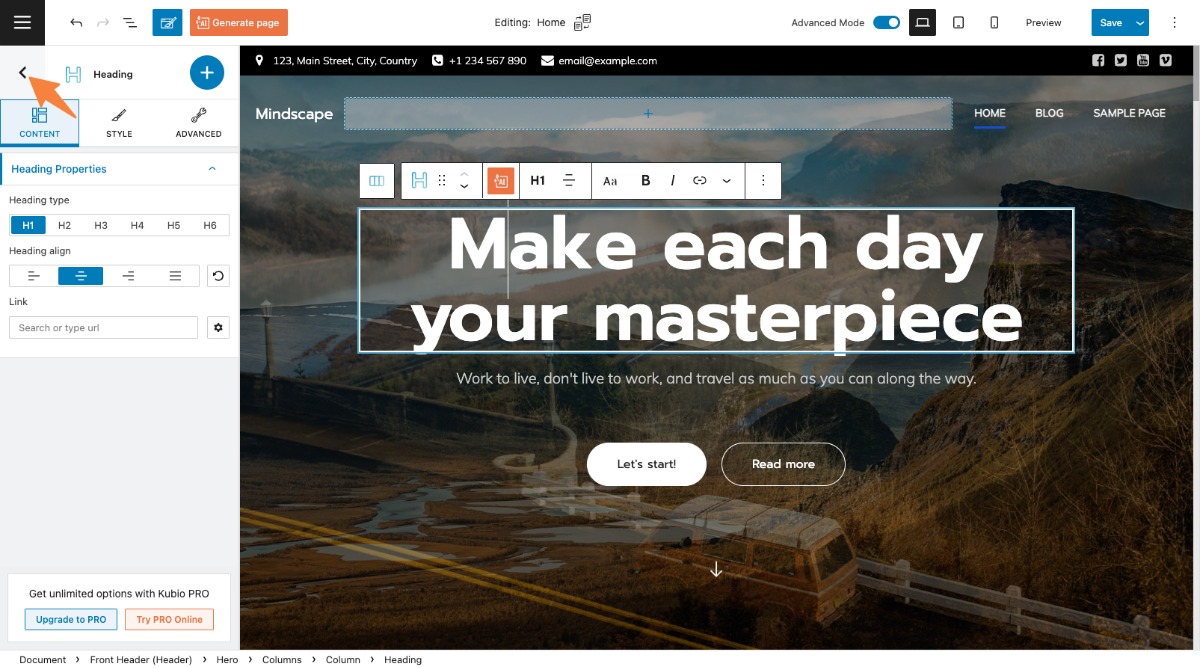
When you are inside of a web page in Kubio, select any block or section and click on the “Back” icon in the upper left. It will take you to the page editing panel.
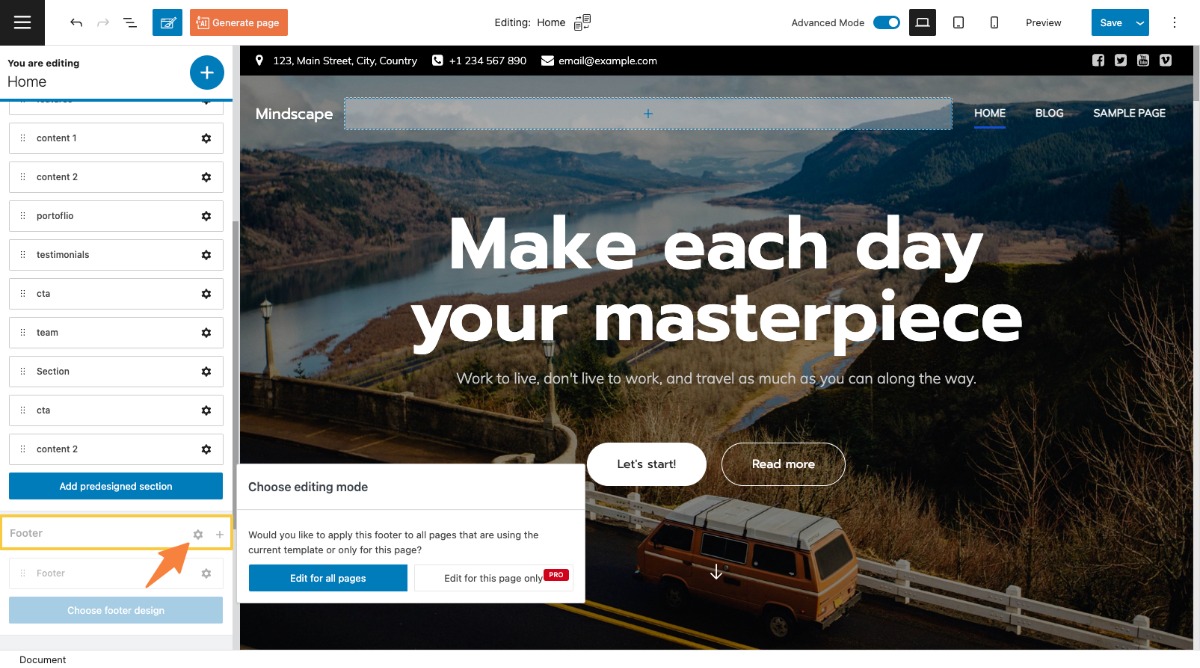
This panel allows you to visualize your page sections easily. The structure is made of header, content, and footer.
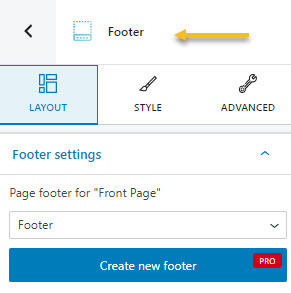
Now, if you select the settings icon next to “Footer” you will see the following message:
The current footer is being used on multiple pages. If you are using a free Kubio plan, the changes to this footer will be visible across all the pages, because they share the same footer. If you’re using a paid plan, you can create several footers. This means that you can make changes to the footer of this page only, and the changes don’t need to be reflected across the rest of the footers.
Now, no matter the options you choose, you’ll be prompted to the block editing panel where you can customize the footer.
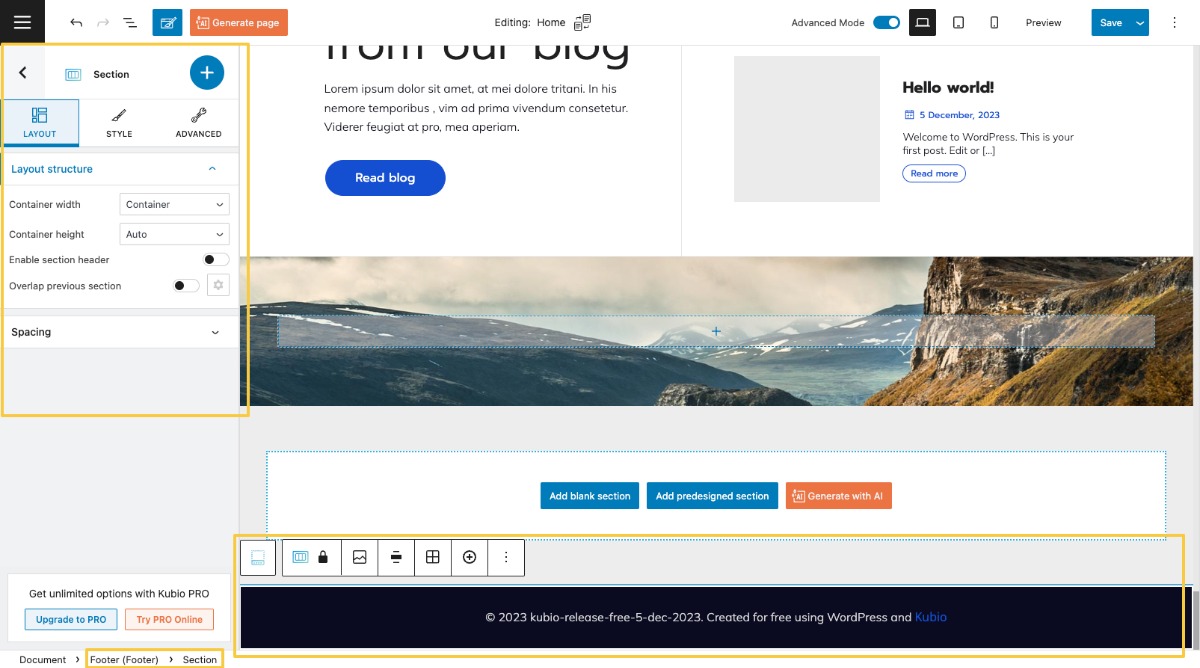
Notice that on the panel on the left you’re editing a section? At the end of the day, the footer is a section. It can contain several other blocks, such as copyright, paragraphs, social icons, or other.
Find out more about how to customize sections, here.
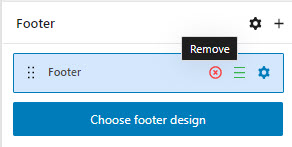
Now, let’s go back to the page editing panel and use the “x” sign to remove the footer. (This option is available only in the PRO version.)
Now, you decide that you still want to have a footer?
How can we proceed?
Well, there are two ways for dealing with this:
- Adding a section at the footer level
For this, let’s click on the “+” sign next to the main settings icon at the footer level.
You will now notice on the left hand side the section block. Select it in order to add it to the footer.
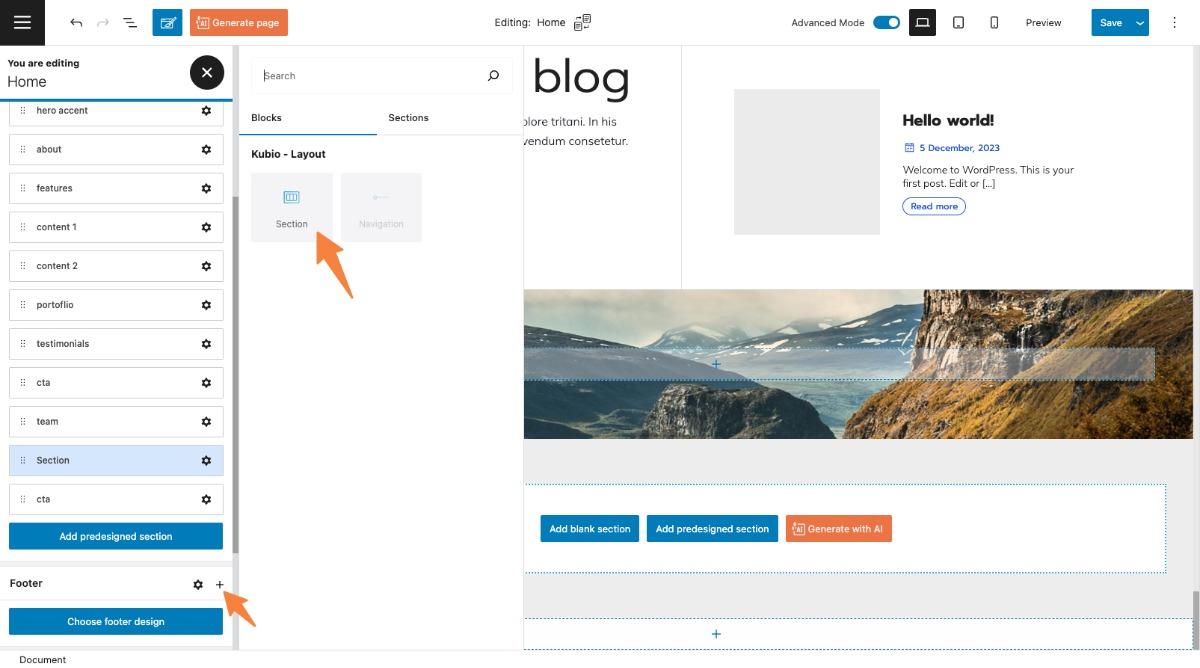
Now, the footer looks like a blank section where you can choose a section layout ( and place blocks) or choose a predesigned footer.
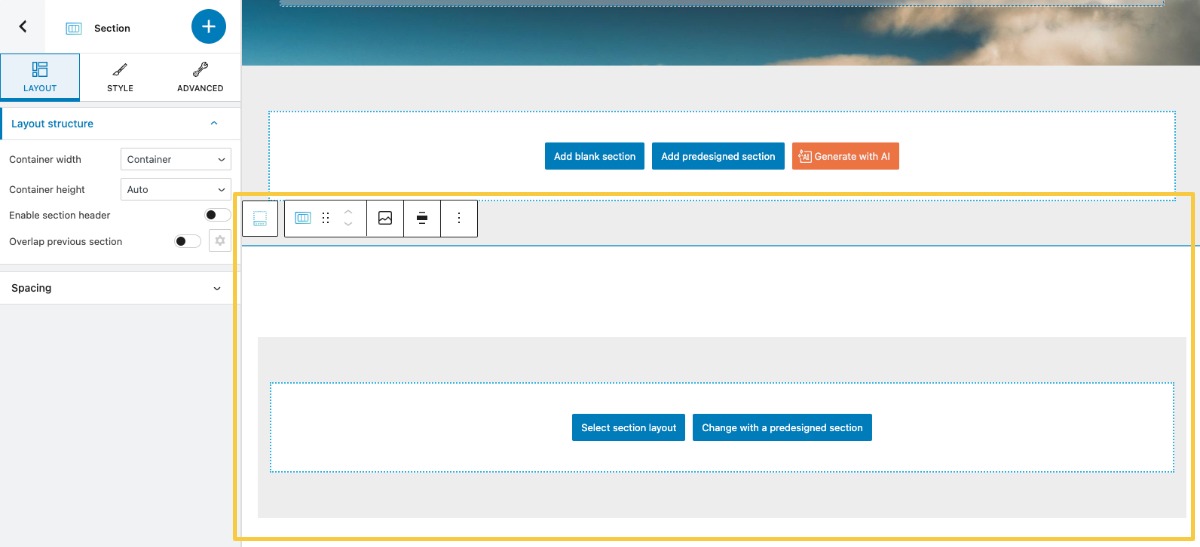
If you click on the “Select section layout” button, you can choose a 1 column or 2 columns layout (or many more). After that, you can click the “+” signs and you will be able to add blocks to the footer design. Find out more info about how to work with blocks, here.
Now, while the whole footer section is selected, you will notice a block editing panel on the left. You can start now customizing the section. Find out more about how to customize sections, here.
Now, if we go back to the section, you can notice a toolbar on top of it, with several options. Let’s take a look at them, from left to right:
- Select footer.
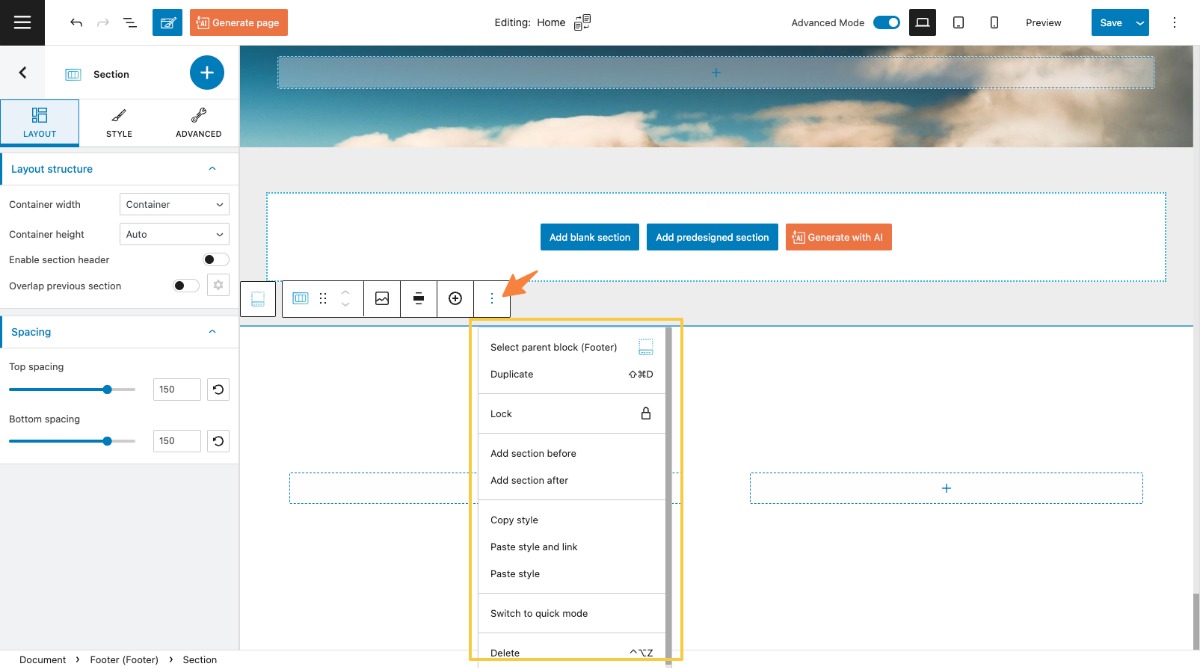
When you click on the Select Footer icon, you’ll notice on the left the block editing panel. Use the dropdown to select the footer you want. Now, if you are using a free plan, you will have a single choice. If you have a PRO plan, you will be able to assign a previously created footer. You can also notice the option to create a new footer from here.
- Drag and drop the section. When you select the 6 dots, you will have the option to drag and drop the block where you want.
- Move the section up and down. When you select the up and down arrows, you will move the block up and down.
- Change the section’s background. When you click on the option, you’ll notice to the right the block editing panel opening at the “Style” level. It’s here where you can make background changes for the footer section.
- Change the width of the section. You can go with container width or full width and vice versa.
- Add new columns to the section using the “+” sign.
- Duplicate section.
- Lock section
- Add section before.
- Add section after.
- Copy style (PRO only) – use this option when you want to copy the style from a block or section to another. This will copy text color, background color, font size, font family, borders and their styling, to another block or section. This option is used together with the paste style.
- Paste style and link (PRO only) – after copying the style from another section, use this option to paste the style. When the styles are linked it means that any style change happening on a section, it will be reflected on the other one as well.
- Paste style (PRO only) – after copying the style from another section, use this option to paste the style. This option won’t link the styles of the sections, meaning that a styling change done to a section, won’t affect the other.
- Switch to advanced/quick mode
- Remove the section (PRO only)
- Choose a footer design
Now, let’s go back to our initial problem. There’s no footer, and we need to add one. Let’s go back to the page editing panel on the right.
- Let’s click on “Choose footer design”.
- Click on a footer design from the ready-made sections available to the left. There are two footer sections available in the free plan, and several others in the PRO plans.
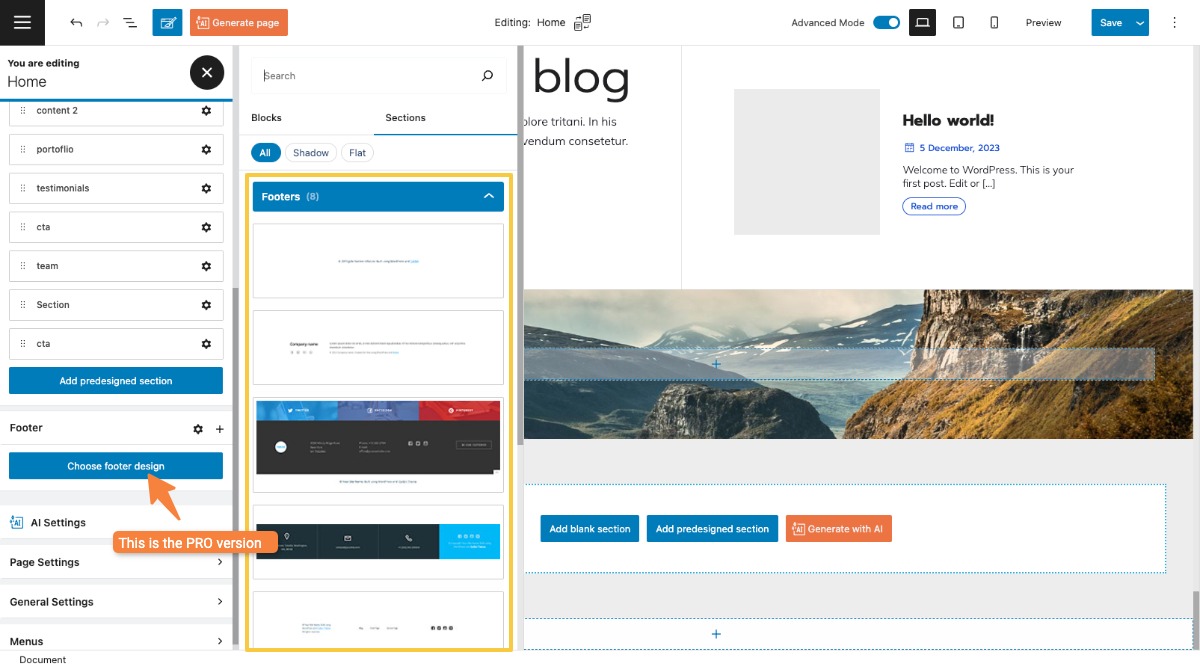
This is what you’ll see:
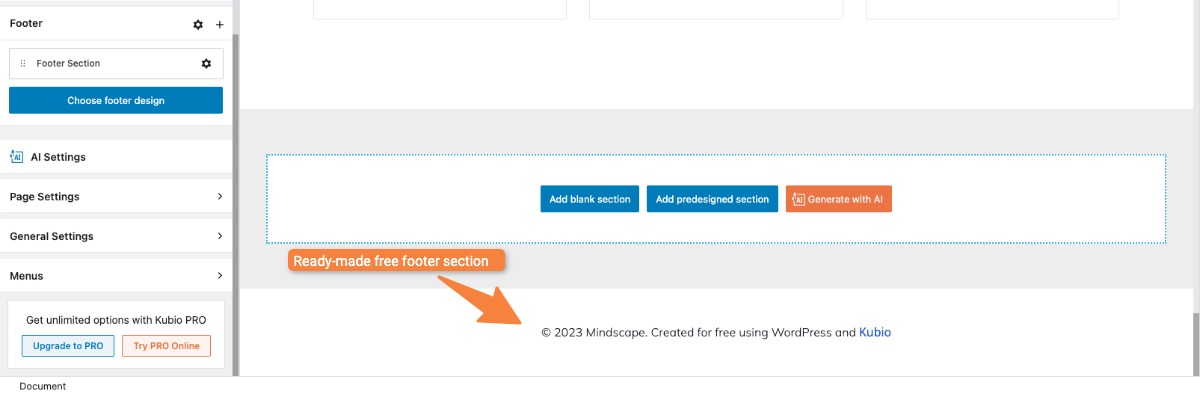
- Use the block editing panel to the left to edit the section. More about editing sections, here.