If you decide to allow comments for your posts, then you will need a post comments form where readers can leave their comments.
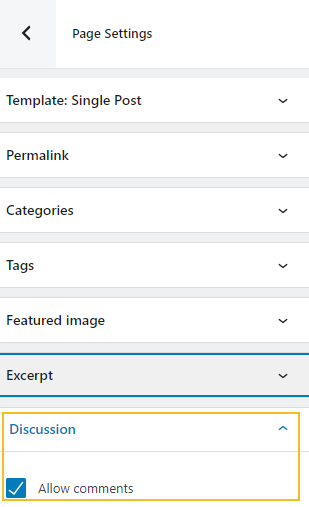
In order to allow post comments, go to “Page Settings” inside the page editing panel, and tick the “Allow comments” option under “Discussion”.
Now, you can add the post comments block by clicking any “+” sign in the website canvas. This will open up a block inserter. Search for “Post comments”, then click on the block in order to add it.
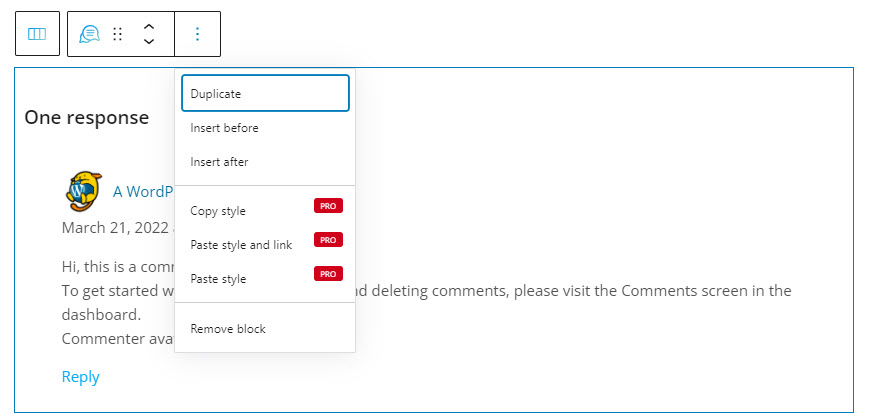
The moment the block gets added, you will notice a toolbar on top of it, with several basic editing options. In a previous chapter, we explained the common editing options for all blocks. In the case of the post tags block, here are the ones that apply: positioning, duplicate, insert before, insert after, copy style, paste style, paste style and link, and remove block. The copy and paste styling options are available with the PRO plans.
The moment you select any block, a block editing panel will open up on the right-hand side. It always has three options: content, style, and advanced. The possibilities inside vary from block to block.
Content
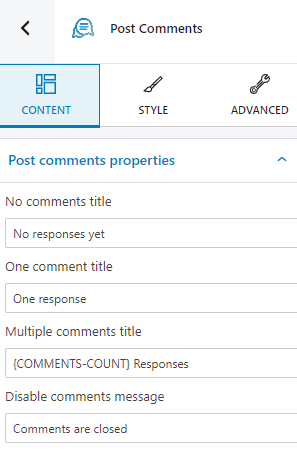
At the “Content” level you can customize the messages that will show up in the discussion panel below the post.
Styling
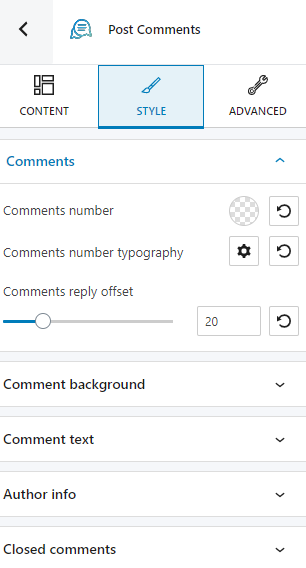
At the “Style” level you can make changes to:
- Comments number,
- Comments number typography,
- Comments reply offset,
- Comment background,
- Comment text,
- Author info,
- Closed comments.
Advanced
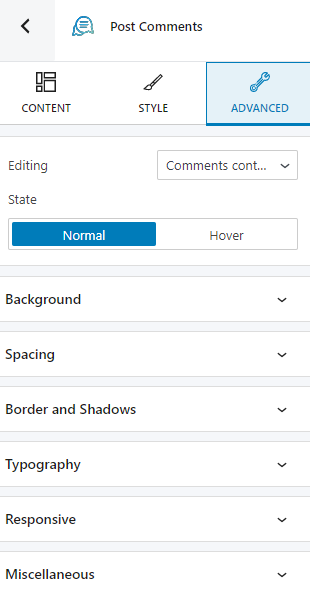
At the “Advanced” level, here are the most common customizations available across the Kubio blocks: background, spacing, border and shadows, typography, transform, dividers, transition, responsive, and miscellaneous.
In the case of the post comments block, you can make changes to the: comments container, number, meta container, avatar, author name, meta, content, reply link, edit link, closed comments message, event comment container, and the old comment container. All of the edits can be made across the normal and hover states.
